

- Originally published June 26, 2018.
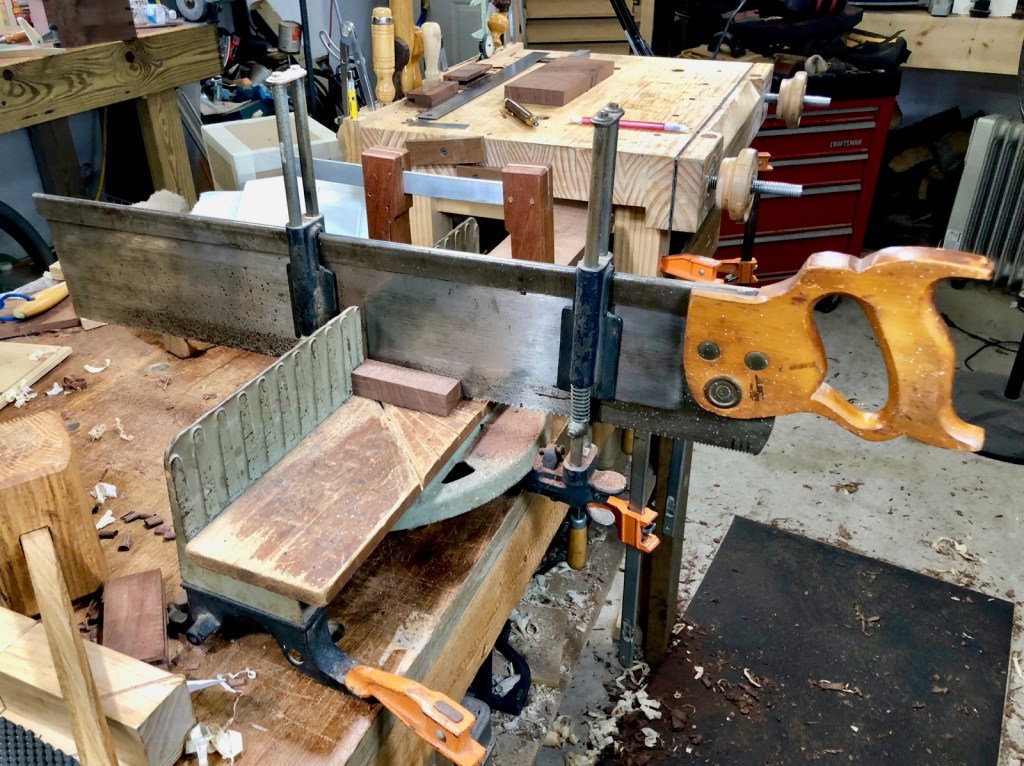
The next step is to make the top of the box. This will use frame and panel construction with a raised panel. I cut the four parts of the frame, called rails, to size with one of my old handsaws.
Here are some of the tools of construction for this step.

Next I laid out the rails on the box to find a nice arrangement of grain.
The rails need a groove cut on one side for the raised panel. This is where my new Veritas Combination plane really shines.

With the grooves cut I can start to see what the frame will look like.
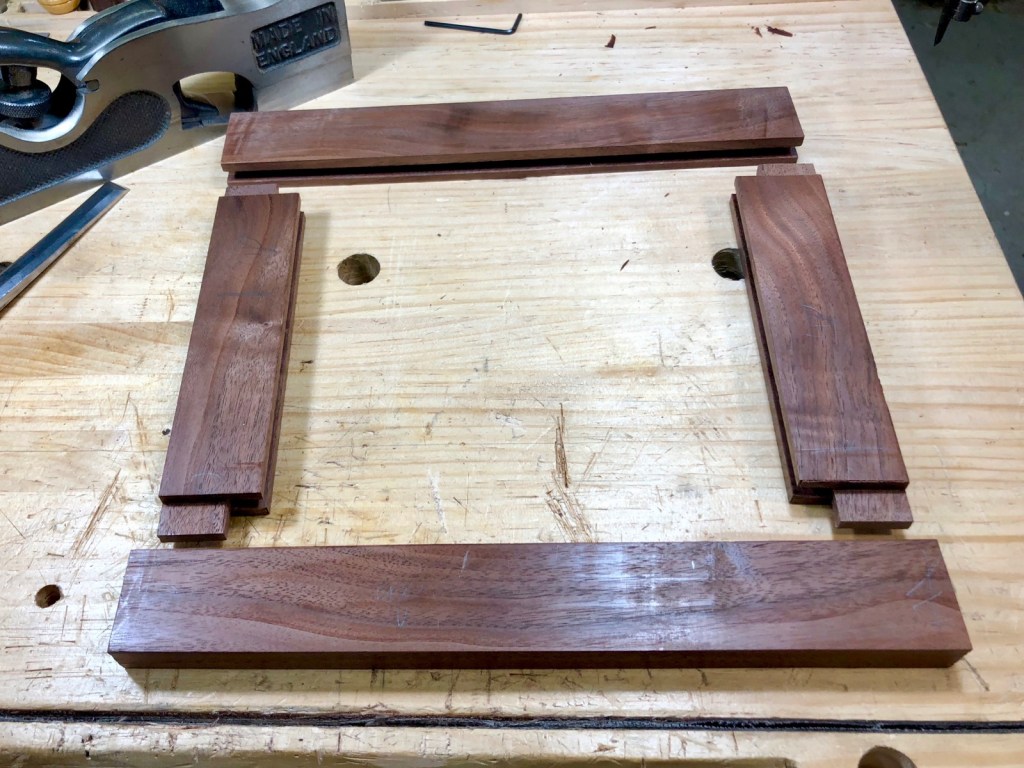
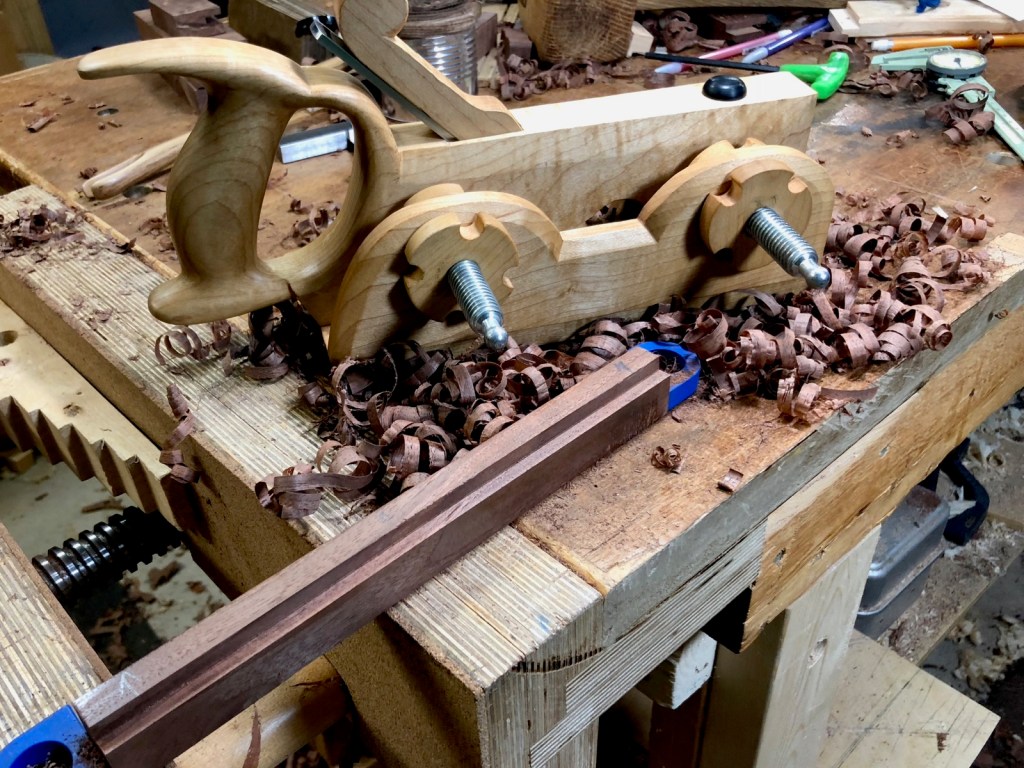
The side rails need a tenon to fit into the front and back rails. I’m using the moving fillister plane I made to do this. This is the best plane I’ve made so far. It really works well.

Here’s the tenon cut by my plane. It is the same size as the groove cut by my commercial plane.

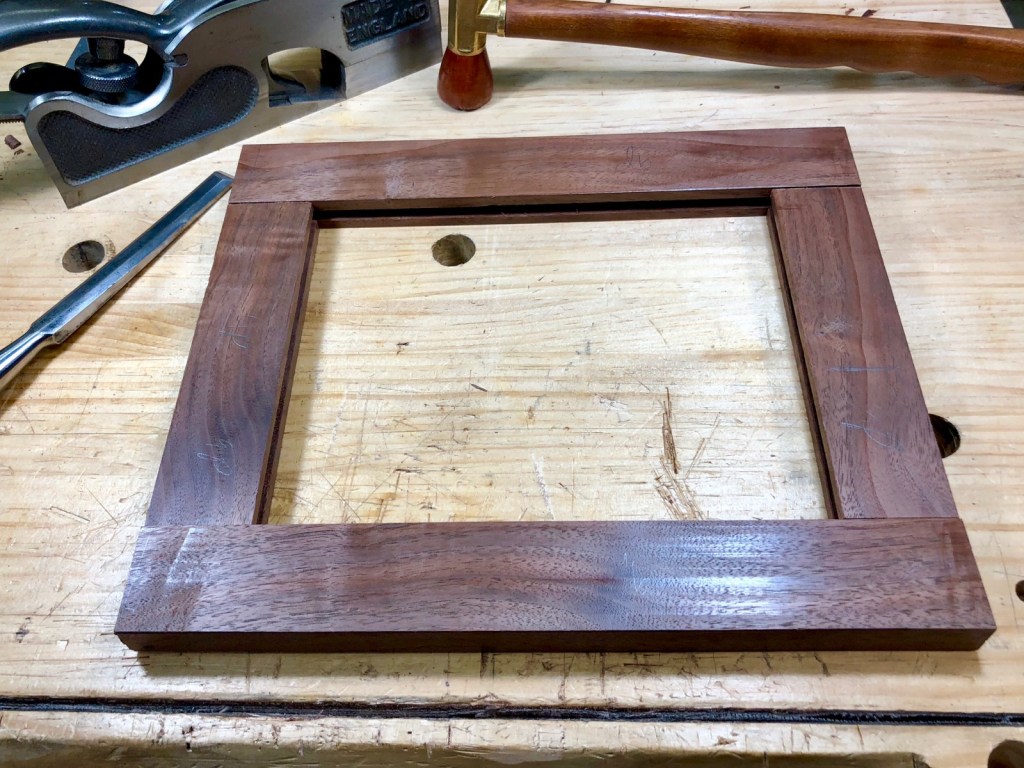
With the tenons cut the frame can be assembled. It is not done yet as the tenons and shoulders have to be trimmed to make tight and square joints.
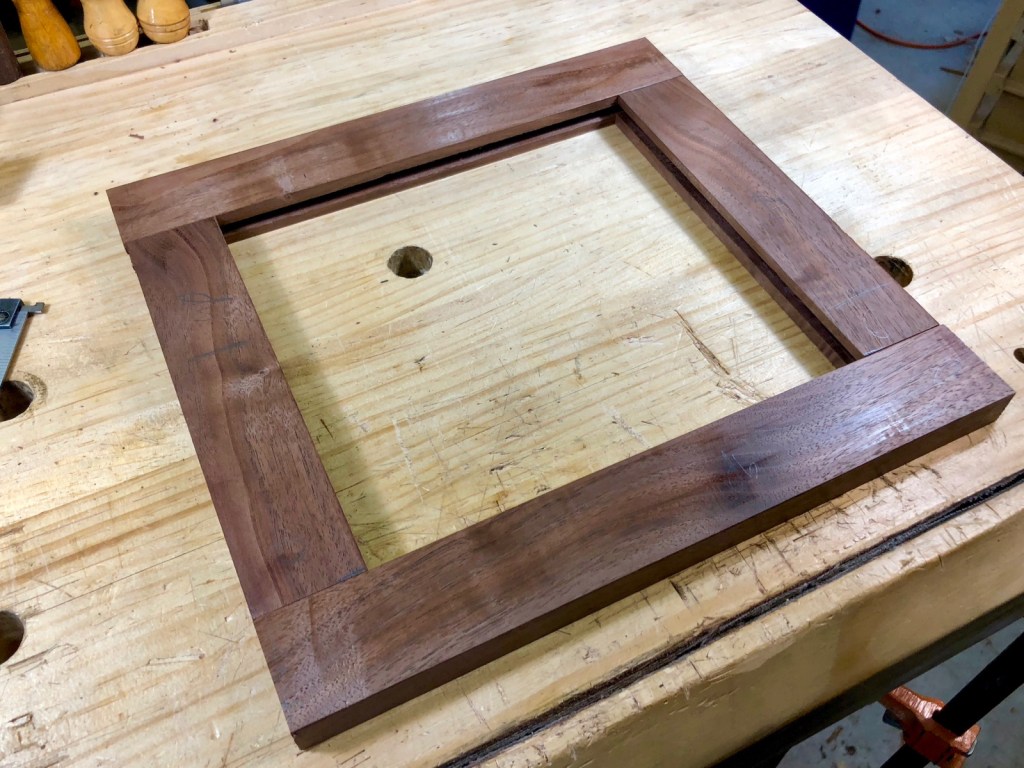
Here’s the frame assembled and ready for the fitting.
I needed to see how it looked on the box. It’s the right size! Phew.
You can see the grooves in the frame that will hold the raised panel.
To trim the tenons and shoulders I’m using a plane called a shoulder plane. This is a very precise tool that is designed for cutting the end-grain of tenon shoulders. It’s a Record No. 073 Improved Shoulder Rabbet Plane, made in England.

This lets me get the joints very tight and square.

Next, I cut out the pieces for the raised panel that will be part of the top. I used my new-to-me old miter saw. I got this for $10 and it is wonderful. It cuts very precisely with very little effort. Tools like this were replaced by the common powered miter saw. I like this one better as I won’t lose a finger to it like I almost did with my powered version.
This hand-powered miter saw was made somewhere between 1920 and 1940. I have not even sharpened it yet and it is working well. Once I clean up the saw plate and sharpen it this will be one hard-working tool in my shop.
Here’s the panel glued and clamped. It has a nice bookmatched grain pattern. I think this will look great.

While the panel glue dries I started working on the base of the box. First, I cut out four strips and sized them. They will need a small rabbet, or dado, cut into them. I used my moving fillister plane again for this.
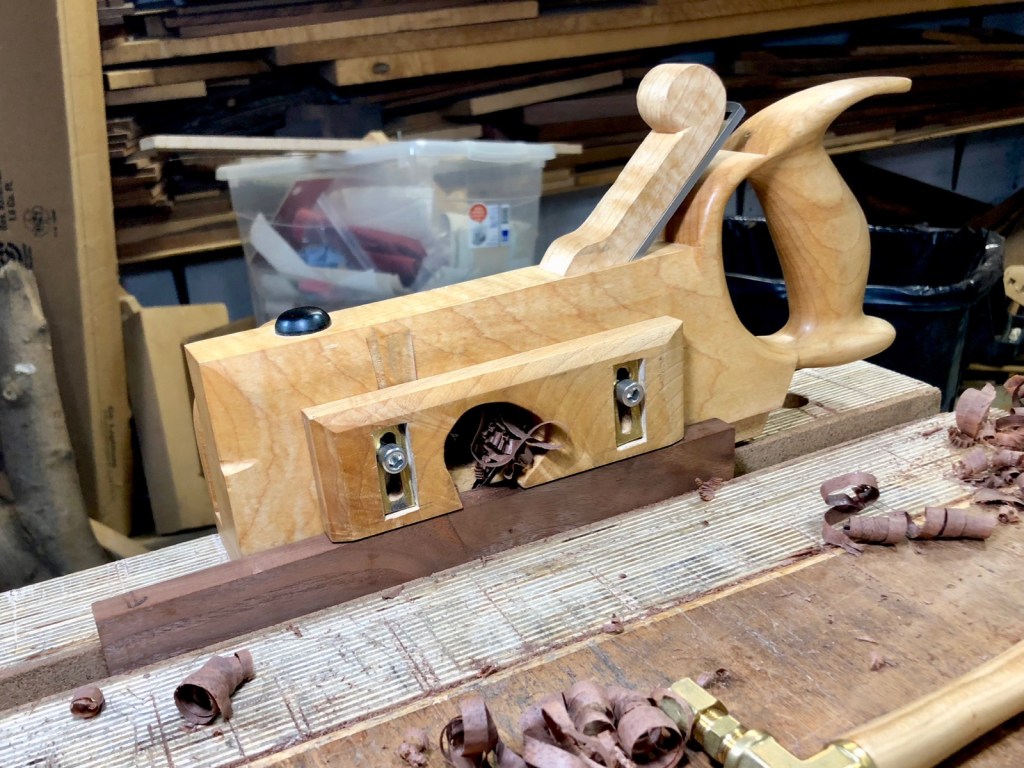
Here’s a photo from the front that better shows how this plane works. It has an adjustable fence and depth stop, each set to 1/4" for this rabbet. A normal Rabbet Plane does not have the fence or depth stop. I made mine and it is left-handed. There are not many for us lefties out there and I really wanted one. I learned a lot making that plane.

That plane did a lot of cutting today. And it was all quiet and safe work. No earplugs, no dust mask, no spinning blades that can inflict serious injury. It was calm and meditative. This is a big reason I love handtools.
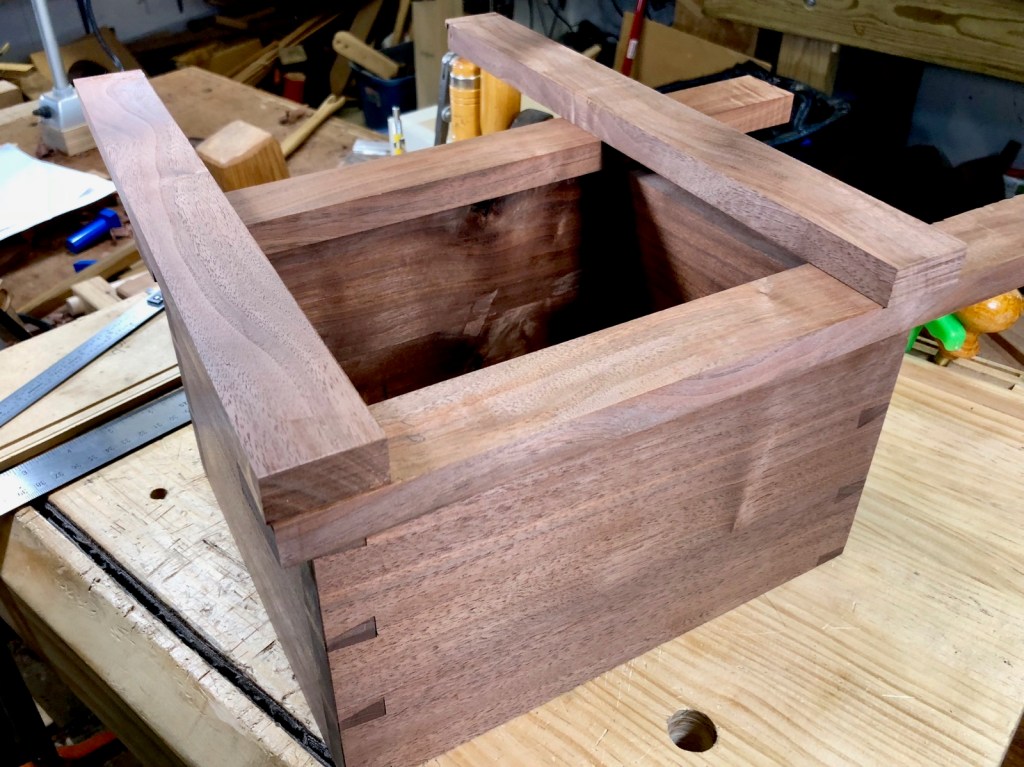
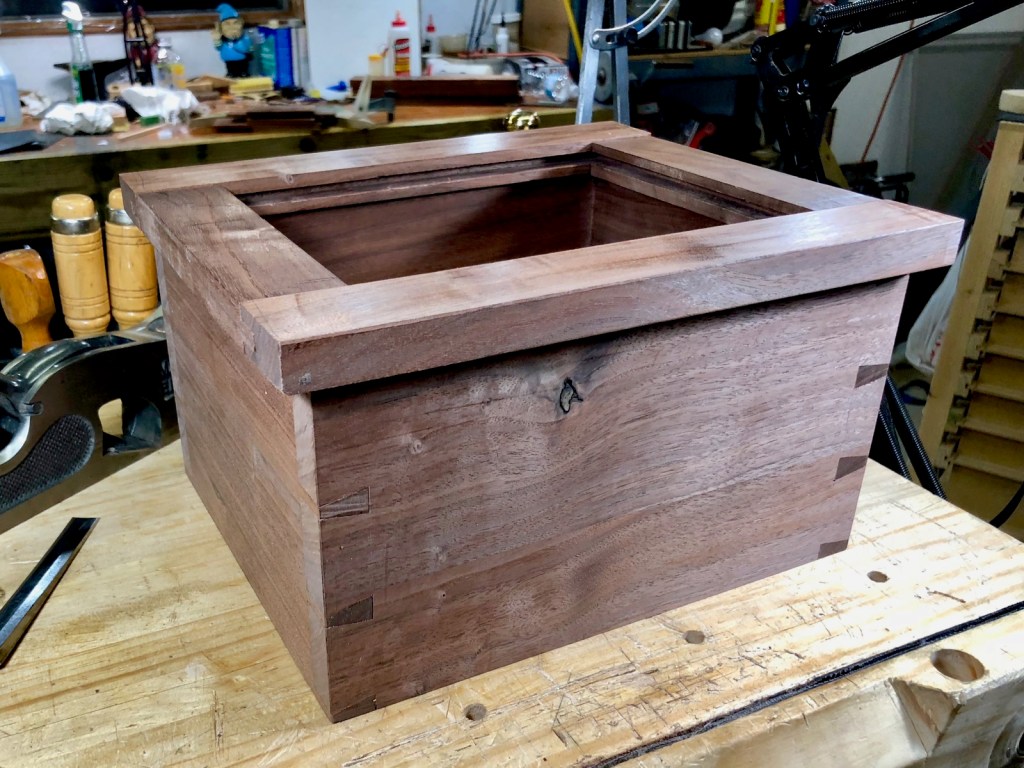
The main box sits in the base. The base will have mitered corners and be chamfered. Here is the box resting on the base pieces. The corners don’t have their miters yet.

It was a productive couple of days to get to this point. I’m on schedule to get this done well ahead of time.
This is good.
-Eric
