

- Originally published February 16, 2019.
To make the jaws for the vise I had to cut this rebate. I wanted to do it without power tools as an exercise and for fun. It’s a tricky thing to cut at this size. I thought of many ways that would work and finally just picked one.

I cut two grooves with my Veritas combo plane. A 1/4" one on the face and a 1/8" one on the end. I then sawed out on the cut line. After that I planed down to the final dimension. One of the pieces had really tricky grain and it took a few sharpenings and some head scratching to finish it. The grain was running backwards from what it looked like it should be.

Here is the resulting jaw section. It is some very hard maple that is heavy and dense. I’m hoping it’s the right choice for a saw vise.

One advantage of sawing out the bulk of the waste on the joinery is I have a nice set of small pieces for future projects. The smaller pieces in the front are from the tenons.

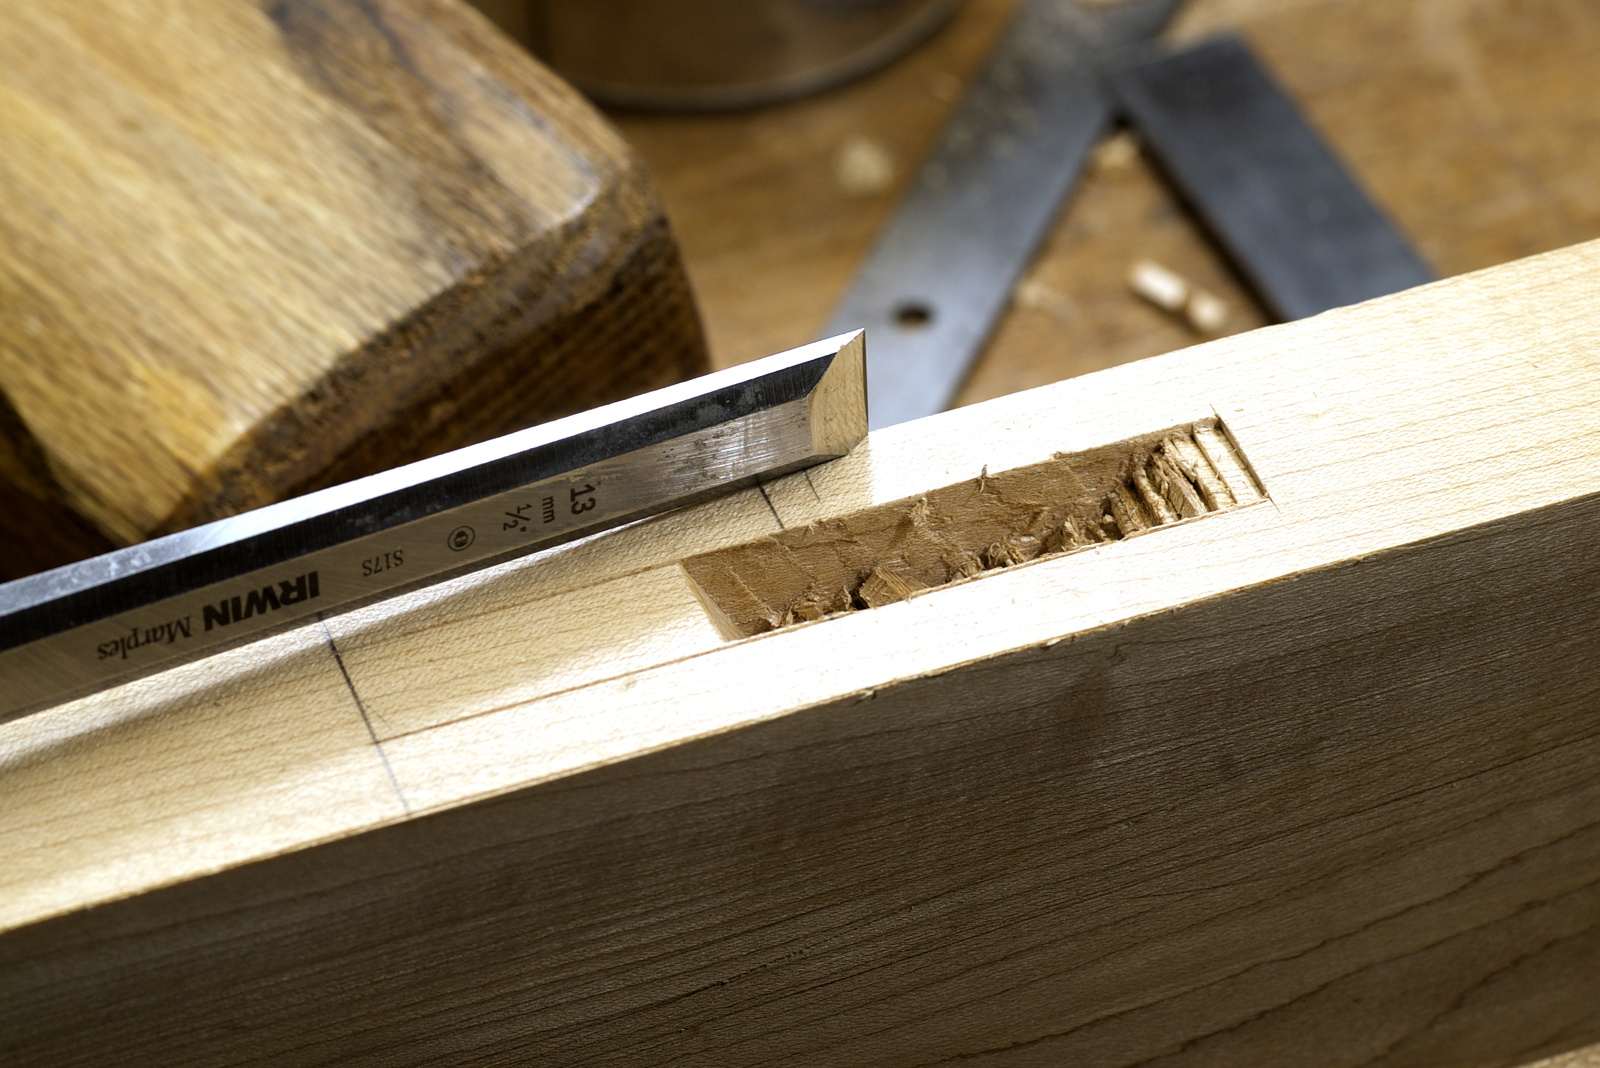
The next step is to chop the mortises. I’m using a simple and cheap bench chisel from Irwin. An expensive mortise chisel is not always needed. What is always needed is for a chisel to be sharp. I reset the angle and squared the edge before honing this to a very sharp state.
Using the tenon to size the mortise. Like many people, I used to use measurements to do things like this. It’s much more accurate to use the actual thing you need to size to for this.

Here’s my mortise depth gauge doing it job. I set it to 2" and chopped until it was down to the wood everywhere. It’s a handy thing, there was one little spot that was still not at 2" and I could find it quickly.

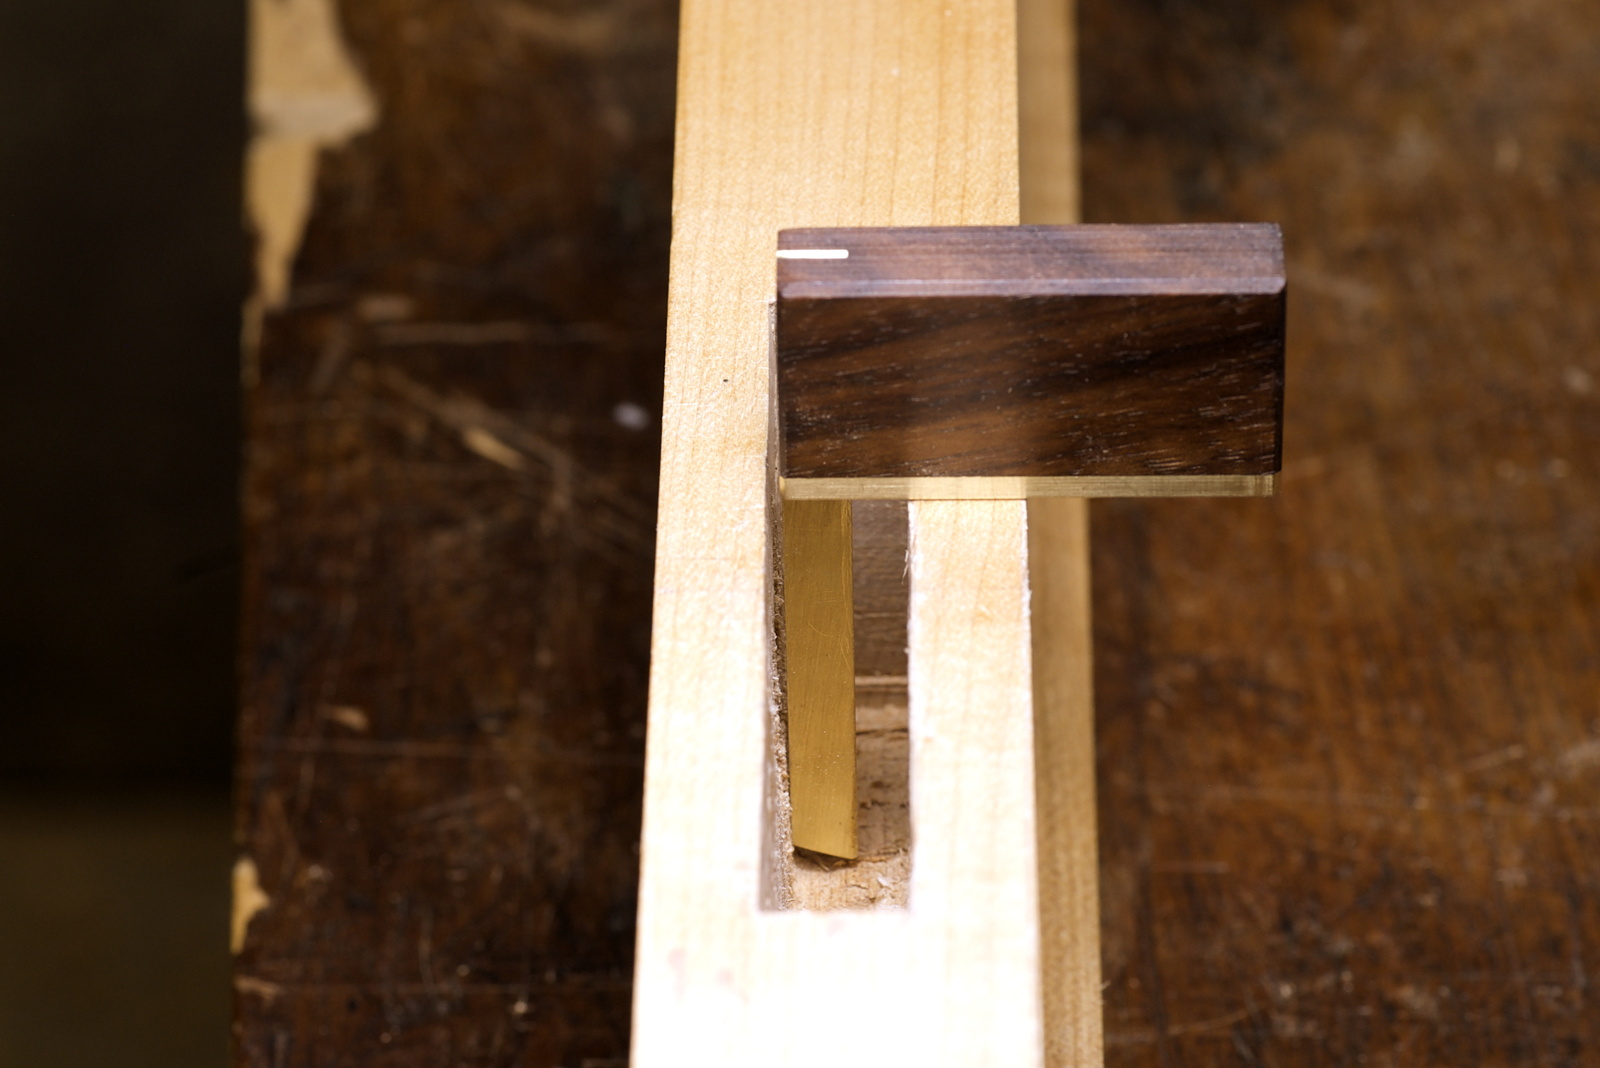
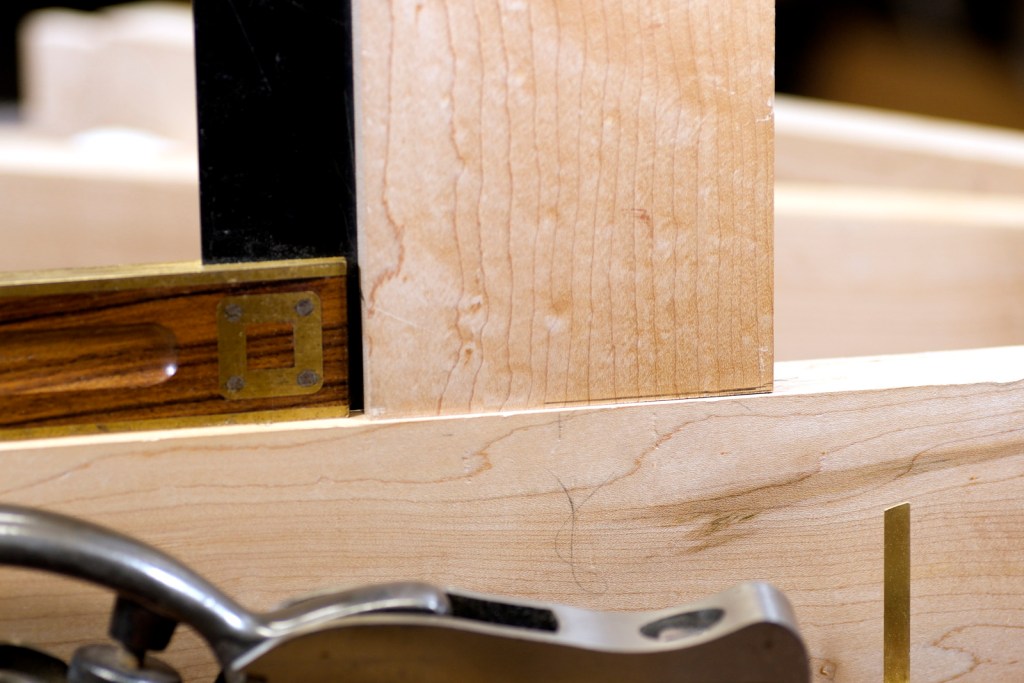
I also used my little square. I made it for when I cut dovetails, however I realized it would help with these mortises too. The blade is 2" long and so is my tenon and mortise.

I used it on the ends of the mortise to make sure they were square. That saved a lot of time.

Where it was really useful was on the sides. Here you can easily see that I didn’t cut the mortise straight down. It’s at an angle. That’s not good and I had to adjust it on both side to get it square.
Fitting the mortise so the tenon fits very tightly and square is an incremental process. I gently tap the cross piece in until the resistance increases. Then I pull it out and trim a little more. Little by little I trim out small amounts of the maple. I check for tightness and squareness and keep repeating.

And then it fits. It’s sometimes a surprise when it happens. It makes for a very strong joint that will last for a very long time. It’s not quite done, I’m going to add a draw bore to the joint too.

I used my Record No. 073 shoulder plane to make the fit very exact. The pencil line indicates where I had to trim a little more to get it right.
That was the front leg and jaw of the saw vise. I have to repeat this for the back leg and jaw and then I’ll be on to the next step.
-Eric
