

- Originally published June 22, 2018.
Here’s the latest on building my dad’s burial urn.
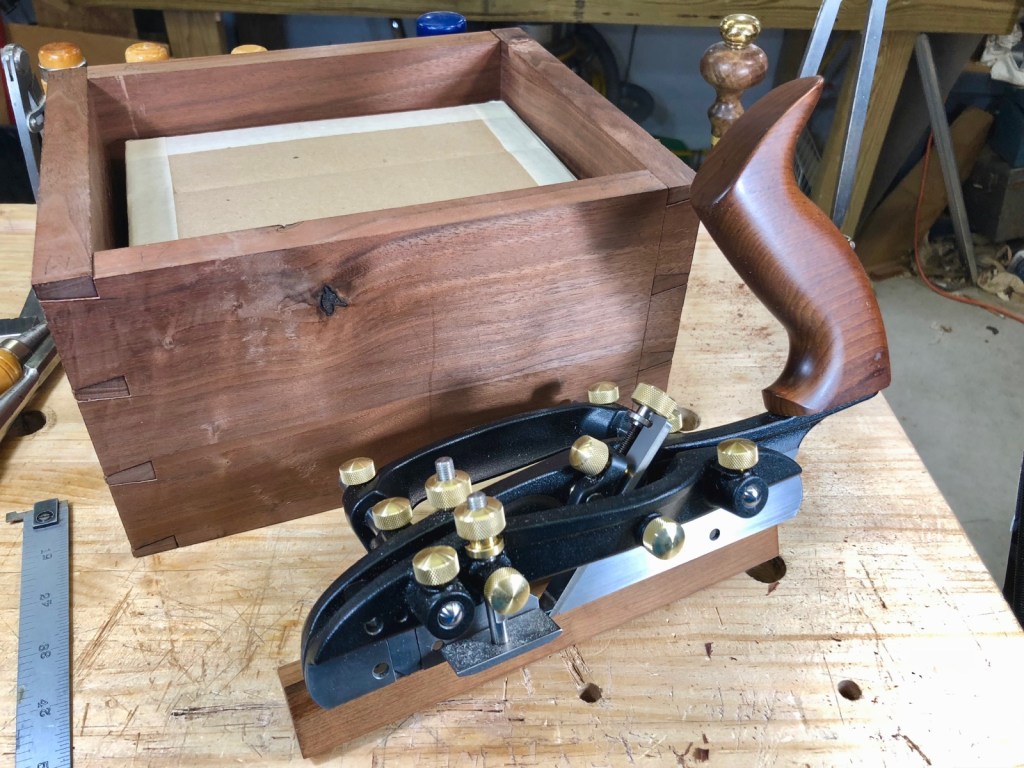
All the dovetails have been cut and fitted. That cardboard is a mockup of the official urn that will be placed inside my wooded one at the burial.

The box now needs a bottom and a top. The bottom was surfaced and sized and is ready to be assembled. It will sit in a groove that is cut around the inside of the carcass. To help with that I used a new tool from Veritas called a Combination Plane. It can do a lot of different tasks and is very versatile. It isn’t as complicated as it looks.
It’s a really nice tool that made quick work of the side grooves. It even went right through that hard knot without much effort. These grooves are cut all the way through the length of the sides as they won’t show.
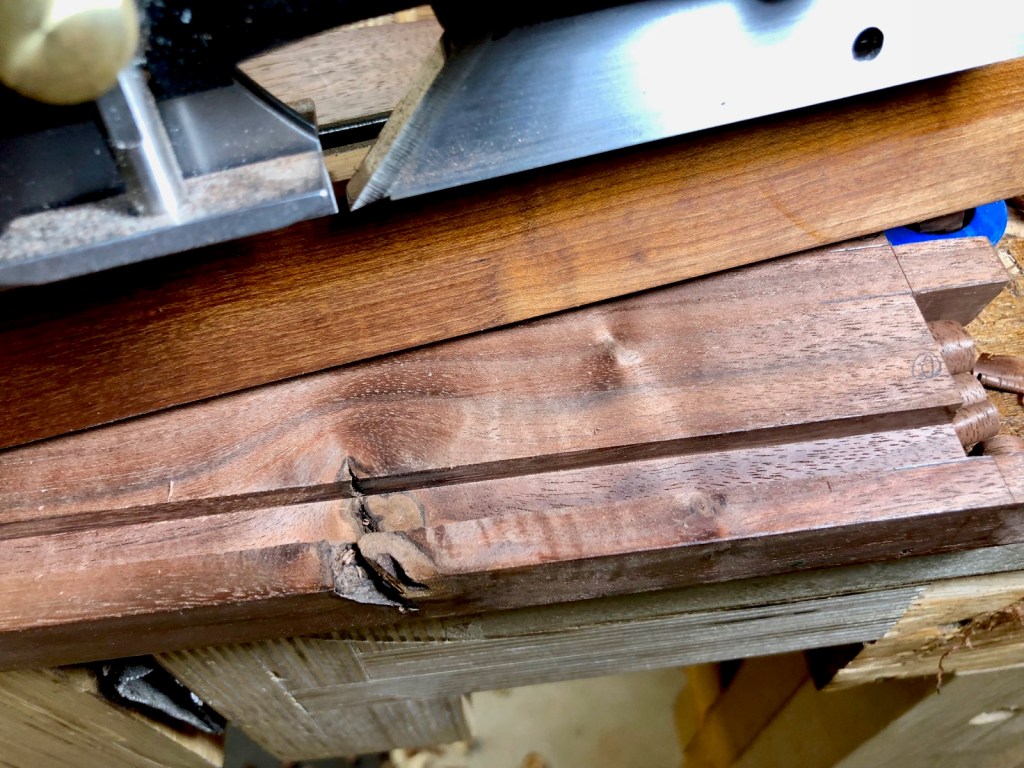
The grooves on the front and back of the box are what’s called stopped grooves. They are much more difficult to cut and I used a combination of tools. One of them was this Stanley No. 71 Router Plane that was my dad’s.

Here’s one of the finished stopped grooves.

I got all the grooves cut and even did them on the right parts of the box. 👍 This is good.

The final step of the day was gluing the box together. This is always a tense moment since you have only a few minutes once the glue is applied. I got them glued and I even had enough clamps.

Here’s the glued up box showing the solid walnut bottom.

The next day I’m in the shop I’ll be able to start working on the top and base. It’s getting closer. So’s the date when it has to be done. 😎
-Eric
