

Starting The Top
I surfaced the beams enough to get a good look at the grain and quality of the wood.
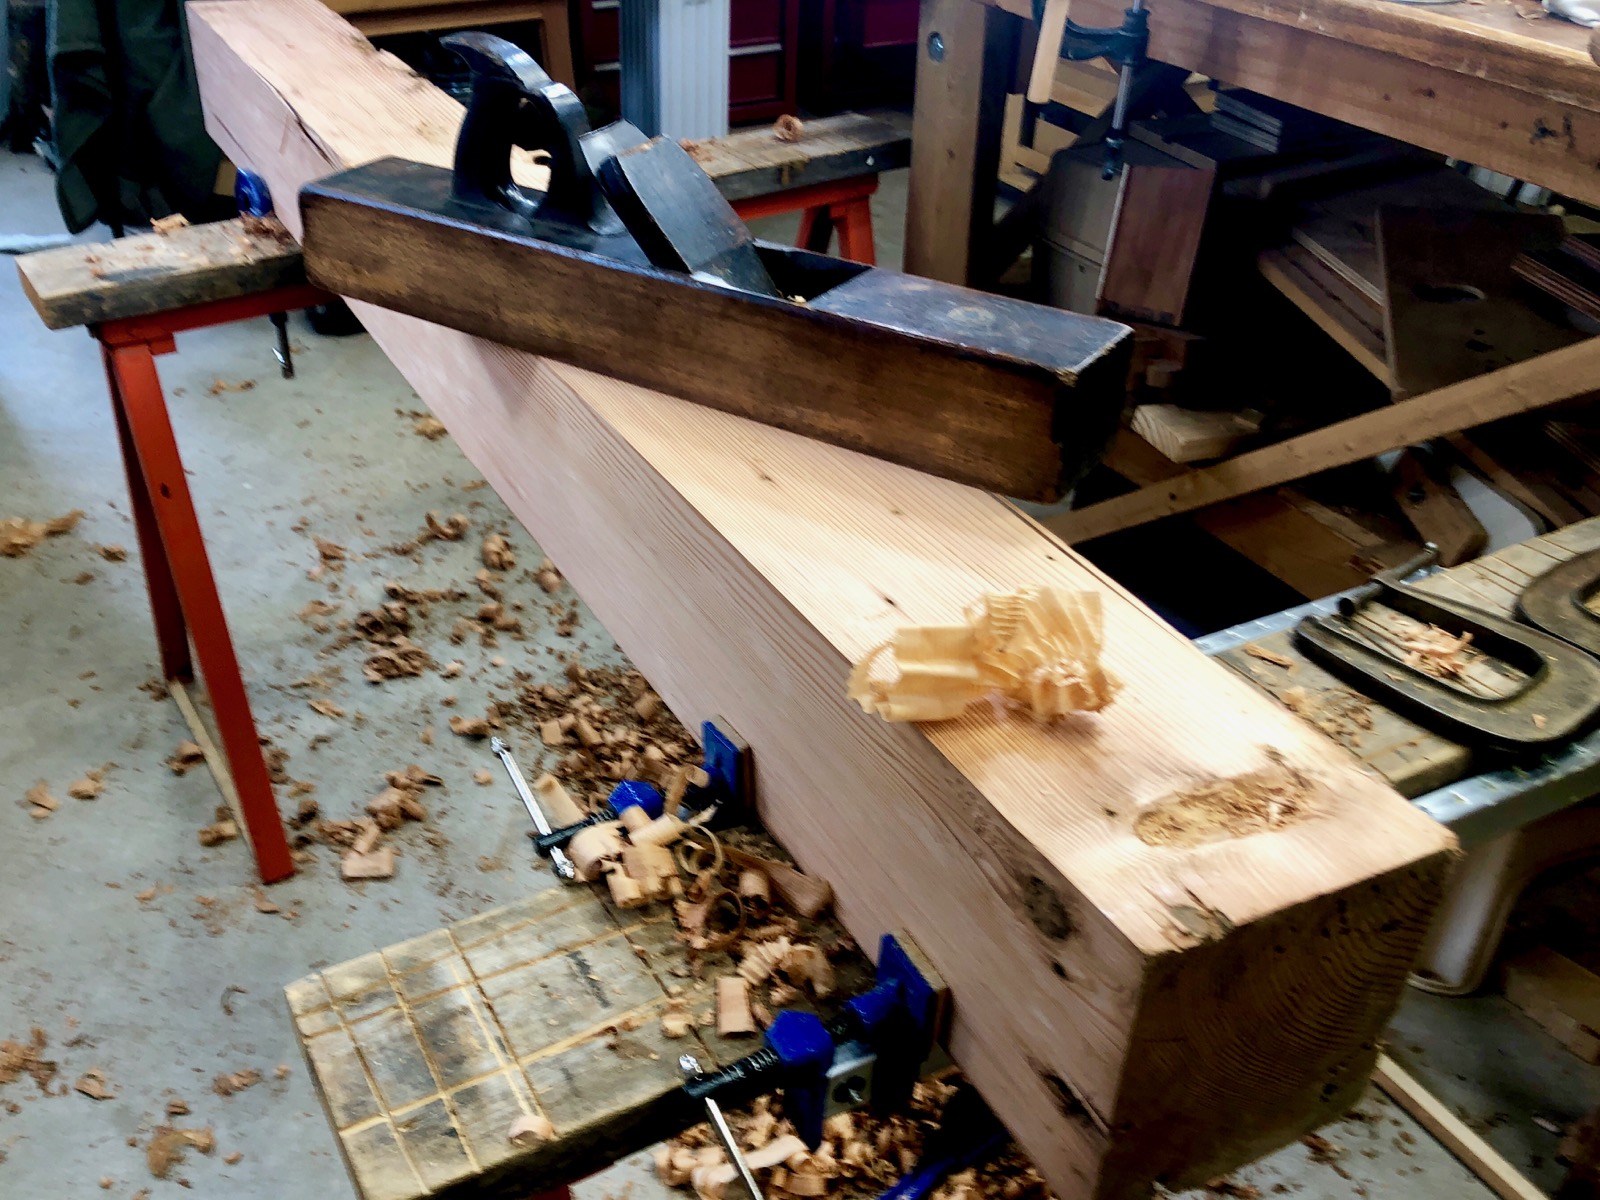
Once I surfaced the beams to a rough state I went through them and selected the best ones for the top. I was hoping there would be four good ones and there were. Lucky!
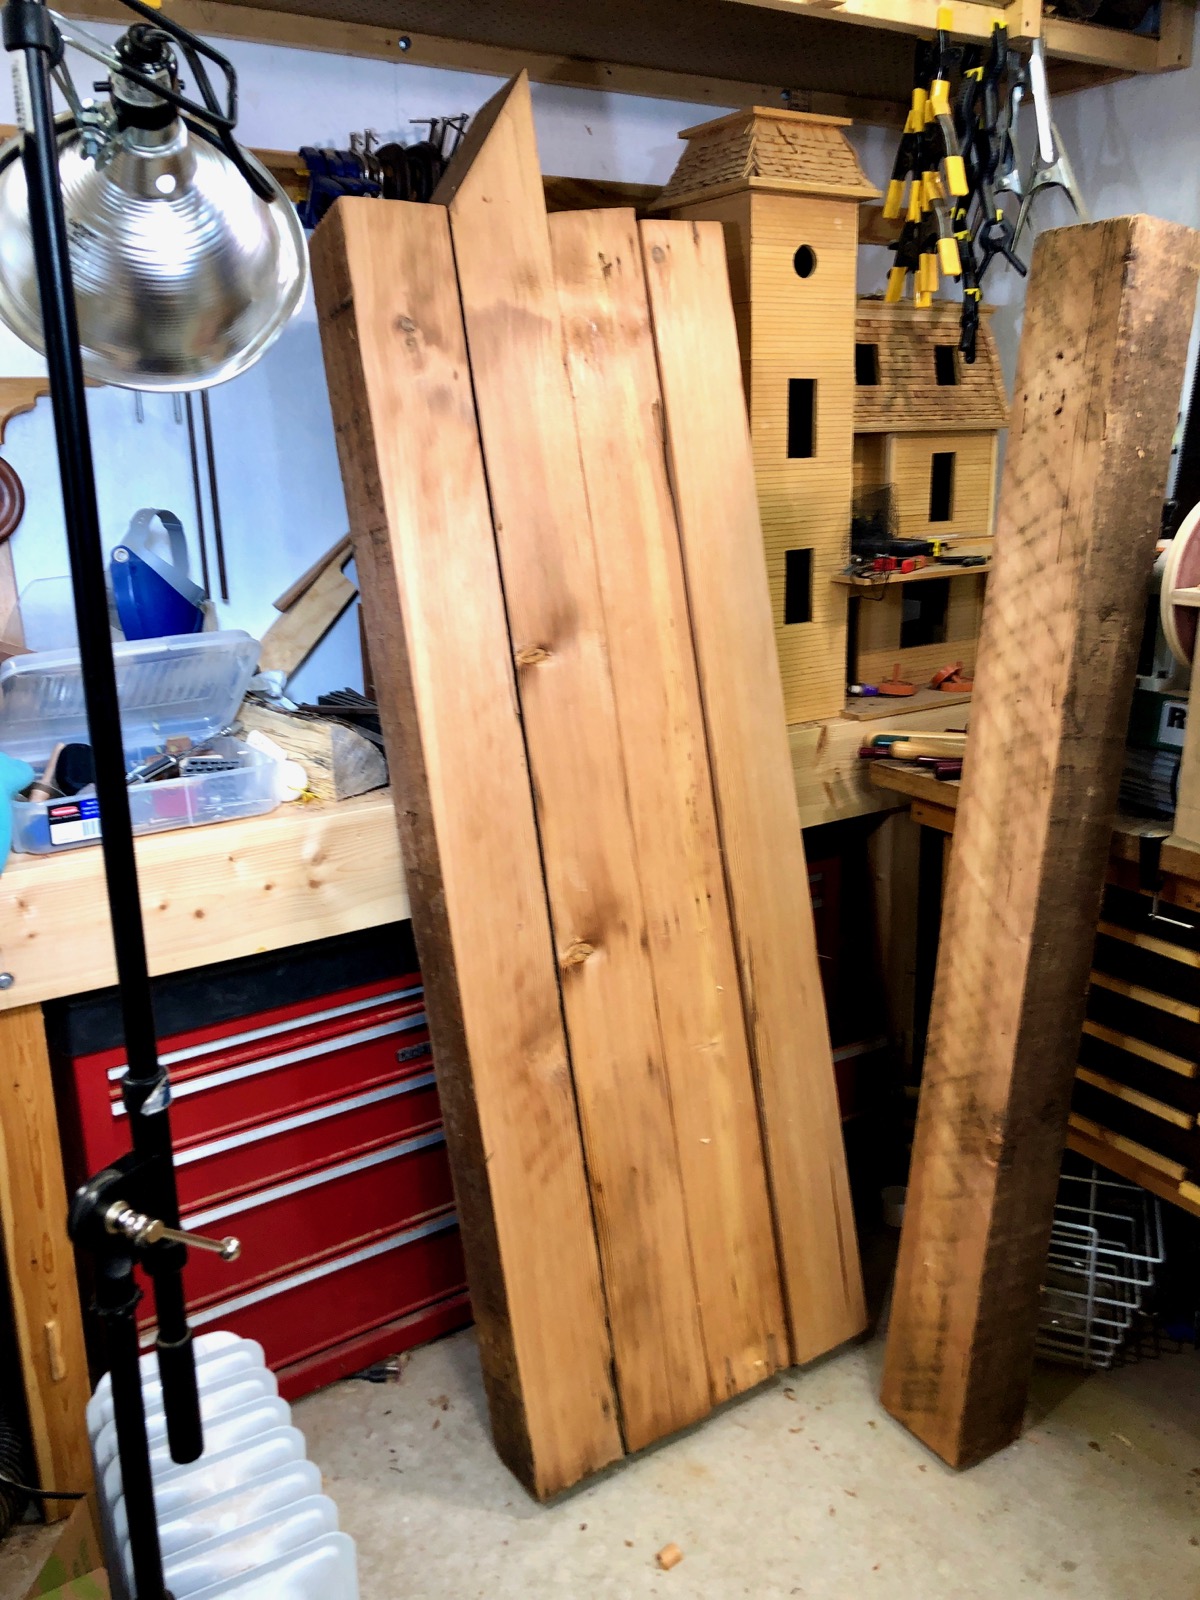
Here are the four I chose for the top. There was one more that was good and I’ll use that one for the leg with the leg vise.
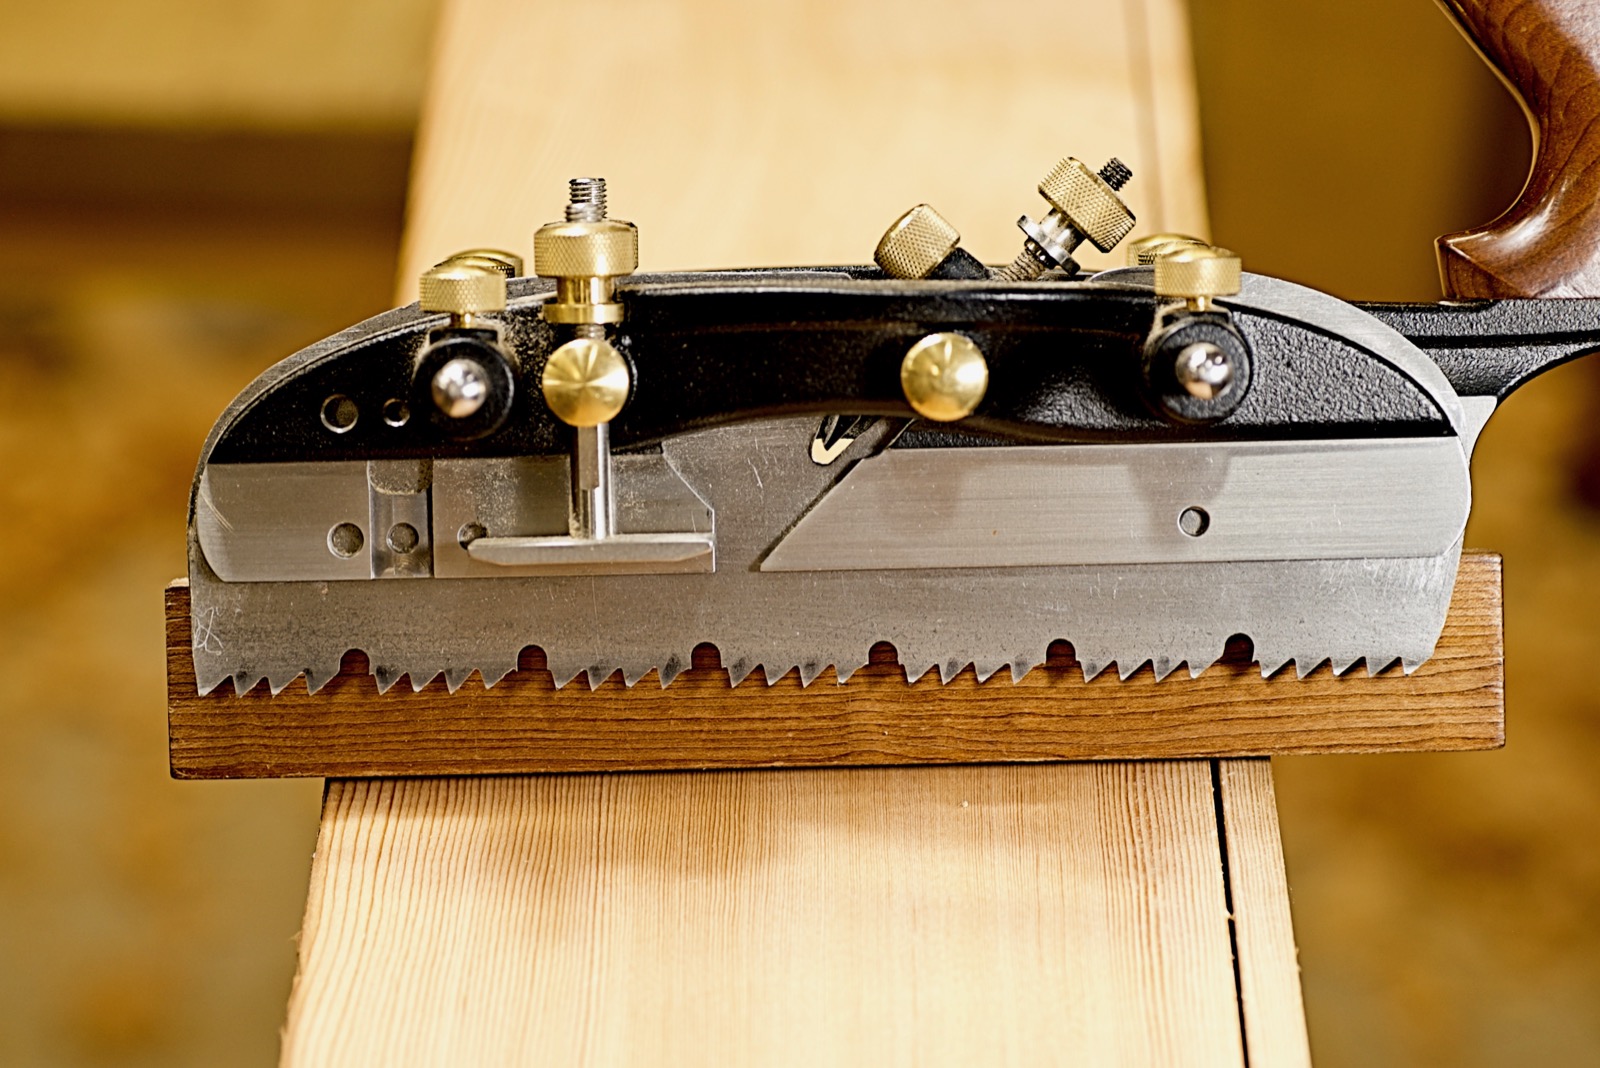
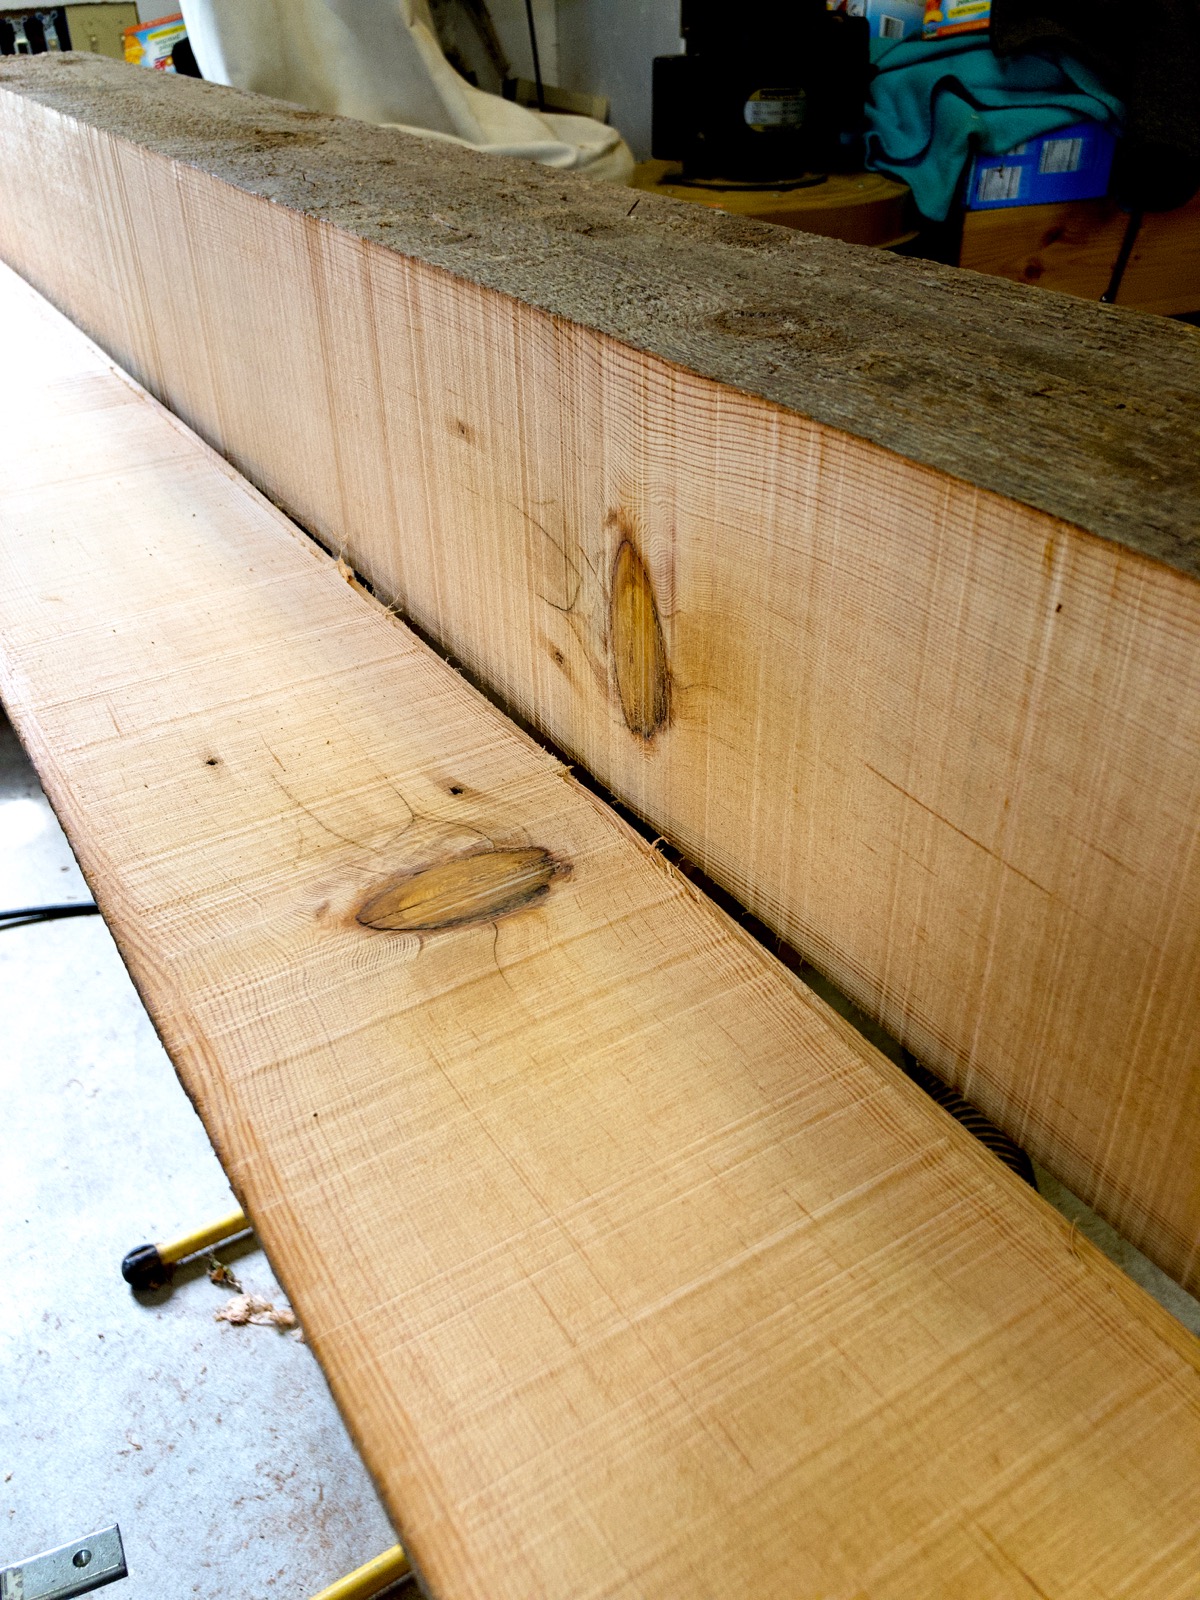
I needed to resaw some of the beams to remove some damage and some knots. I made a kerfing plate for my Veritas Combo plane from an old rip saw. This cuts a kerf where I want to rip the board. It helps guide the saw blade and is much easier to see and follow.
My bandsaw did a great job.
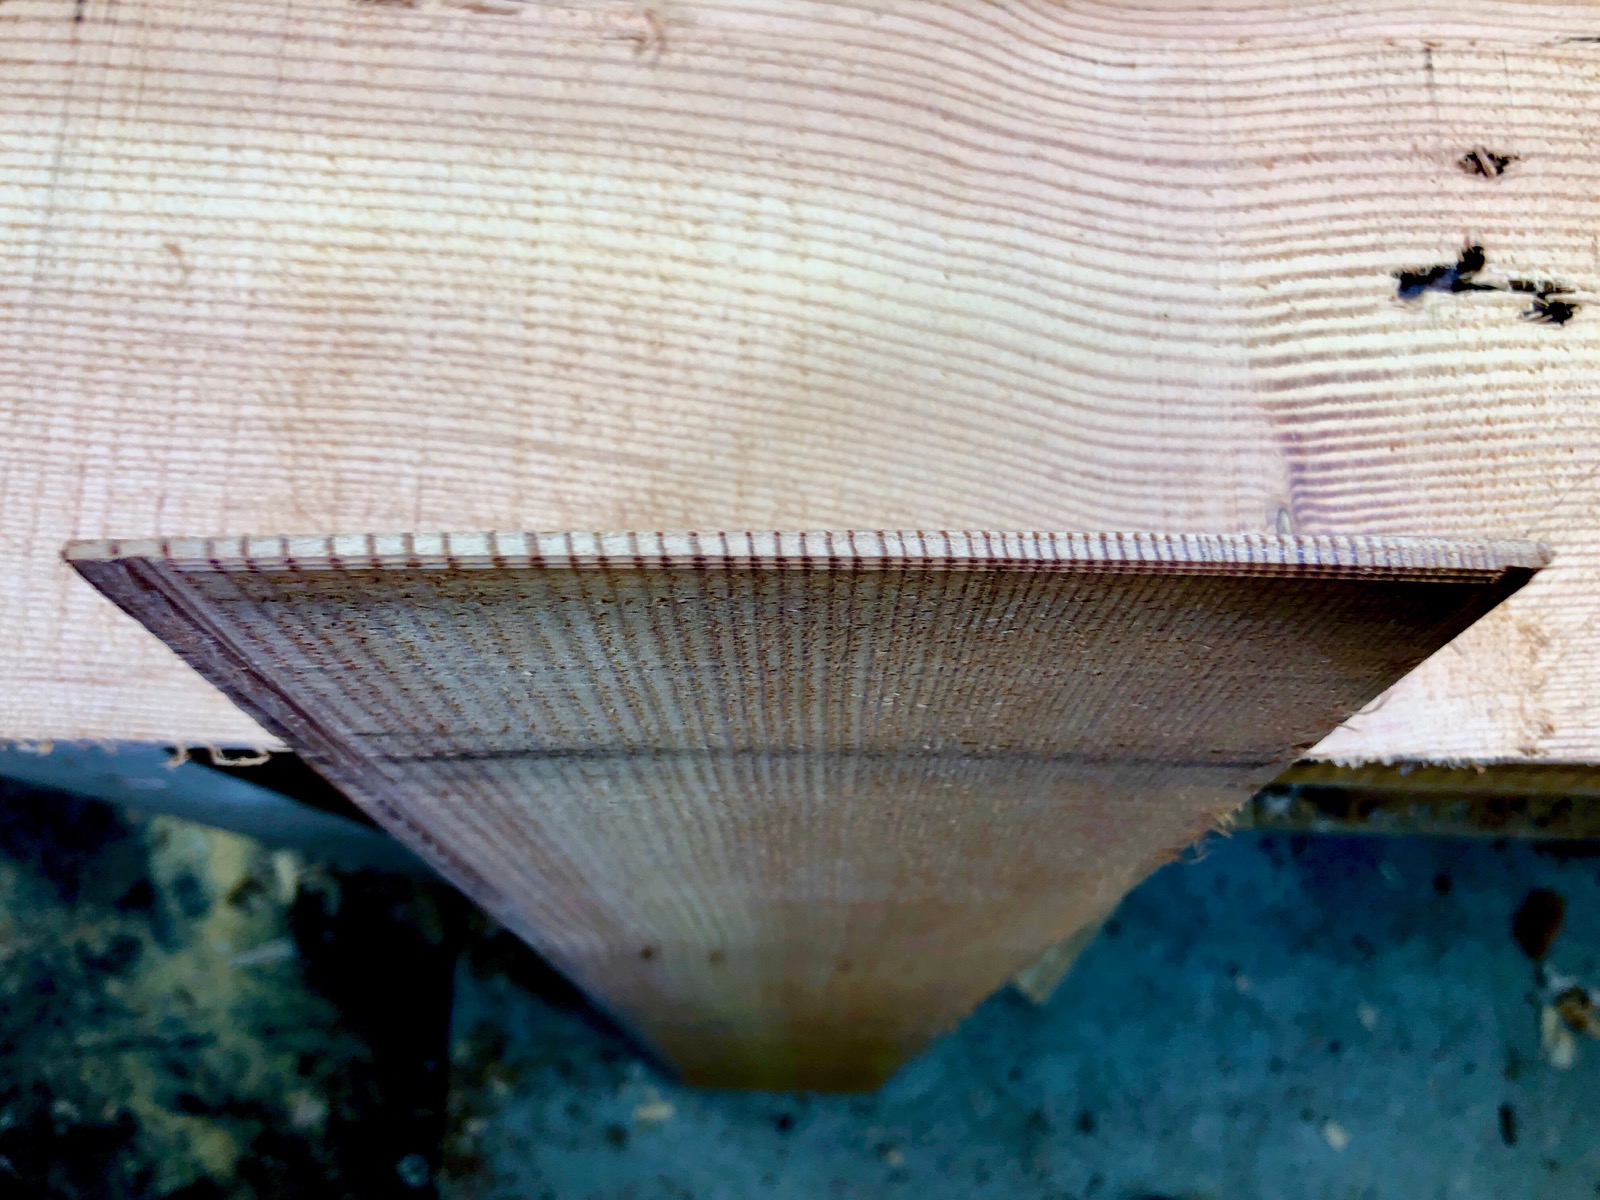
Some of the slices I got are thin and quarter-sawn like this. That will make a guitar ukulele some day.
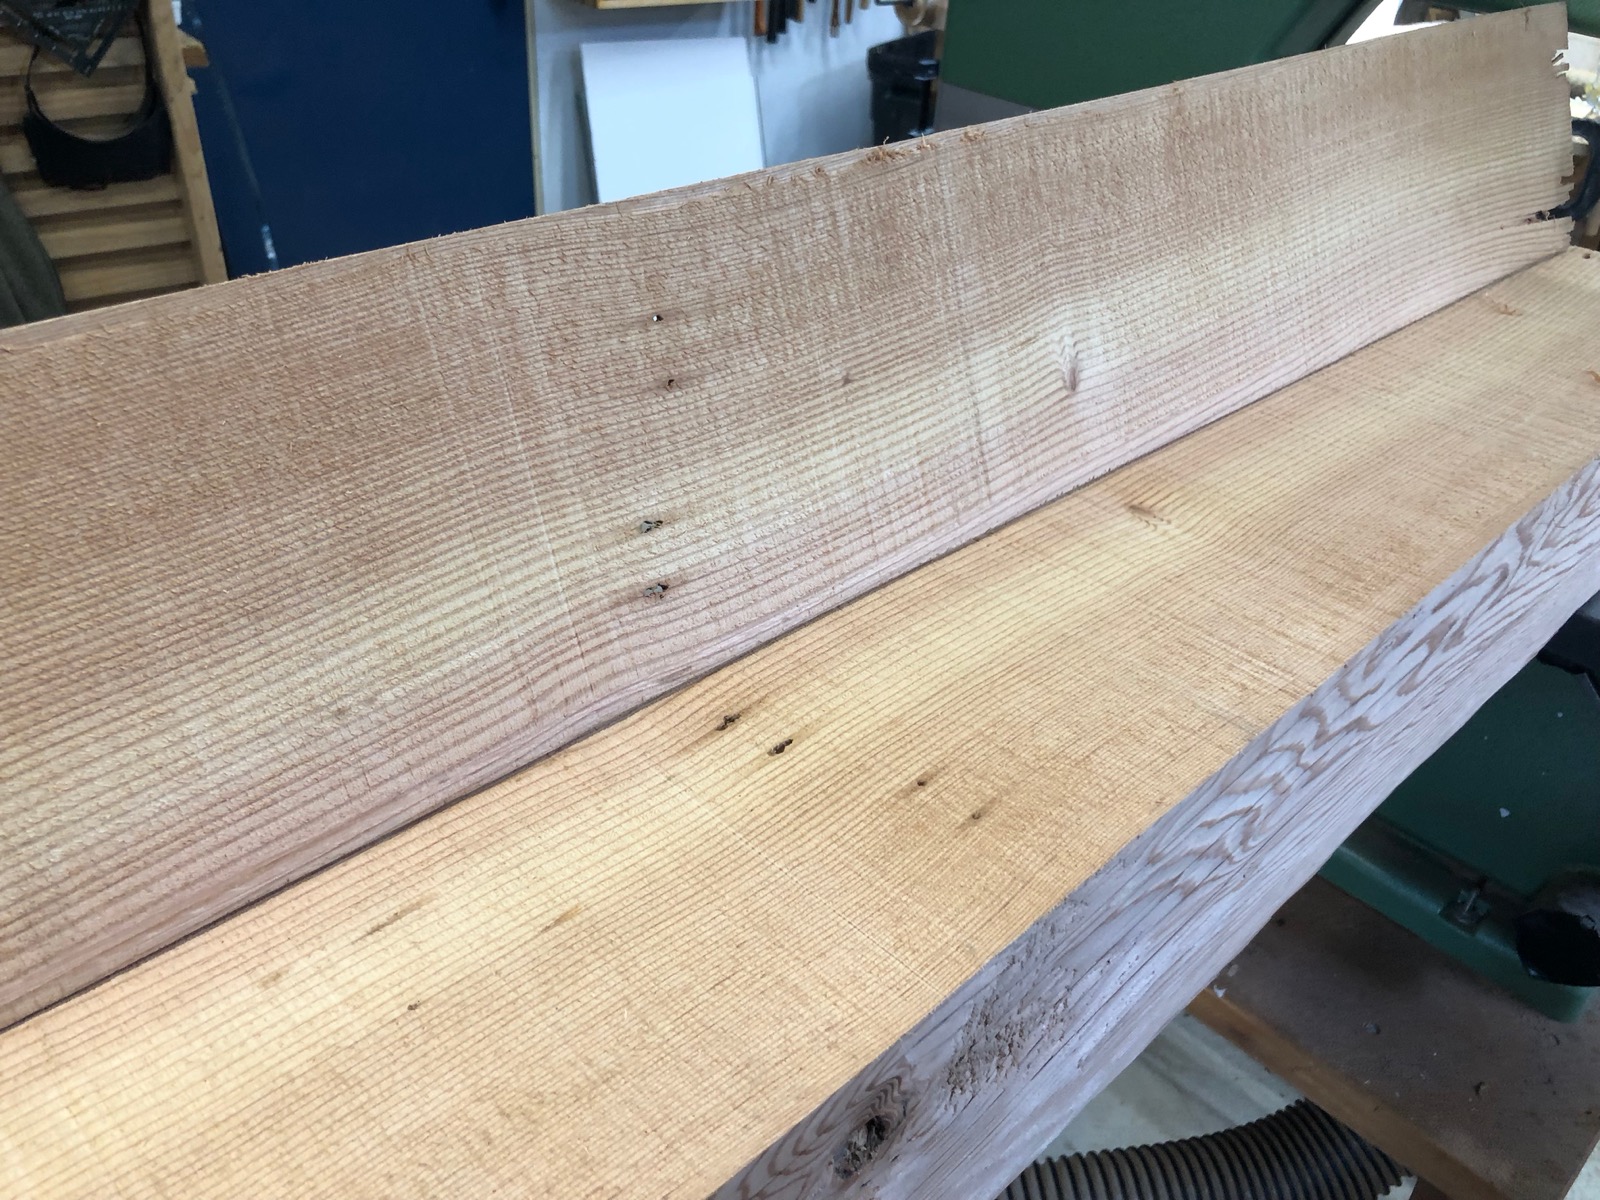
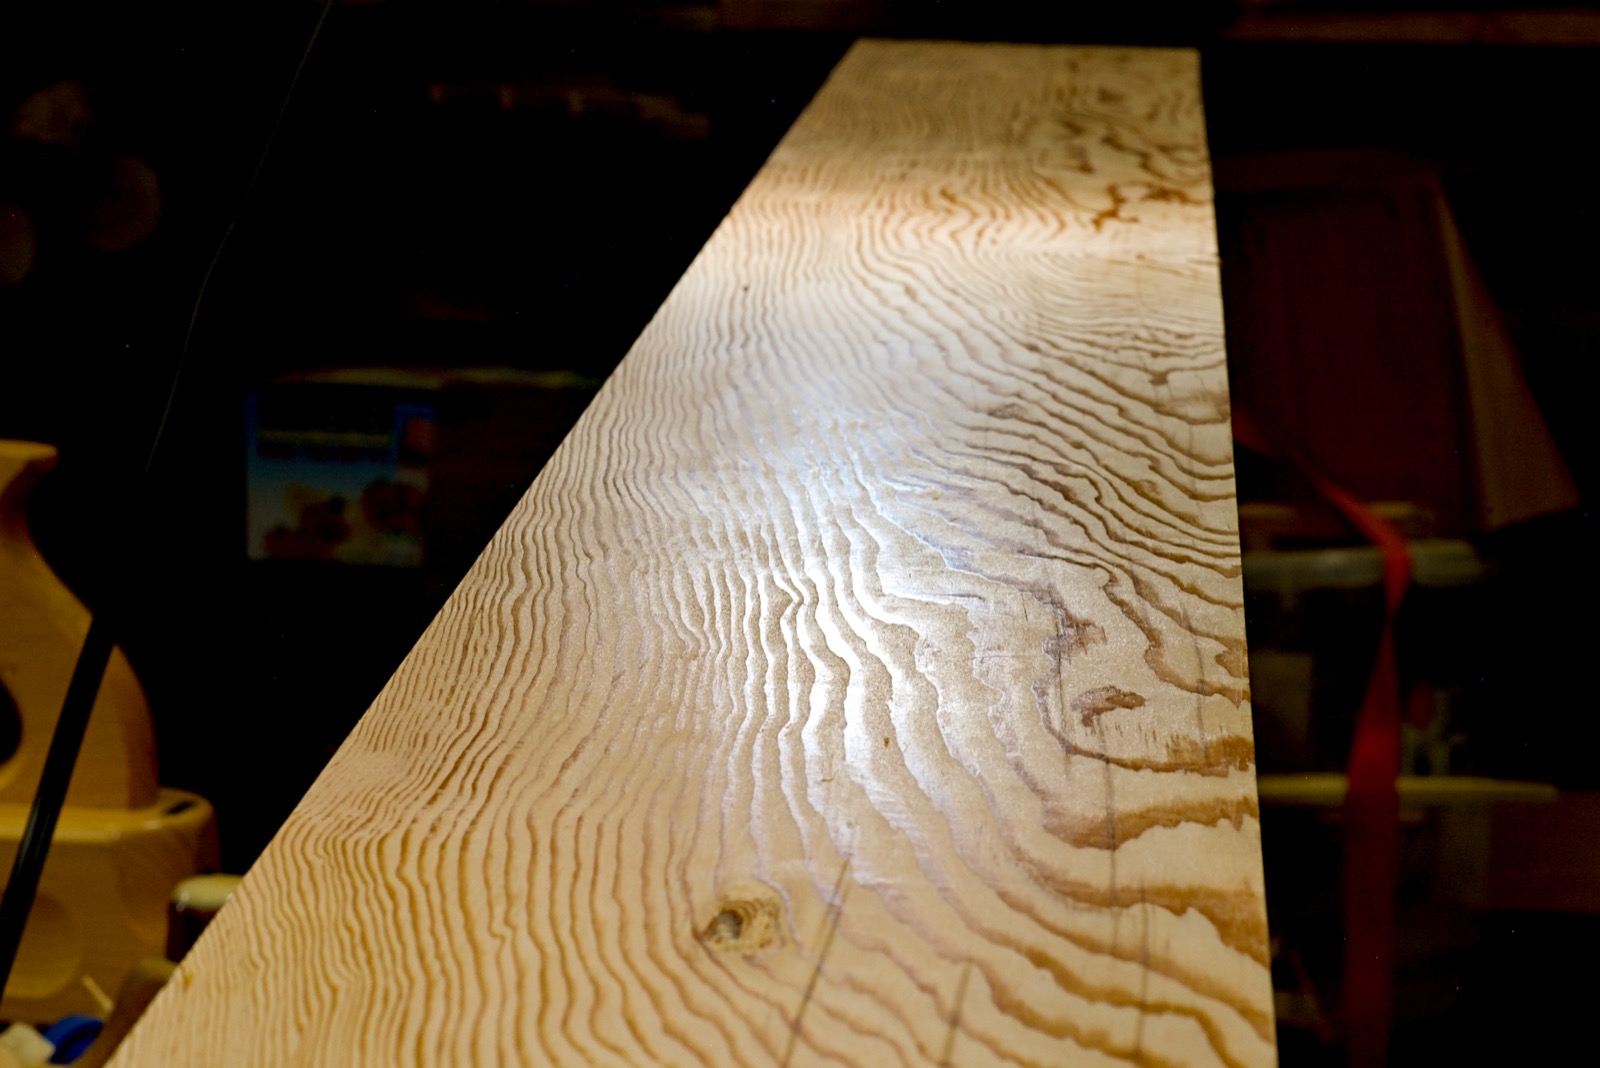
Cleaning up the cuts show the quality of this wood.
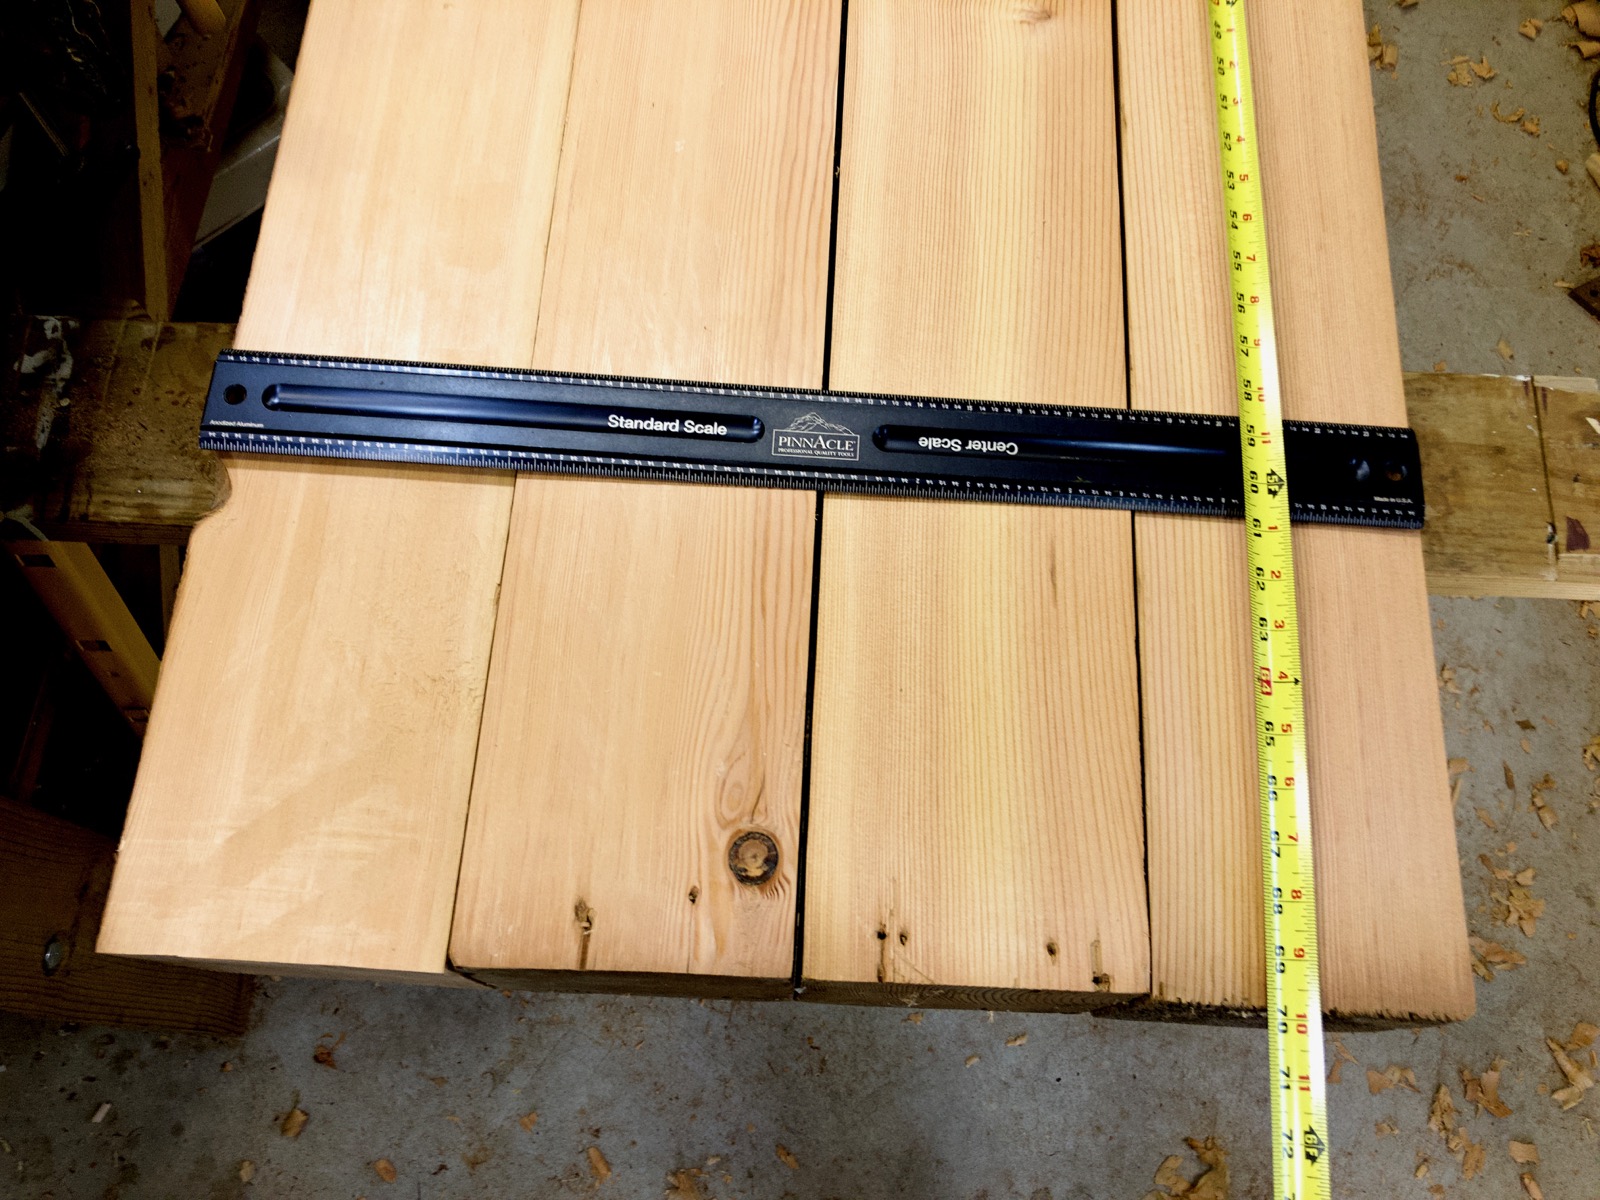
Here is the rough size of the top. It will end up narrower after I joint them.
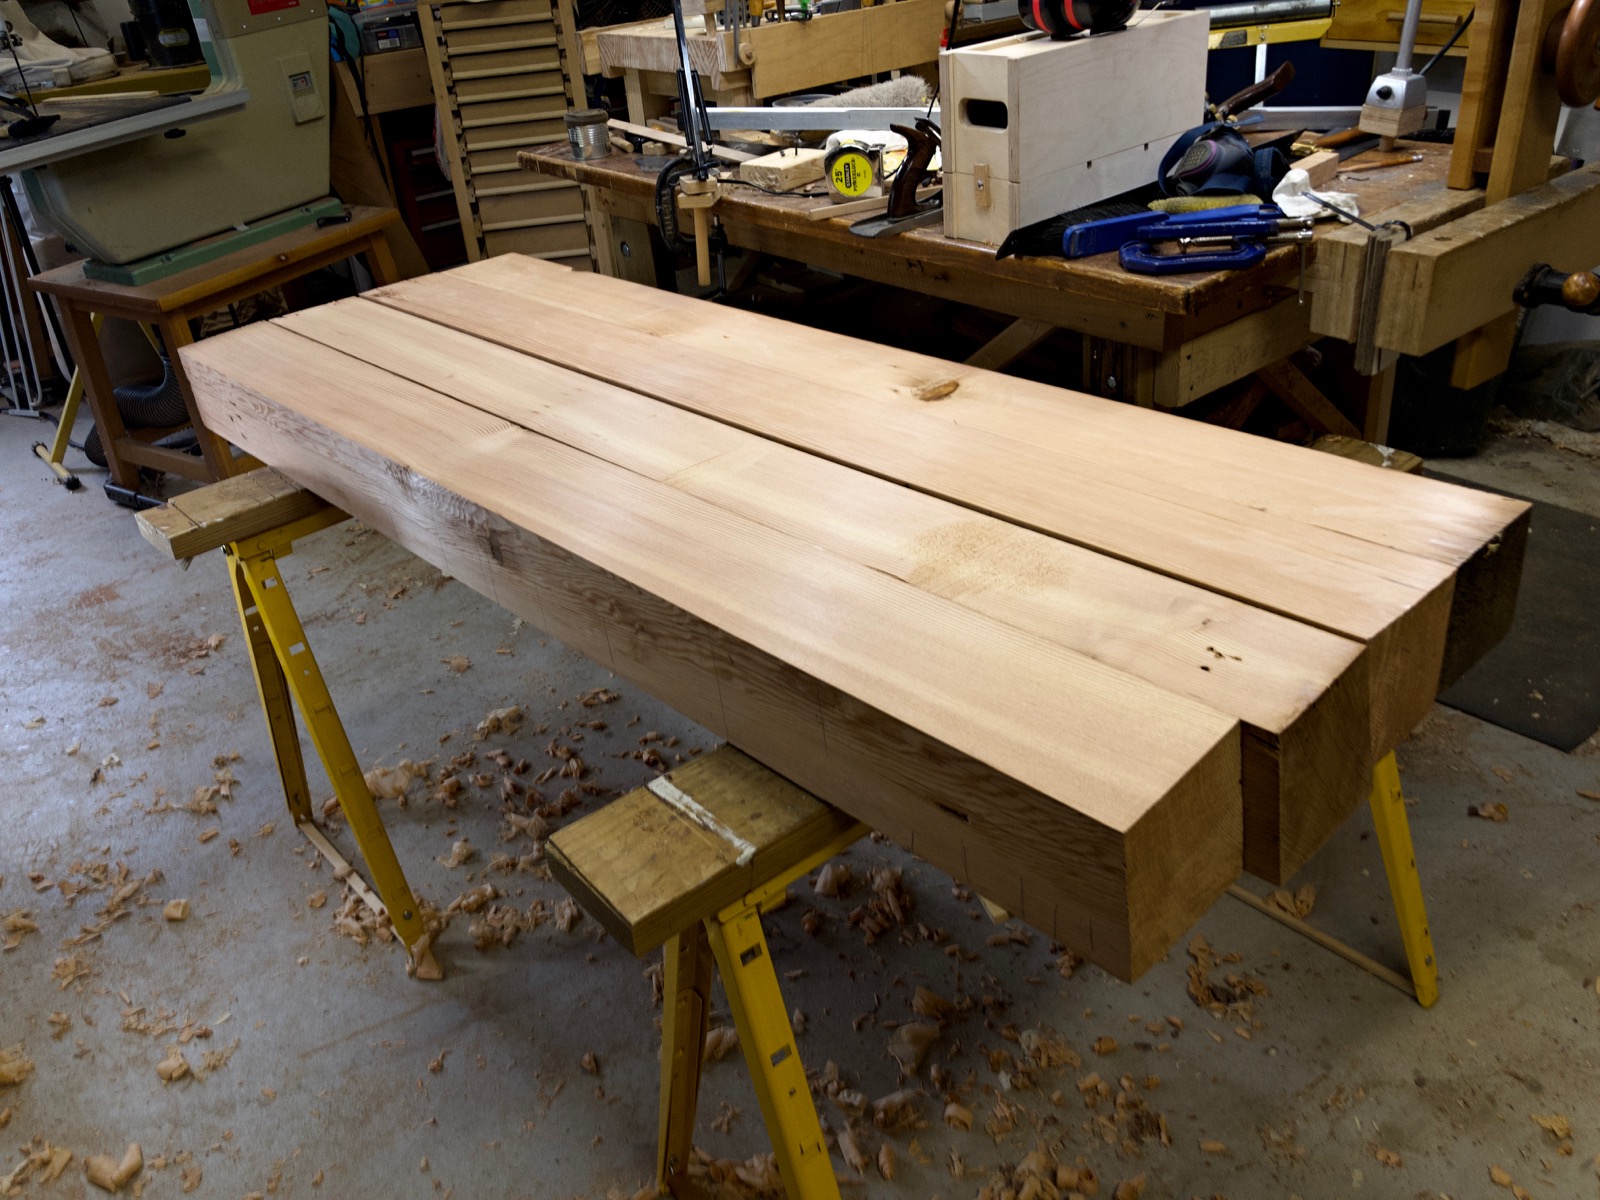
Here are the beams for the top laid out how they will be jointed together. The corner facing the camera will get the leg vise and will be my main working area.
Seeing the beams like this is very exciting and I’m motivated to keep going. This is going to be a fun build.
-Eric

Enjoying following this project and have just noticed your surname. I called my business Knapp Joinery because our house (in Dover UK) is made of flint and, I’m sure you know, knapping refers to the ancient art of shappping flints into building blocks or blades. I will shortly be starting work on a split roubo style bench using American hard maple which I bought from a timber yard which is sadly about to close down.
LikeLiked by 1 person
That’s an awesome name for your business. 😎 I just had a look at your website and your nice work. It’s great meeting you from a long distance. We visited the UK on our honeymoon and saw a lot of knapped flint. It was great to connect with my name. We also visited the base my dad saw stationed at during WWII. It was in Thorpe Abbots and is a museum now. A Roubo bench made with Maple will be great, and very heavy. My bench weighs about 350 lbs./159 kg. It just doesn’t move and that is a big part of why it’s so great.
LikeLike