

Jointing And Gluing The Top
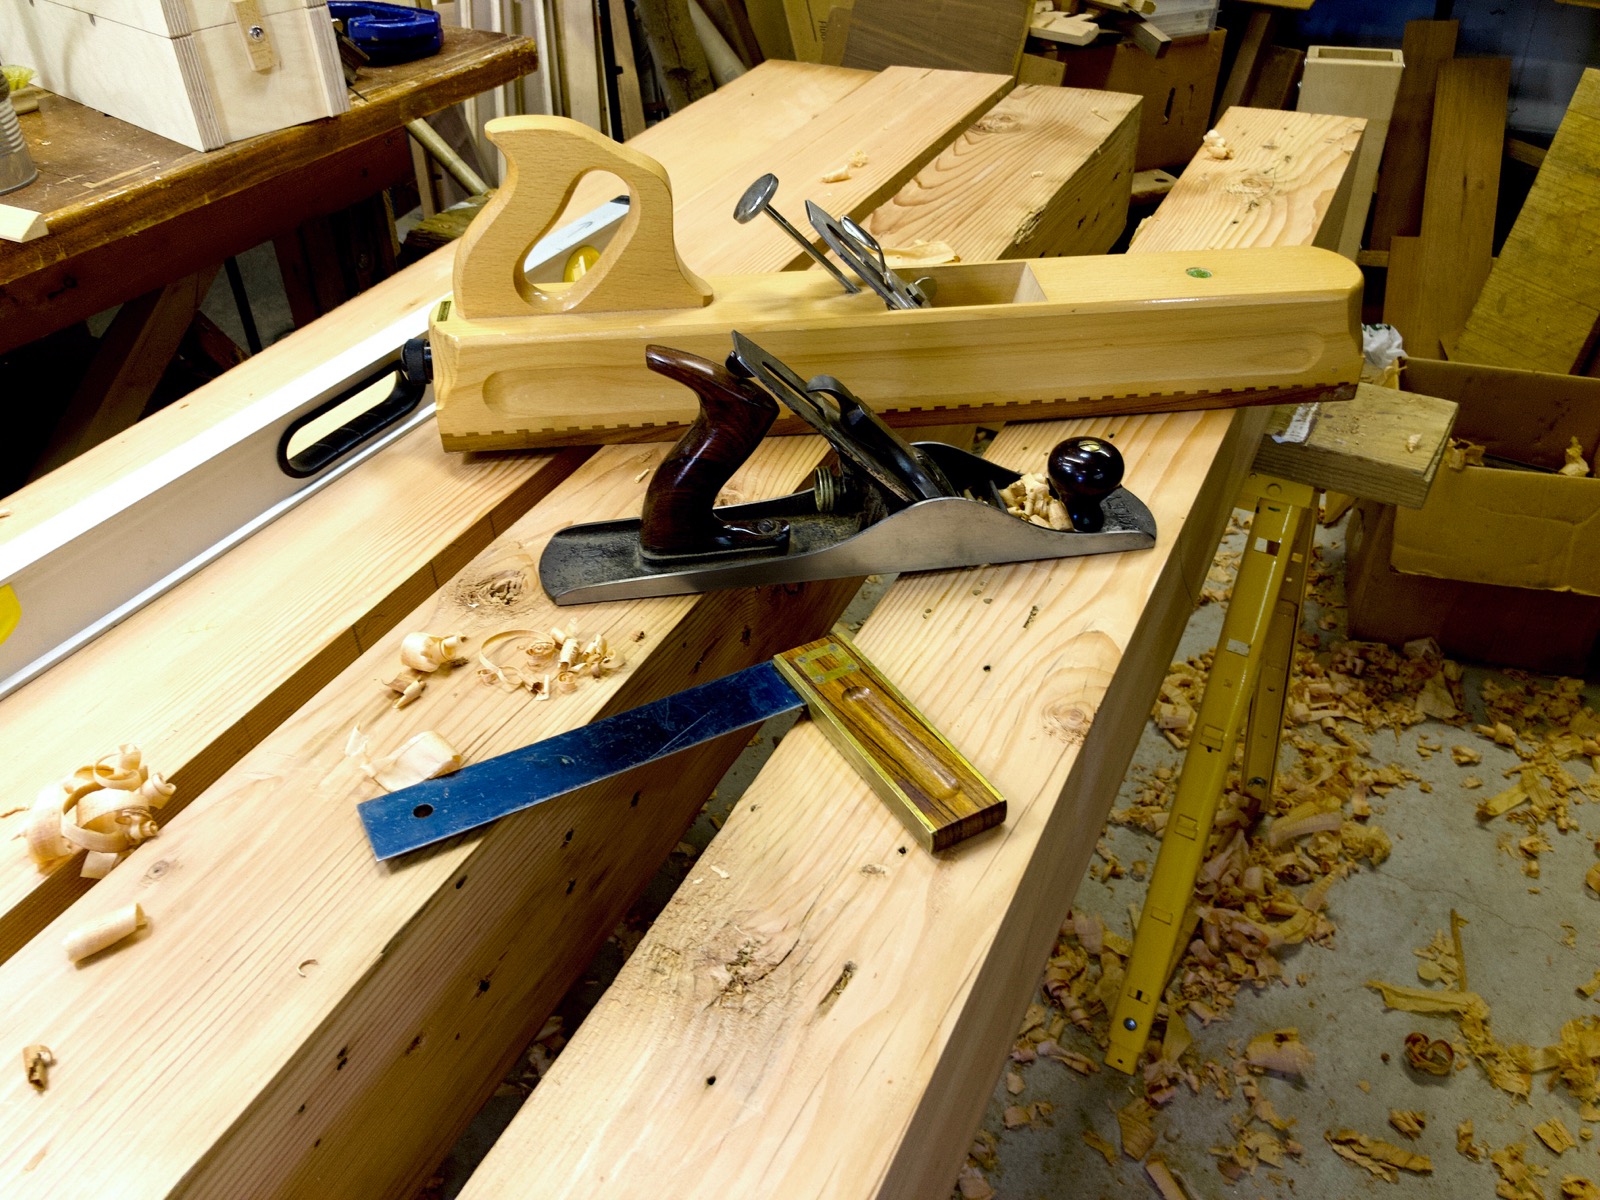
The beams were cleaned up and flattened a bit. Now I had to start jointing them for gluing. Here are some of the tools: my Stanley No. 5, my ECE Primus joiner, and my good square.
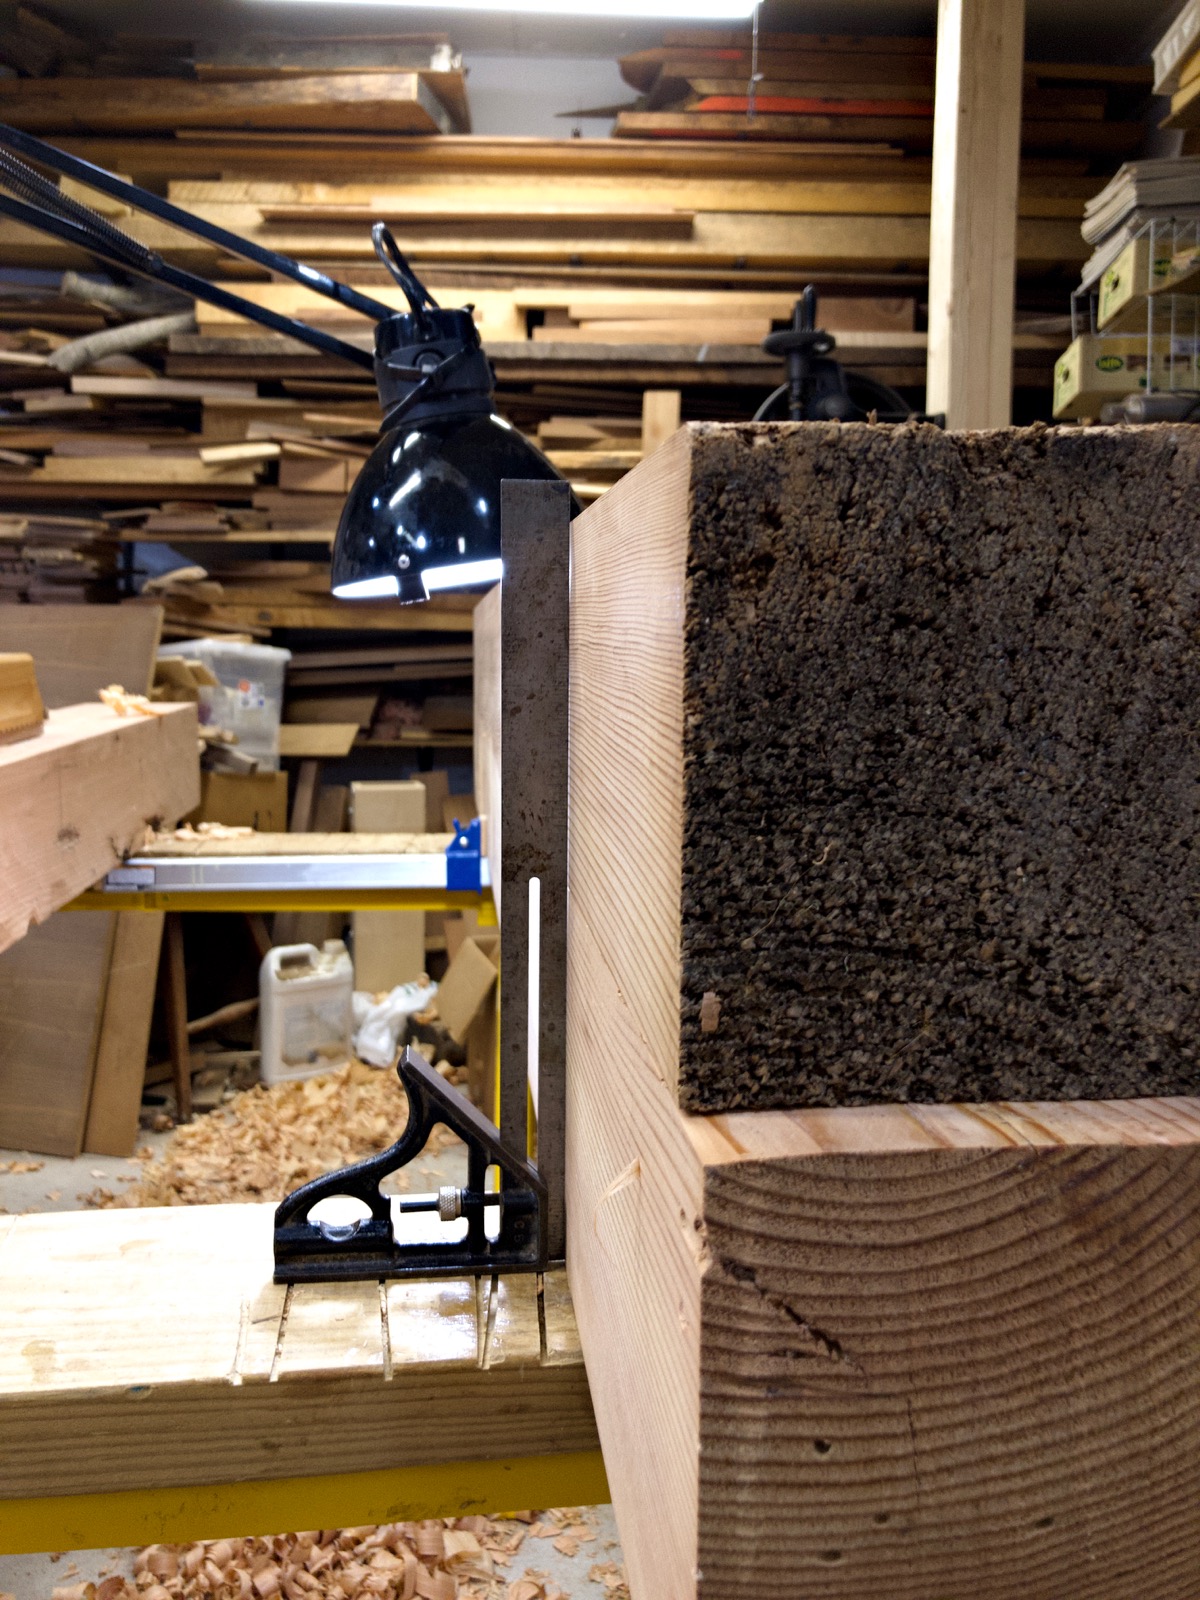
Getting a good joint in wood that’s almost six inches thick is a challenge. It takes a lot of trial and error and correction before it gets close. Here are the first two beams during the process. That’s not even close.

After a lot of work I finally got them to this point. The joint is a spring joint with a very narrow gap in the middle. The wood is too thick to bend a lot during clamping.
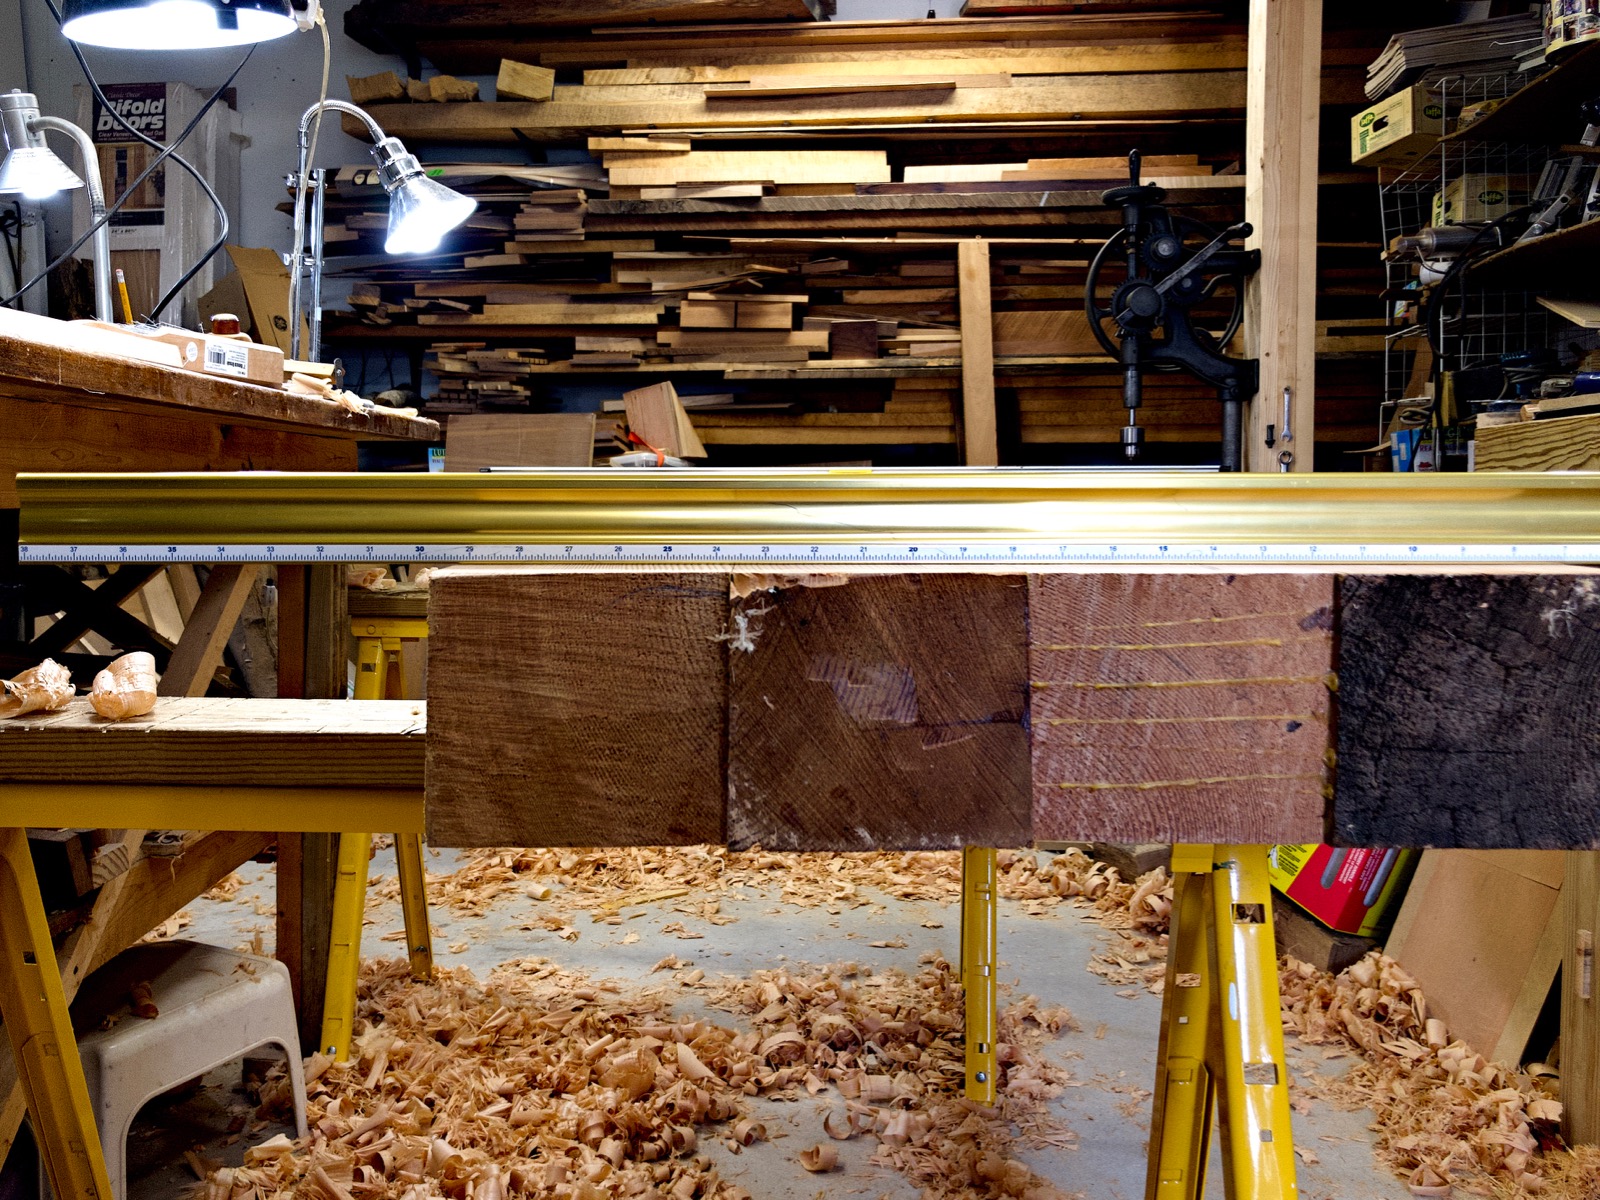
I glued up the two halves of the top of the bench separately. I weighed each half and they weighed over 80 pounds each.

Here’s one half in clamps during gluing.

Once each half was glued together it was time to glue the halves. Getting this joint to a good state was more difficult as each half was heavy.

I used as many clamps as I could when gluing up the full top. I could do the clamping with the top vertical since the wood is so thick.

Once the top glue cured it was time to check it for flatness. I used a 48" level at one end and a 38" straightedge at the closer end as winding sticks.

They are nice and flat. You can see the two quasi-sticks are parallel.
Here’s the top all glued up. It is exciting to see it. I’ll be standing near this a lot during the next few decades.

Note: As you might have guessed, events in these posts about my workbench were done over the course of spring, summer, and fall of 2019. I’m finally writing about the build at the start of winter.
-Eric

One thought on “Workbench Build — 2019, Part 3”