

The Leg Joints
After the top was glued and flattened a bit it was time to start working on the legs. The top joint is going to be the Roubo double tenon sliding dovetail joint seen here.

In order to get everything out of the old barn beams I had to figure out how to use the ones that had framing mortises cut into them. I have three like this.
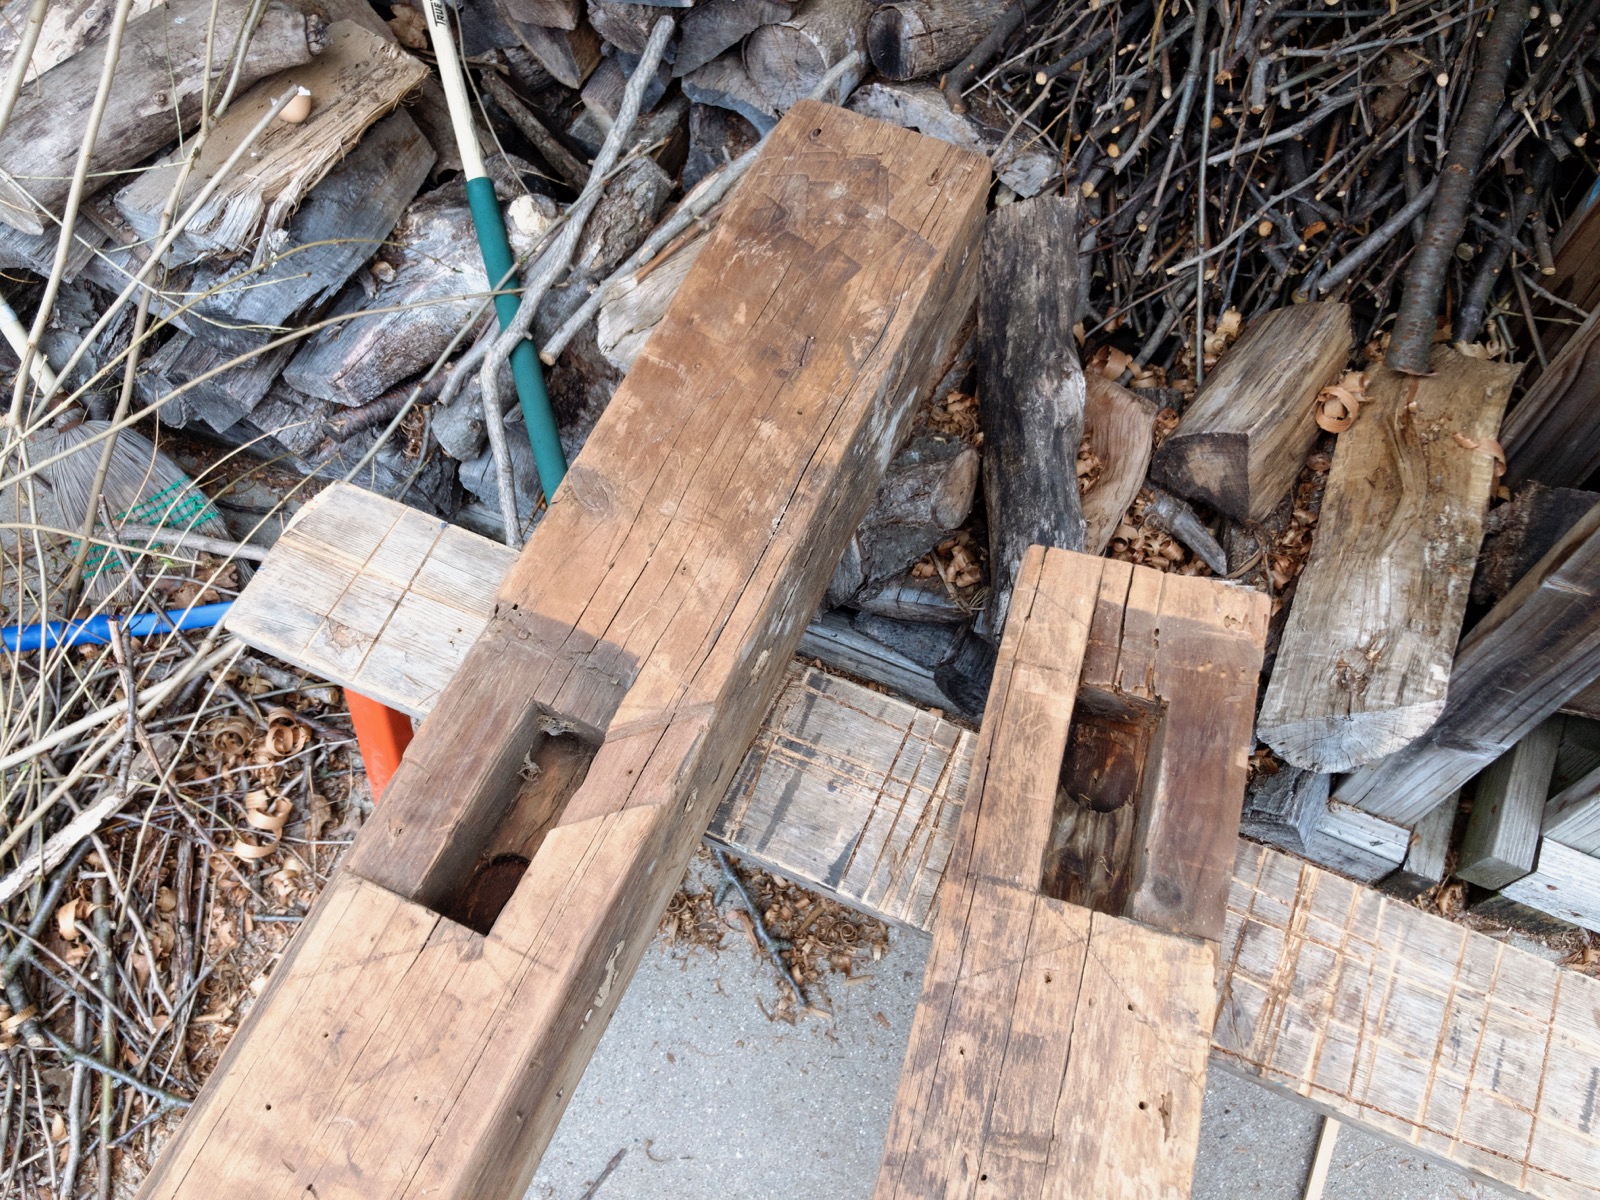
I had to use those parts because that’s all I had. For a while I was worried I would have to piece together one leg. That turned out not to be true but I had to figure out how to use the parts with the mortises.

I started by cutting a leg close to its final size. I used my wonderful old Disston D-15 Victory saw.
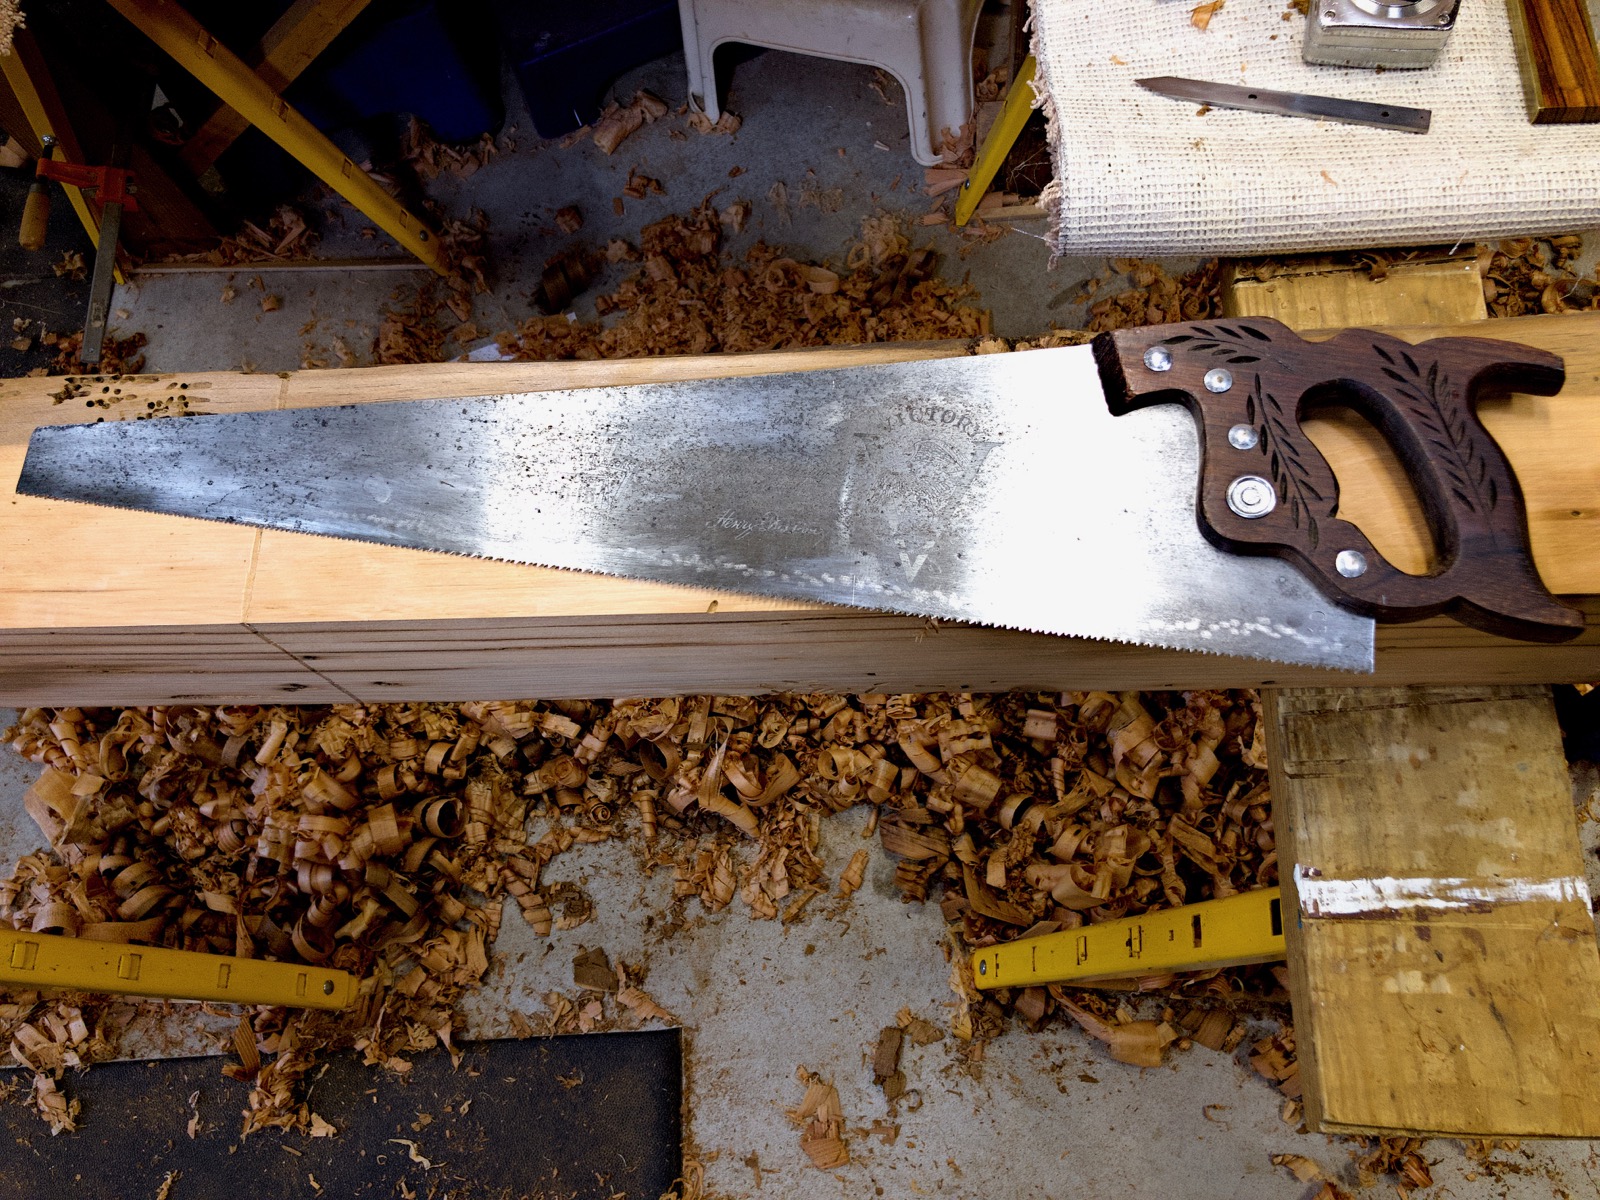
It cut the 6" beam quite fast, even I was surprised.
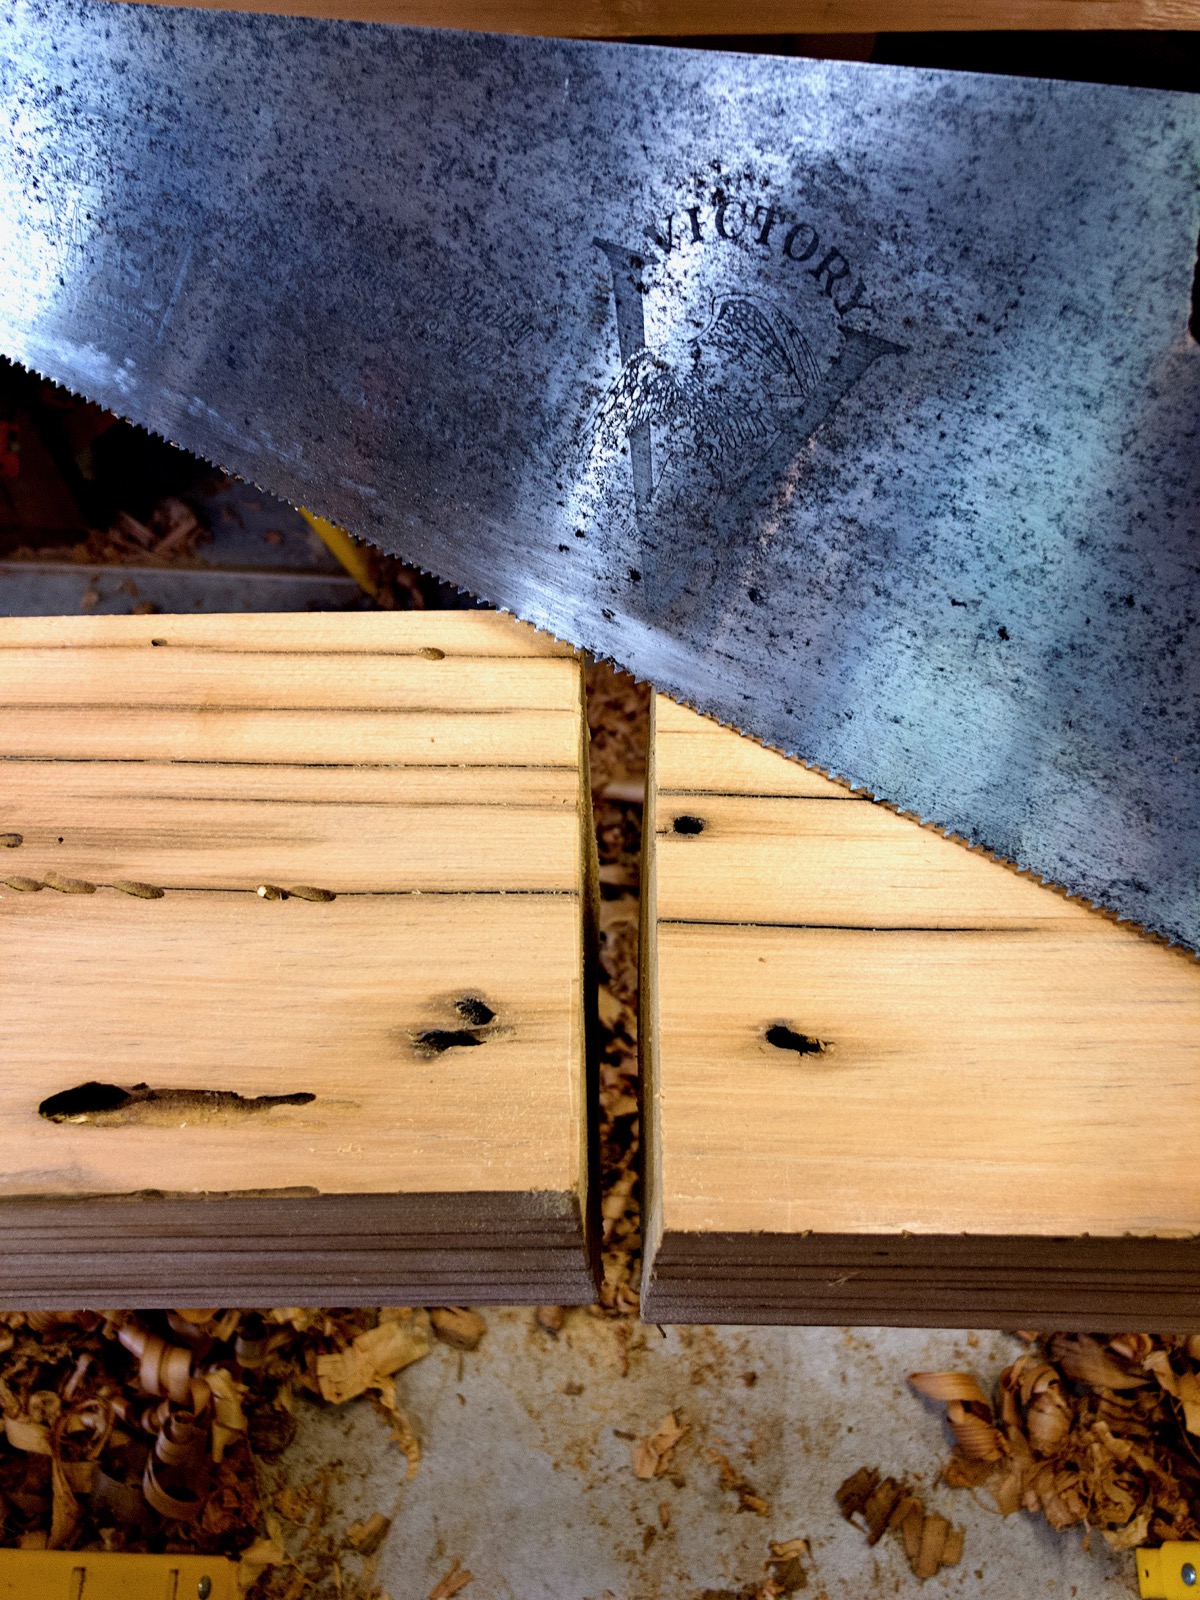
The cut was nice and square too. I love the precision I get with hand tools.

With the leg cut to size I surfaced and squared it to a reasonable point. It does not need to be perfect, just strong.
With the top glued up I was able to start using it to help make itself. That’s an awesome milestone.

The solution to how to utilize the existing framing mortises was obvious, once I saw it. The Roubo sliding dovetail joint has two tenons with a gap in between them. One of the tenons is angled to make the sliding dovetail. The framing mortises have three sections already. I just have to extend them. I got out my rip tenon saw for this.

I sawed out the waste above the mortise. I used the sides of the mortise as a guide for the saw.
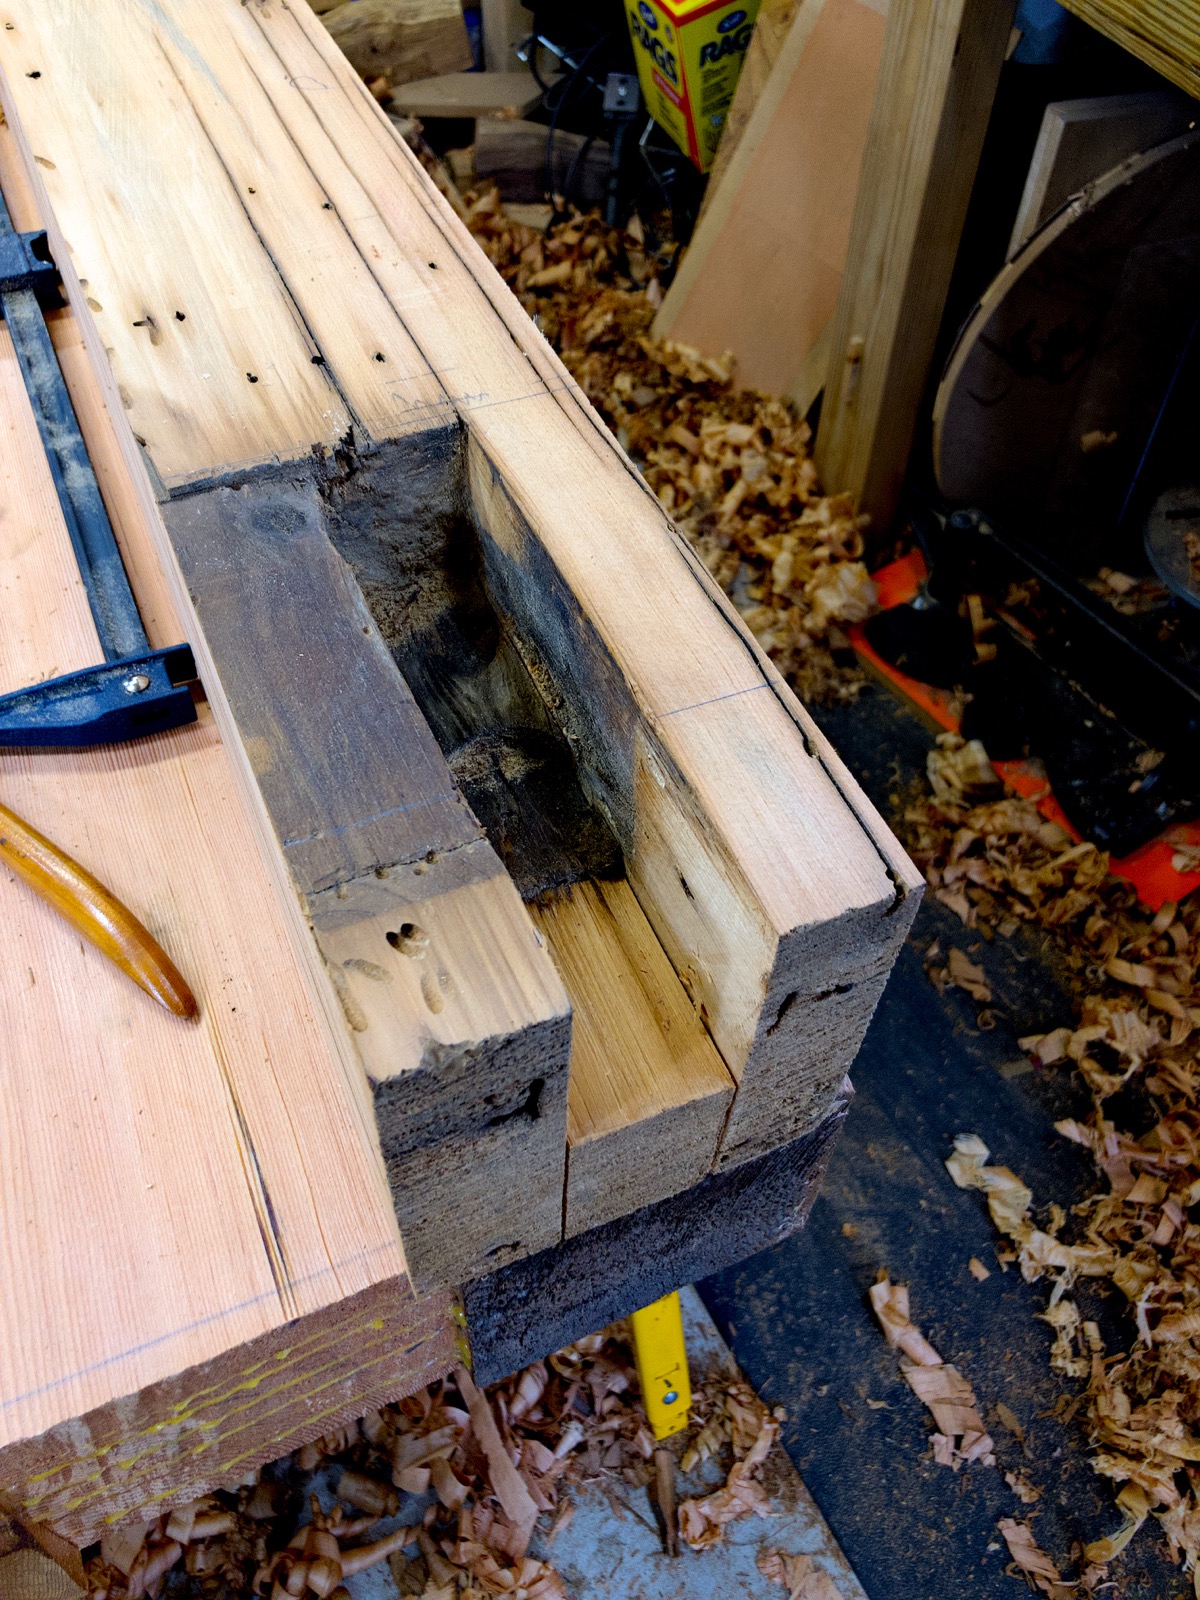
Then I chopped out the waste to leave two thick tenons.

I cut a small shoulder on one of the tenons.

And cut the angled faces on the other tenon to make the sliding dovetail. The front of this tenon will be flush with the front of the bench.

I repeated the process with the three other legs. The leg sitting on top here will be the one that gets the leg vise installed in it.

The legs are ready for the next step. It was getting very exciting at this point in the build. I’m already seeing the benefit of a heavy and sturdy bench.
-Eric

Kudos!
LikeLike
Thank you!
LikeLiked by 1 person