

The Top Mortises
With the leg tenons cut it was time to chop the mortises and sliding dovetails. This post is on the through mortises. They are large and the top is 5" thick. Getting perfect presentation joints is not the top priority. I’m going for strength and will wedge the joints from the top during assembly.
The first step was to determine the placement of the legs on the top. The stock for the long stretchers was just barely long enough so they were the deciding factor. I placed them and the legs on the upside down top and marked the locations.
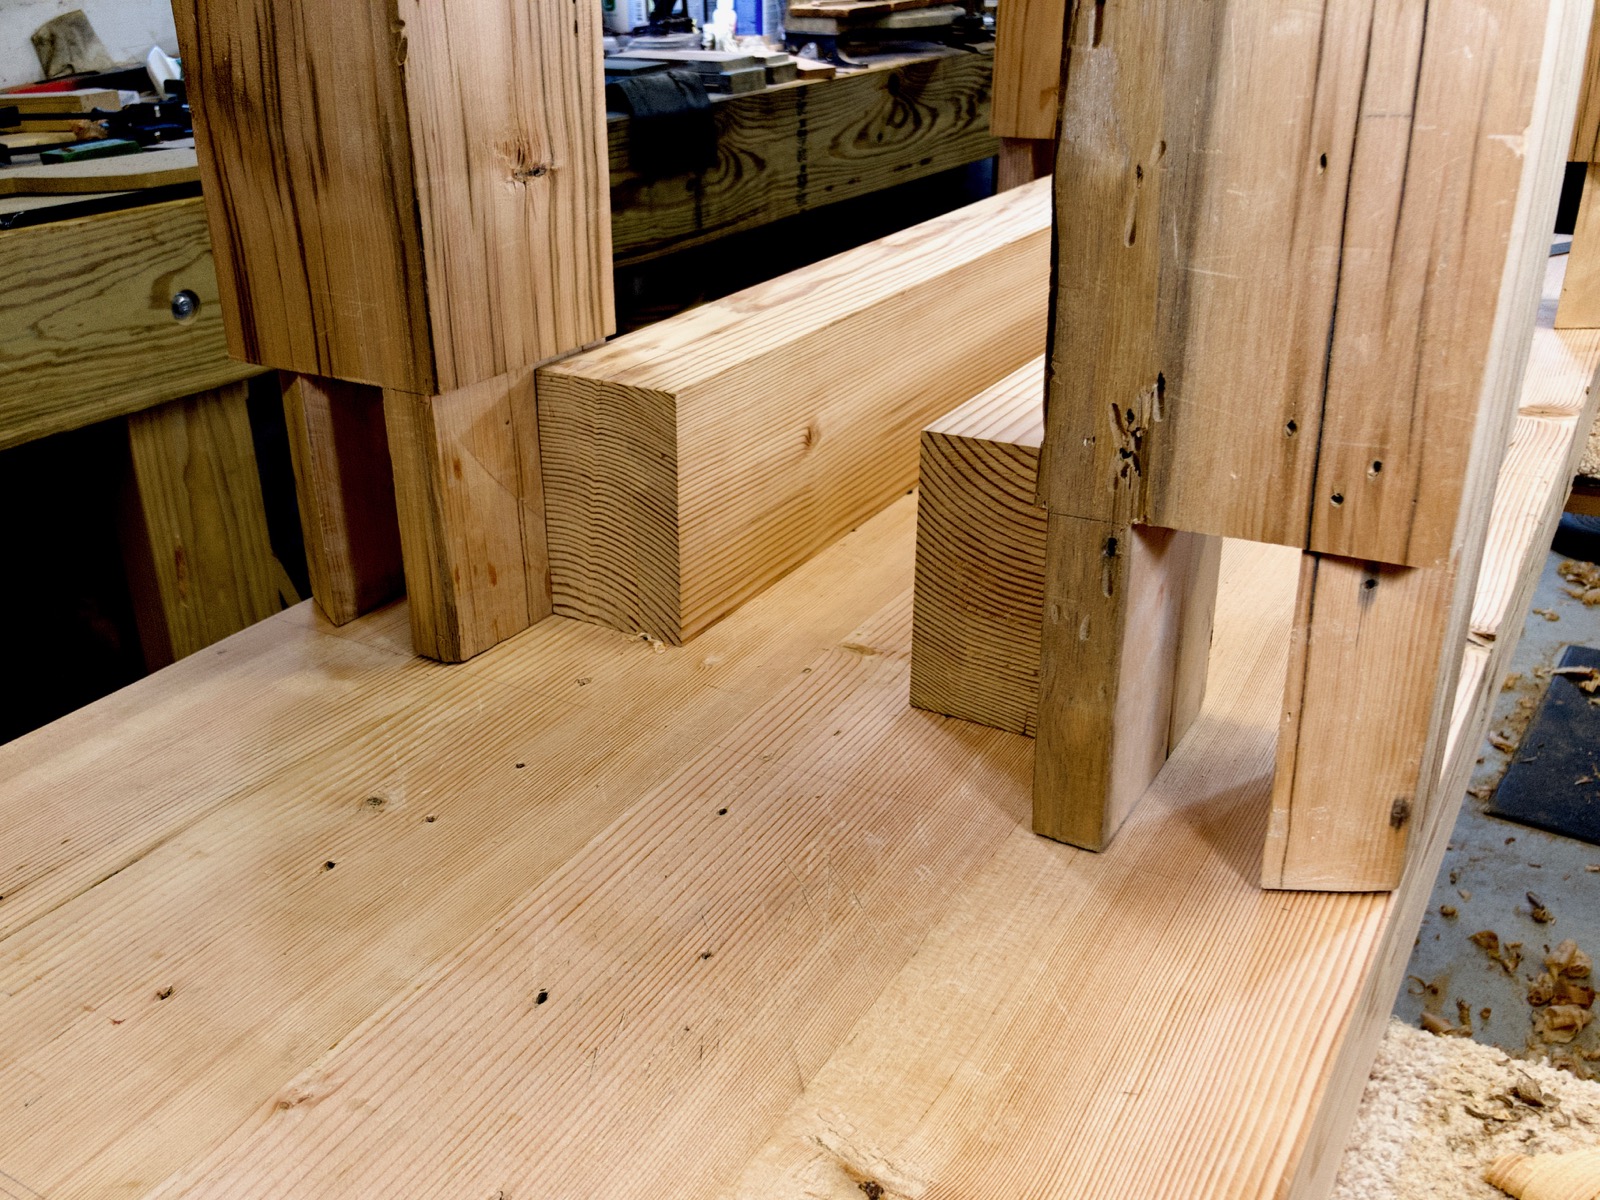
With the locations of the legs set I made sure the front of the legs were even with the sides of the top.
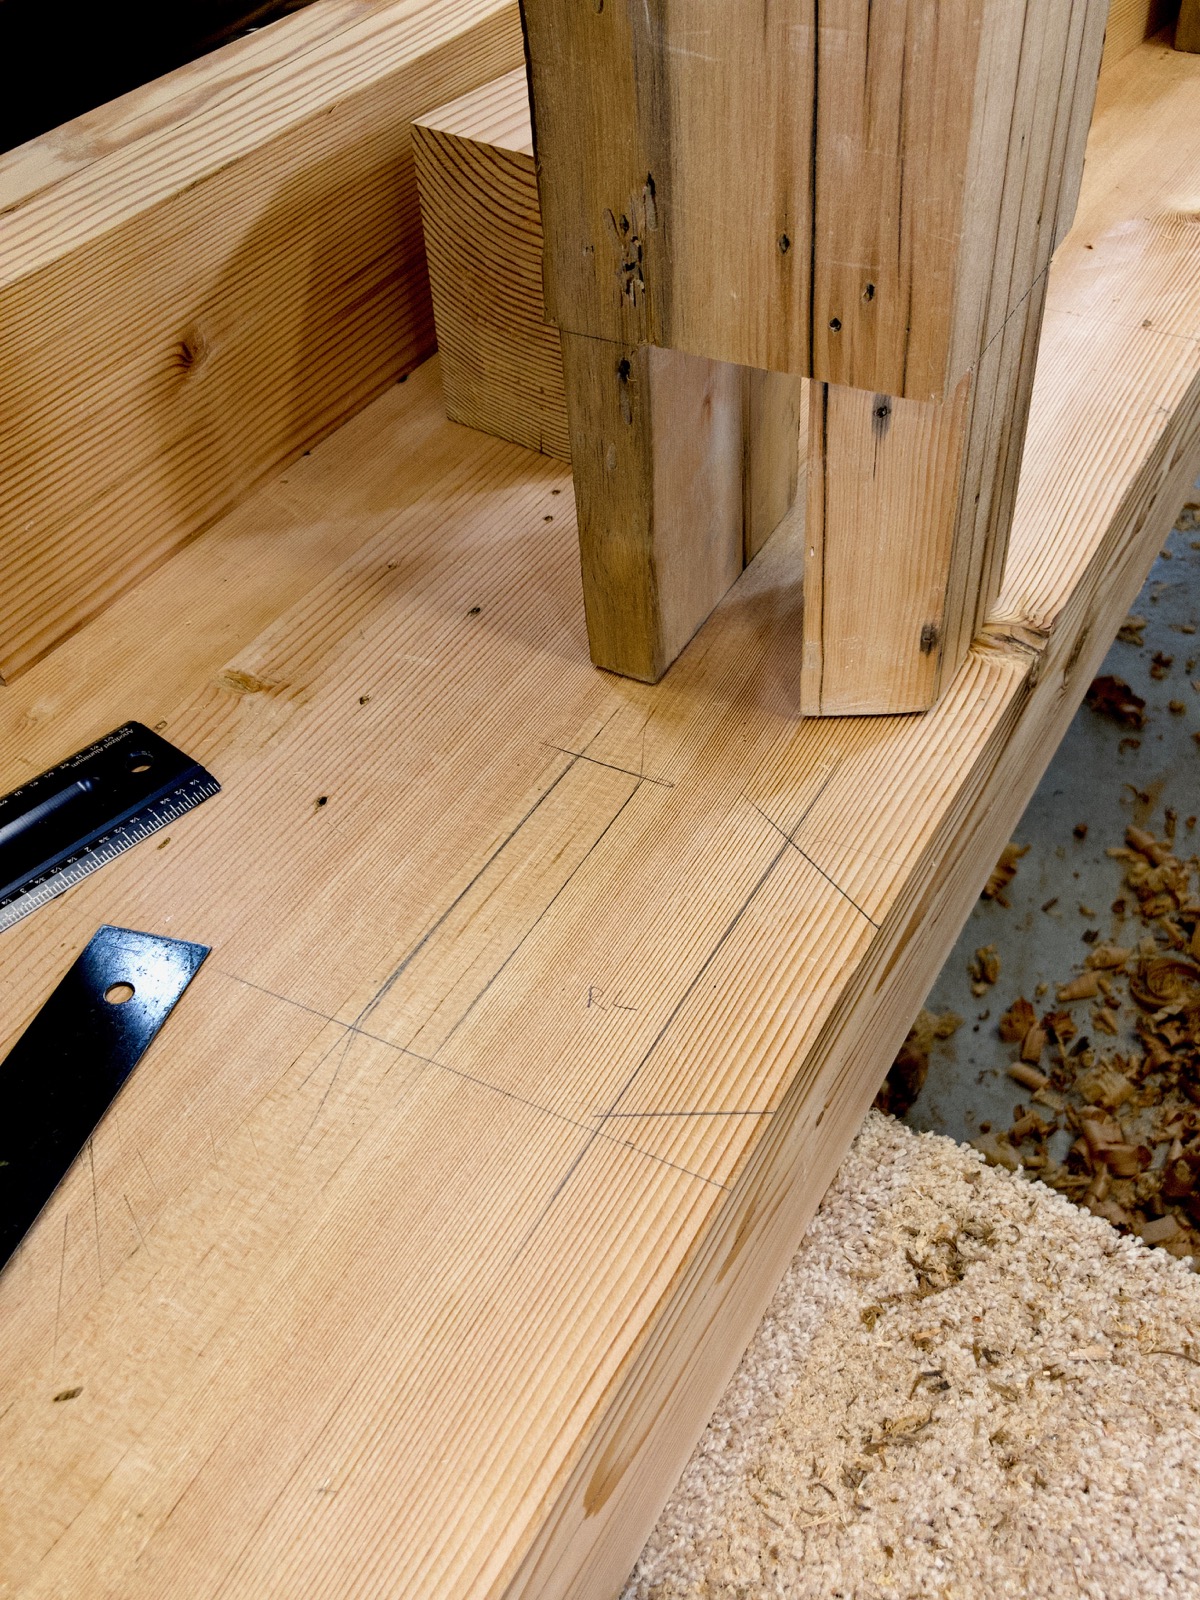
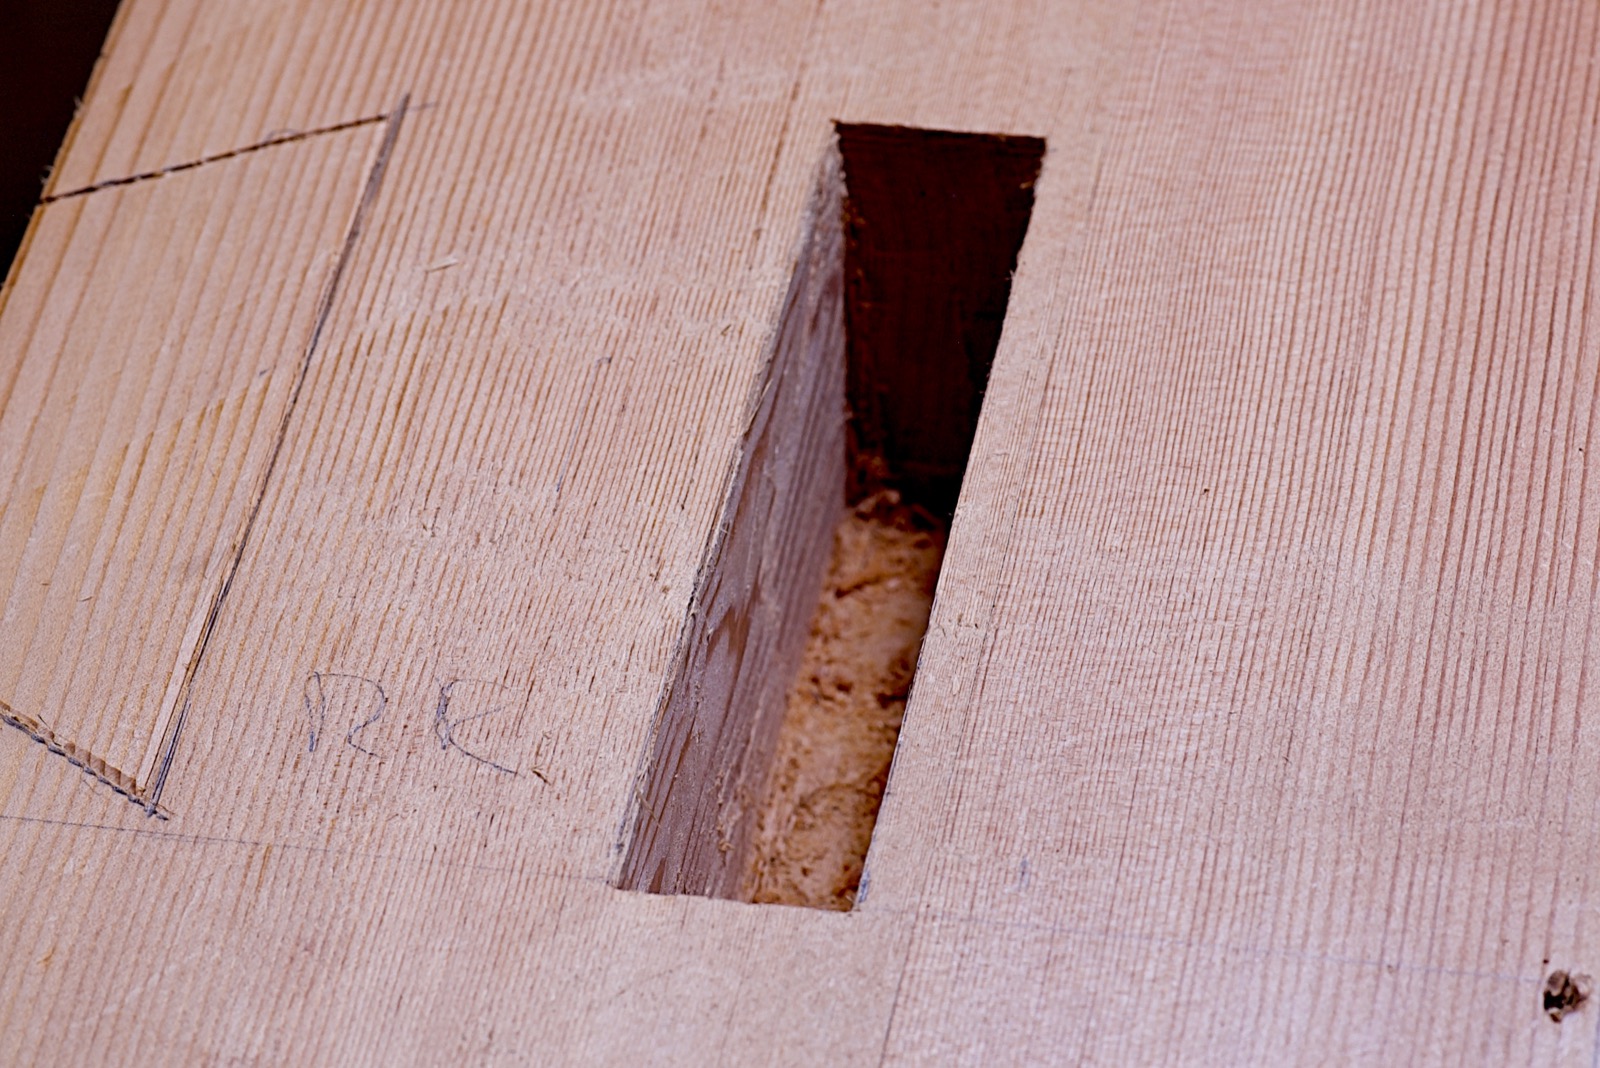
I first marked the mortises with a flat pencil.
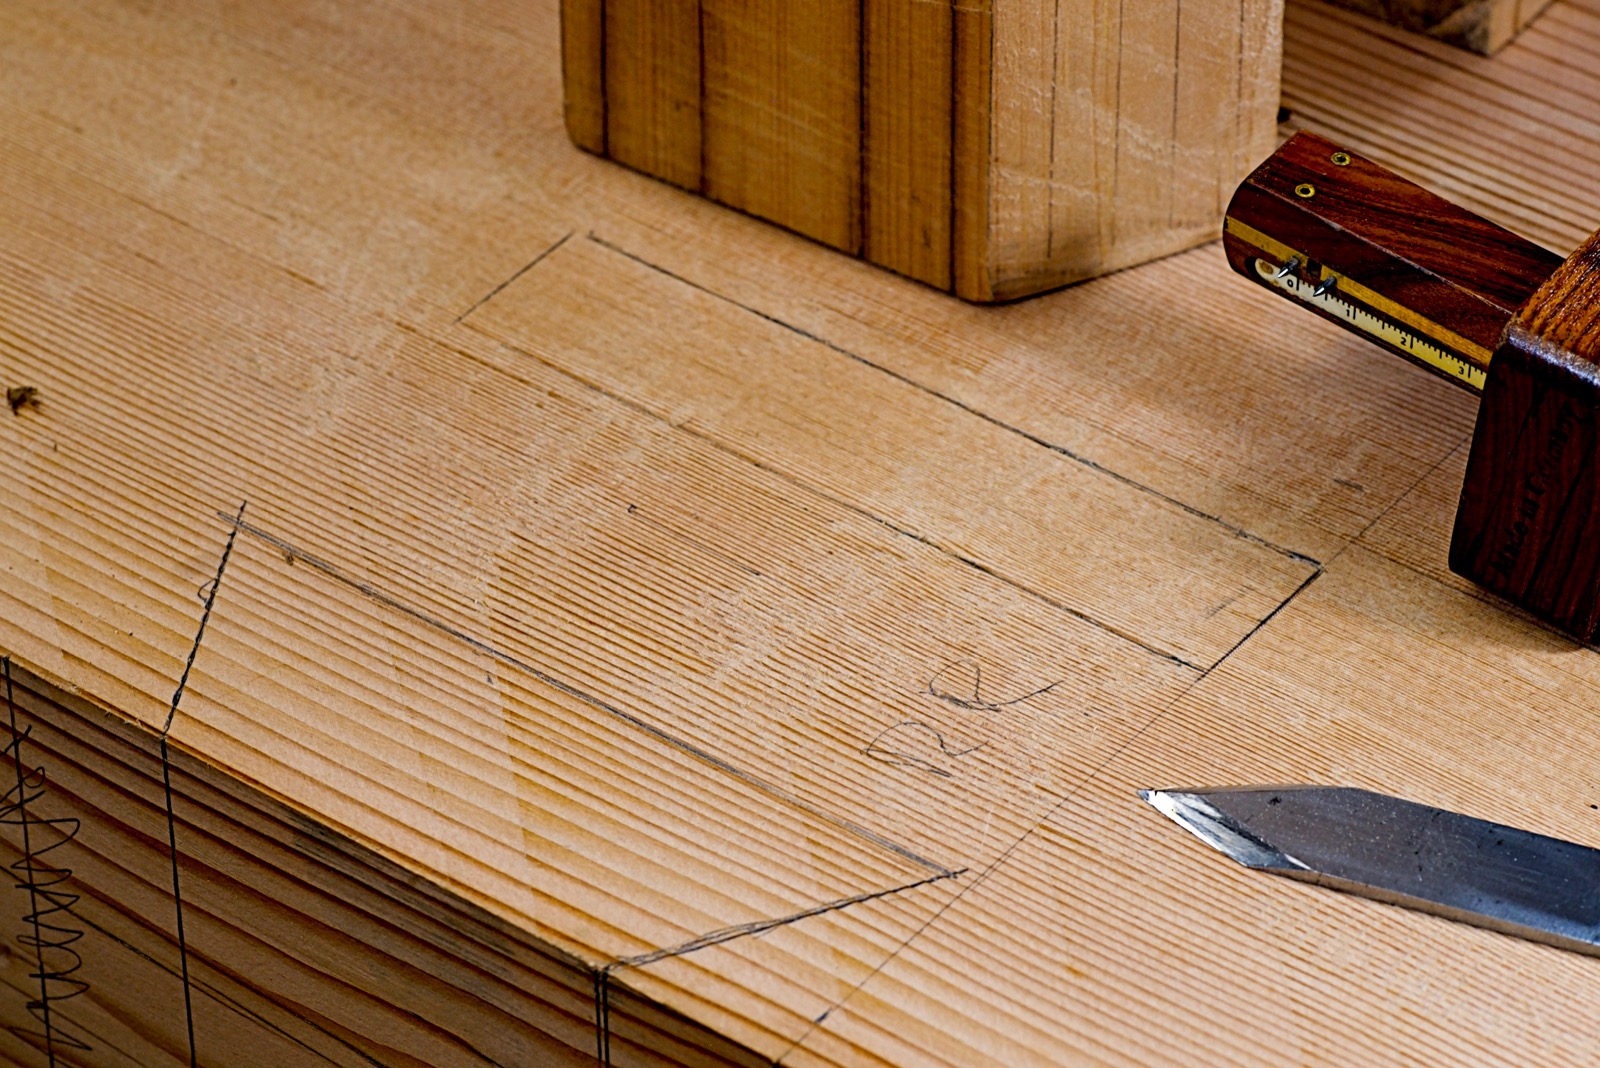
Then I cut the lines to establish the edges of the mortises.
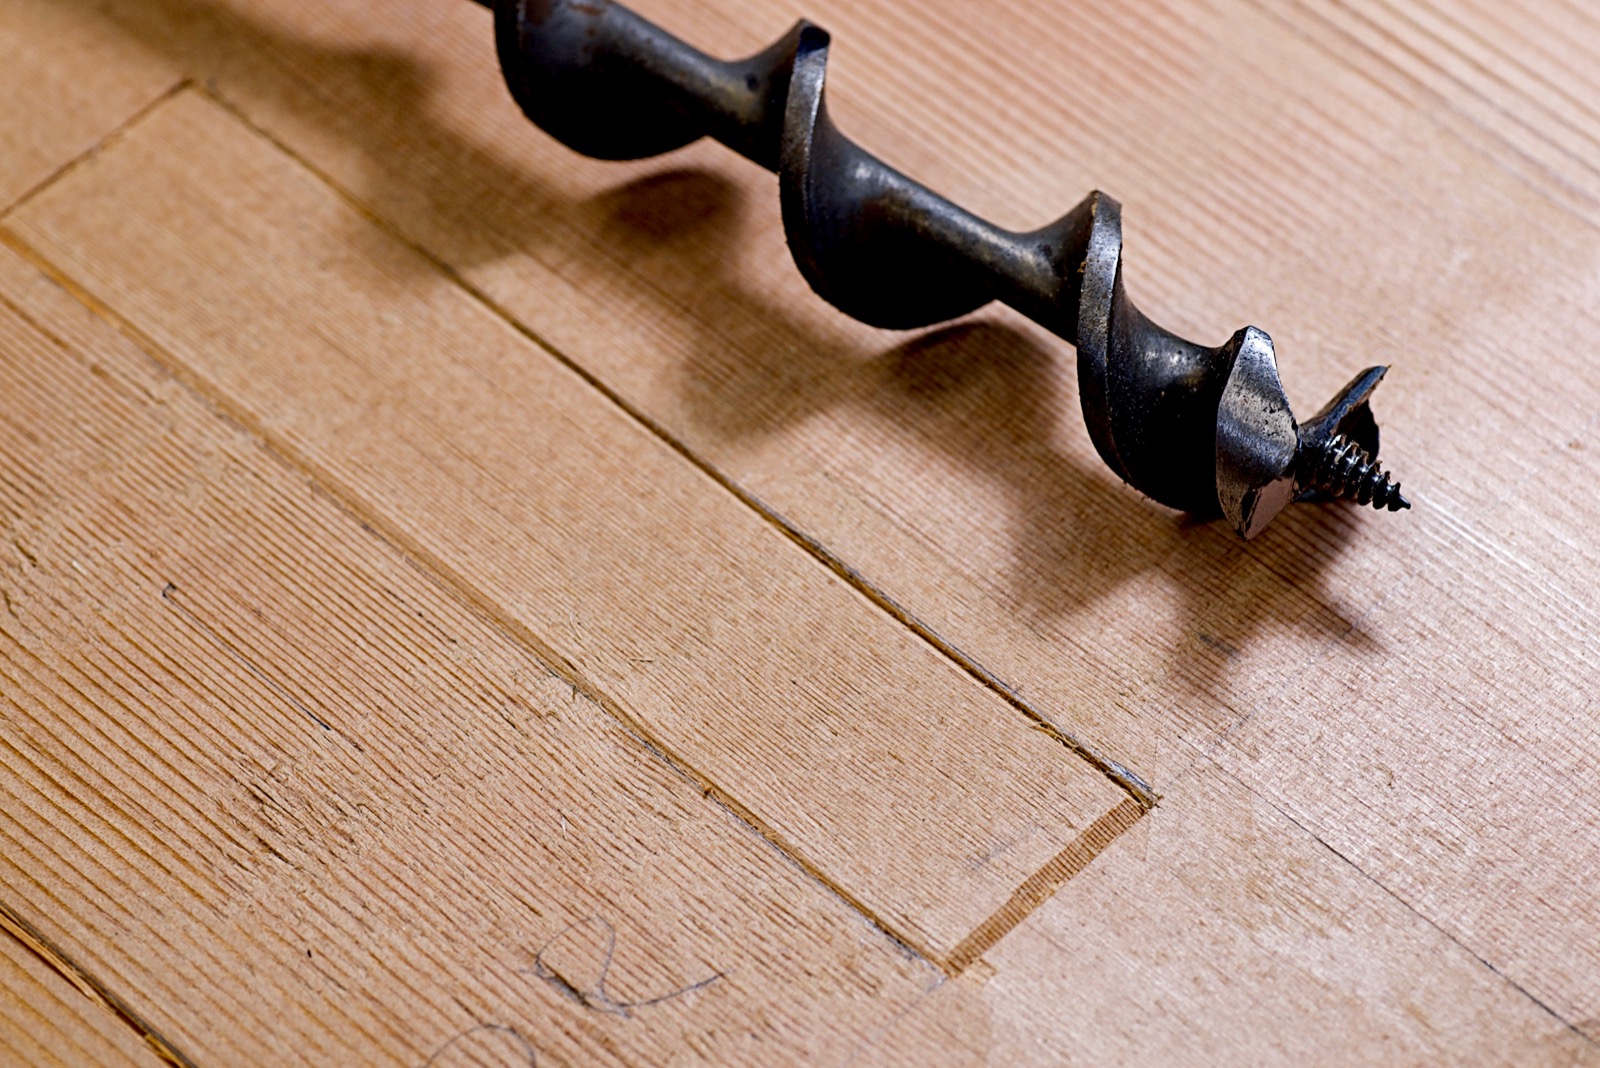
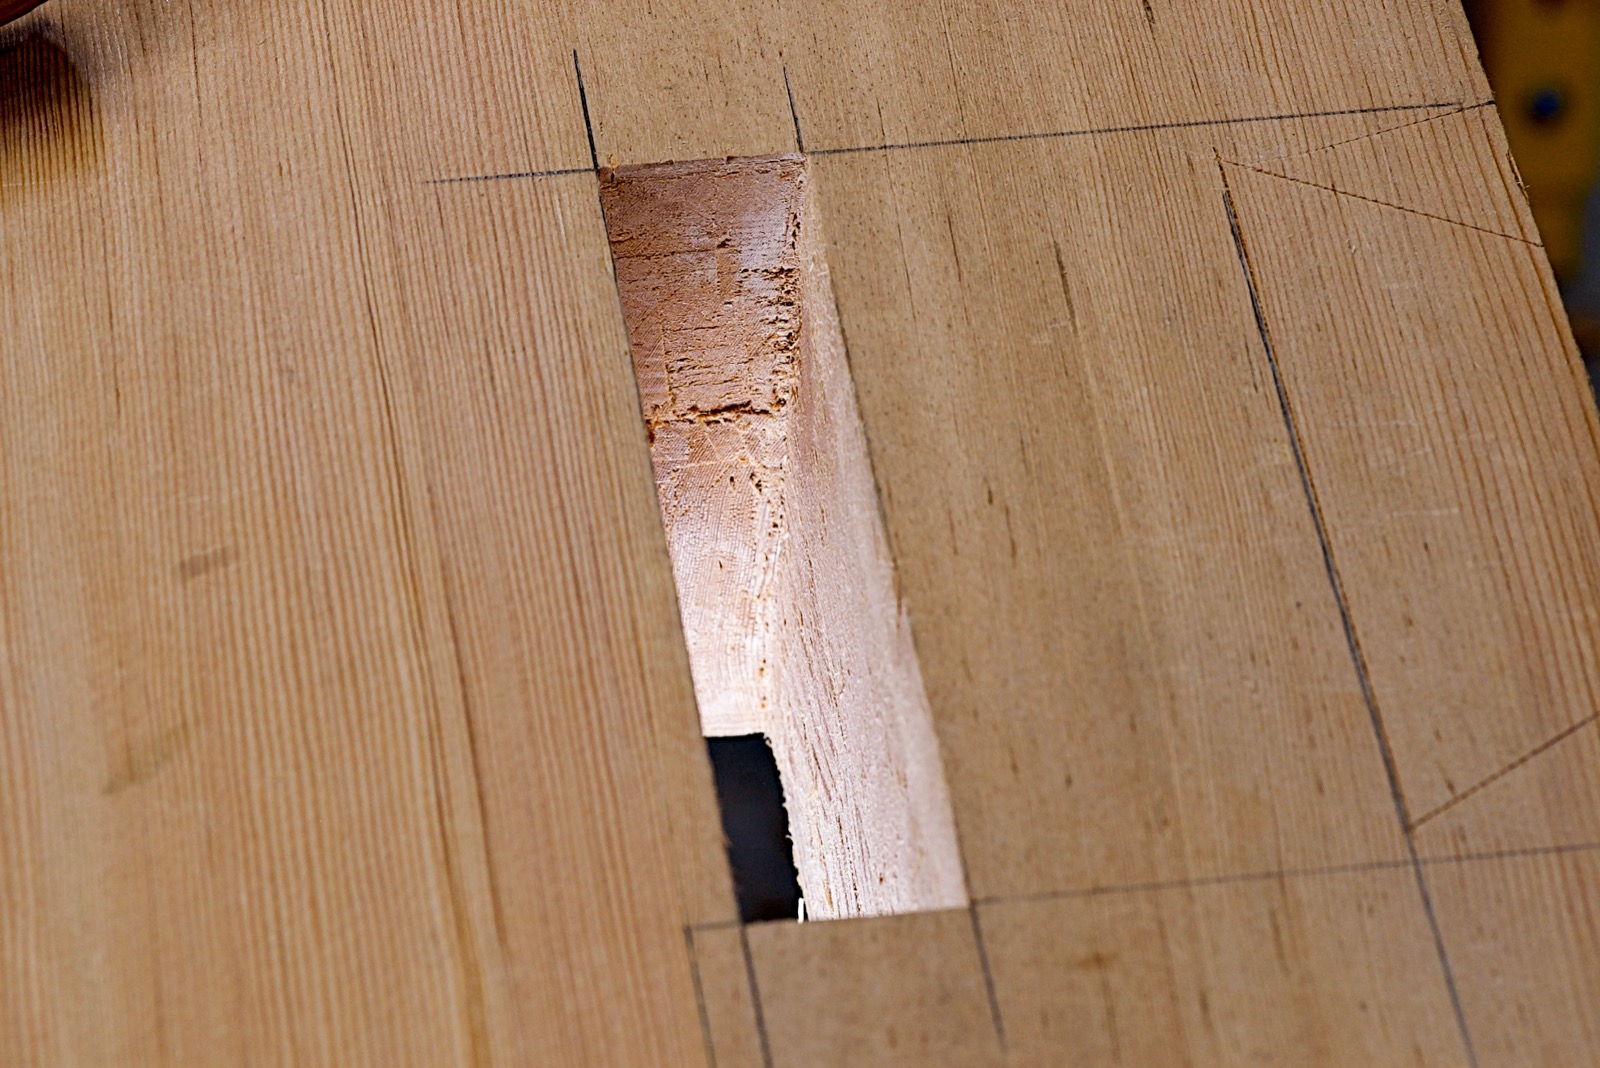
I used my Millers Falls brace and a freshly sharpened, slightly smaller bit to drill out a lot of the waste. This is one of those situations where drilling will speed things up.
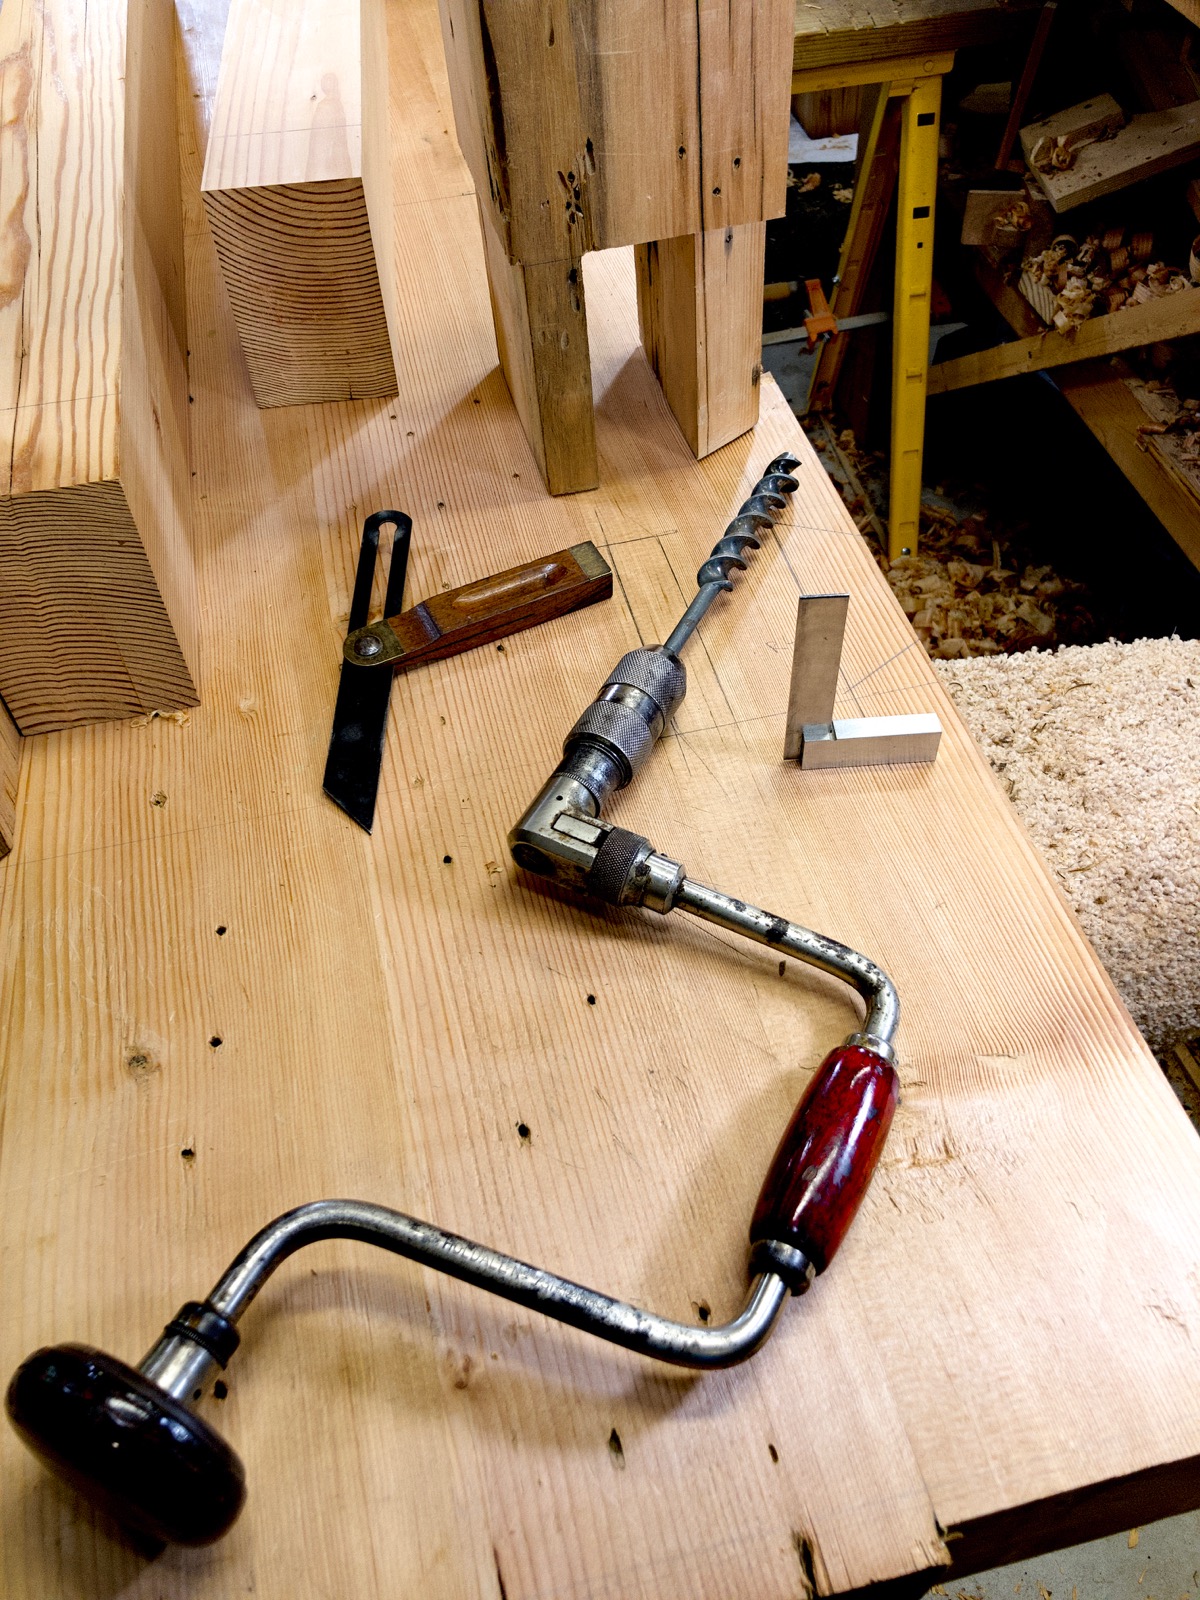
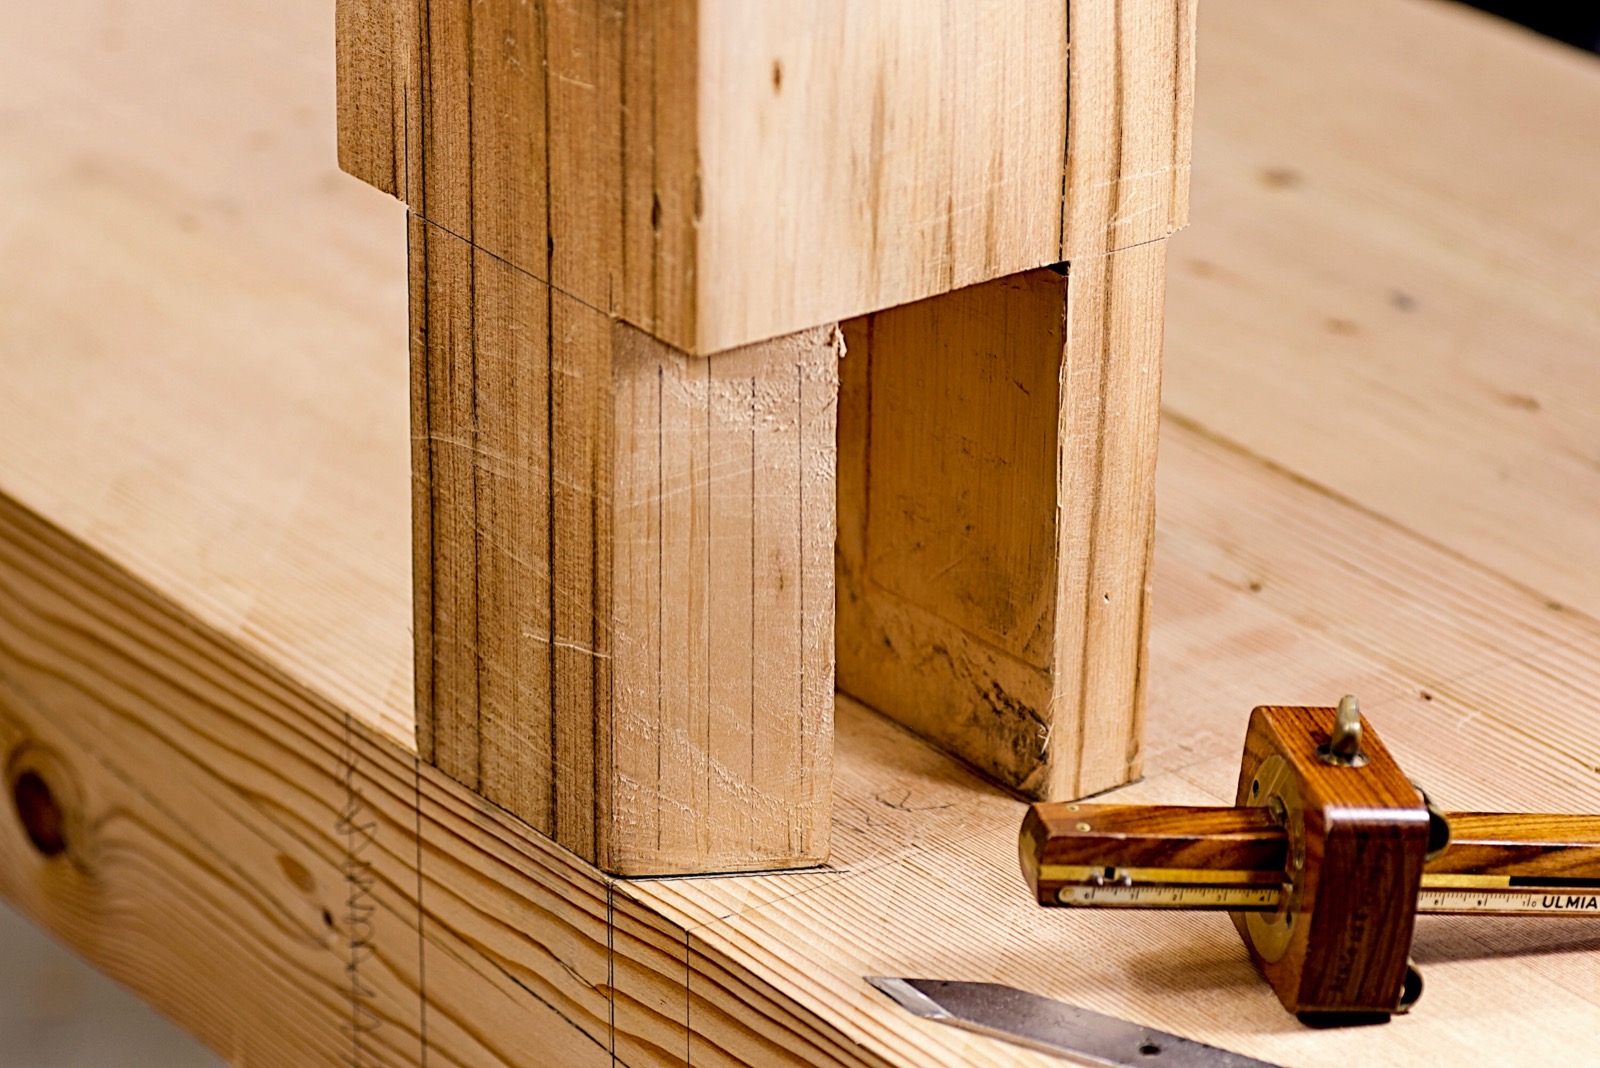
I cut knife walls around the mortise edge to make sure the edge was well defined.
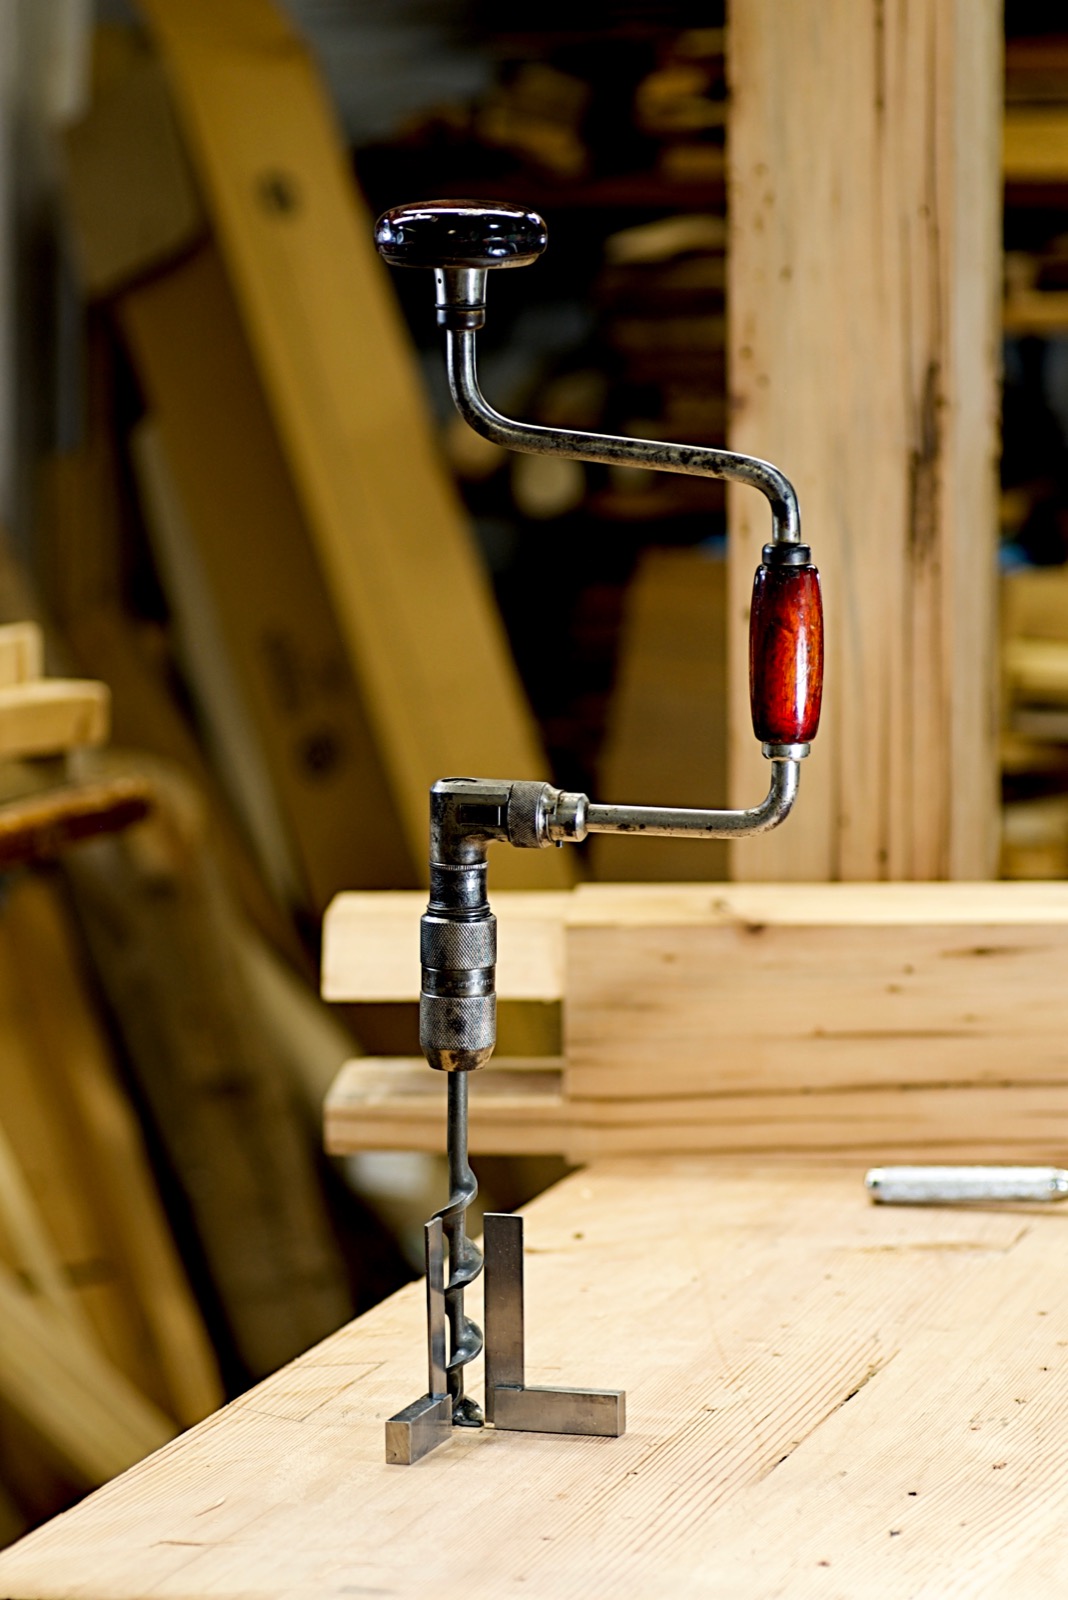
A brace can drill holes that are very precise if you use some small squares and are careful.
The majority of the waste was removed quickly by drilling.
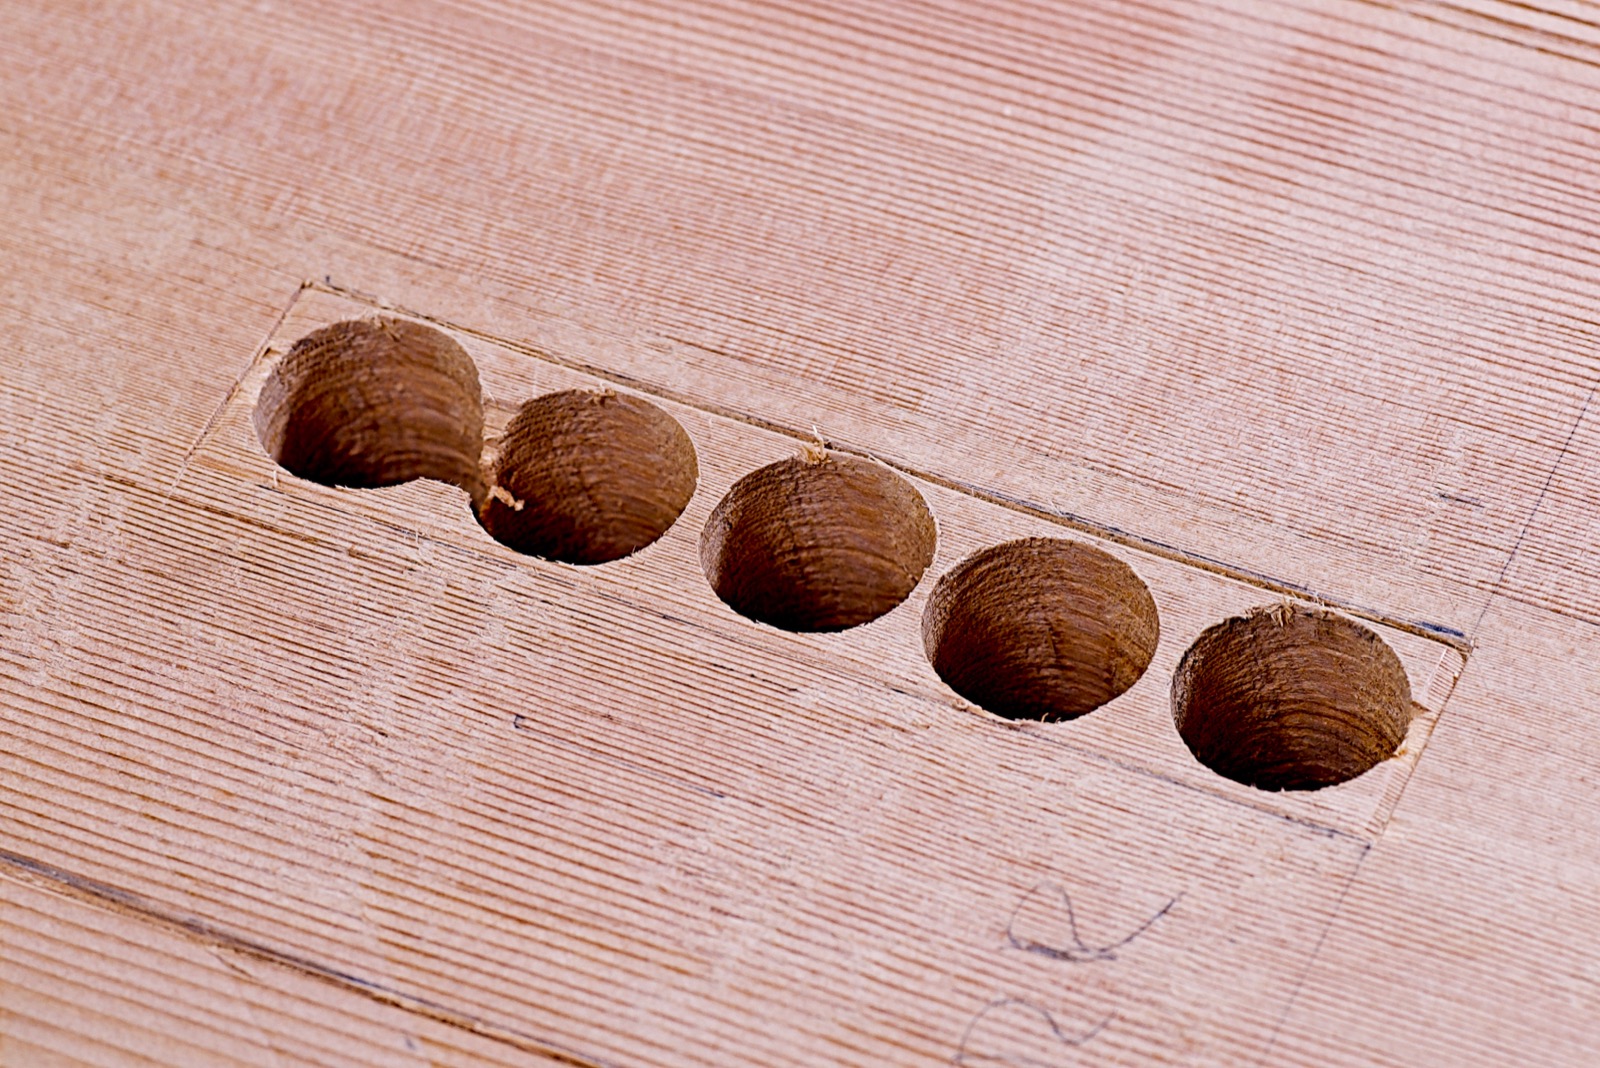
Cleaning the sides while I deepen the mortise went pretty quickly with very sharp chisels.
This one is cut through and cleaned up as much as I can before fitting. The sliding dovetail has to be done before we can fit the tenons to the mortises and dovetails.
With the mortise cut we move on to the dovetail. That is a very different process and will be the covered in the next post.
-Eric

Good work. Kudos!
LikeLike
Thanks!
LikeLiked by 1 person