

The Short Stretchers
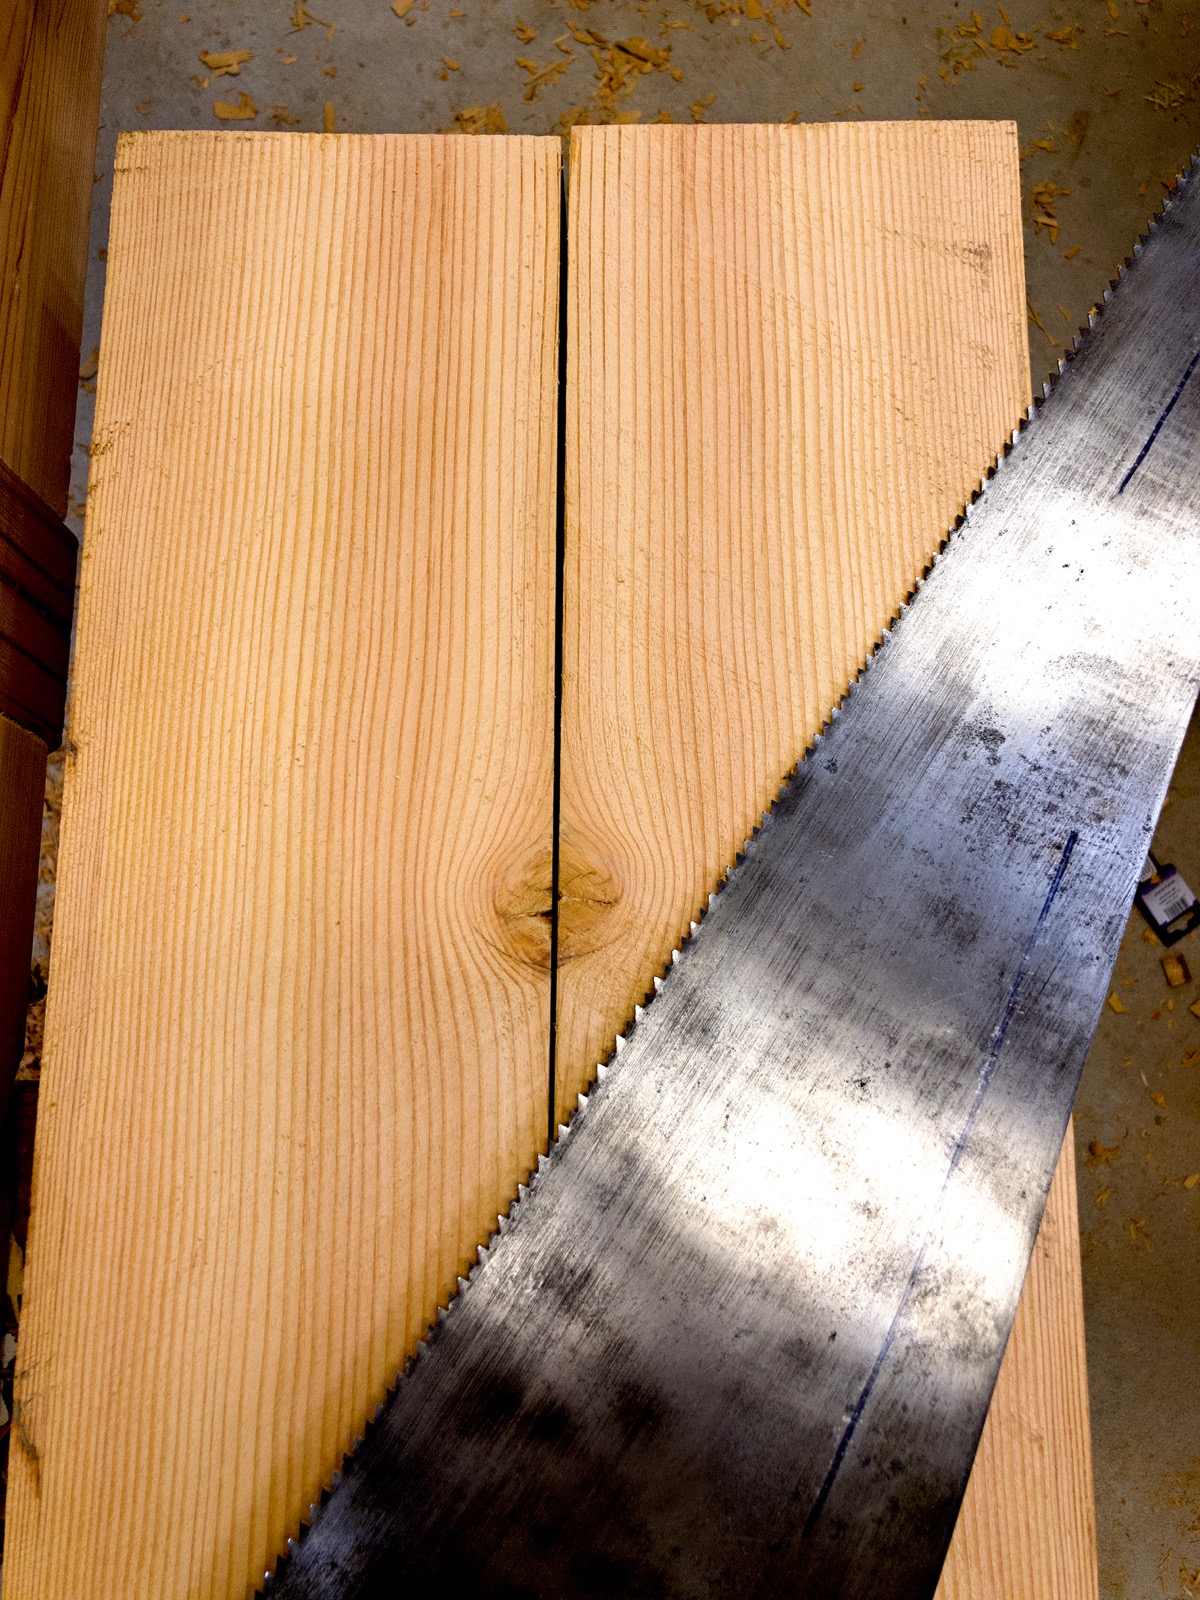
I chose a cutoff from one of the thick barn beams for the short side stretchers. This meant I needed to resaw it in half. Before I set up the bandsaw I thought I’d try my freshly sharpened old rip saw and see how far I could get. It’s a great old saw with a unique grinding pattern. It’s one of the "Warranted Superior" saws, which means it could have been made by any of the major saw manufacturers. It’s a 5tpi beast that cuts fast. I’d never tried to resaw something that was 6" before, though.

I was very surprised at how fast this went. After less that ten minutes I was already here without much effort or sore arms.

I finished in about 20 minutes. This is the cut from the saw. My fancy bandsaw couldn’t have done any better. I am impressed.
Once the stock was sized I cut the same type of barefaced tenon on them. I cut the face cheek first.

I was wondering how square I was cutting the shoulders. This one is good.

Here is a finished tenon with the side cheeks cut.
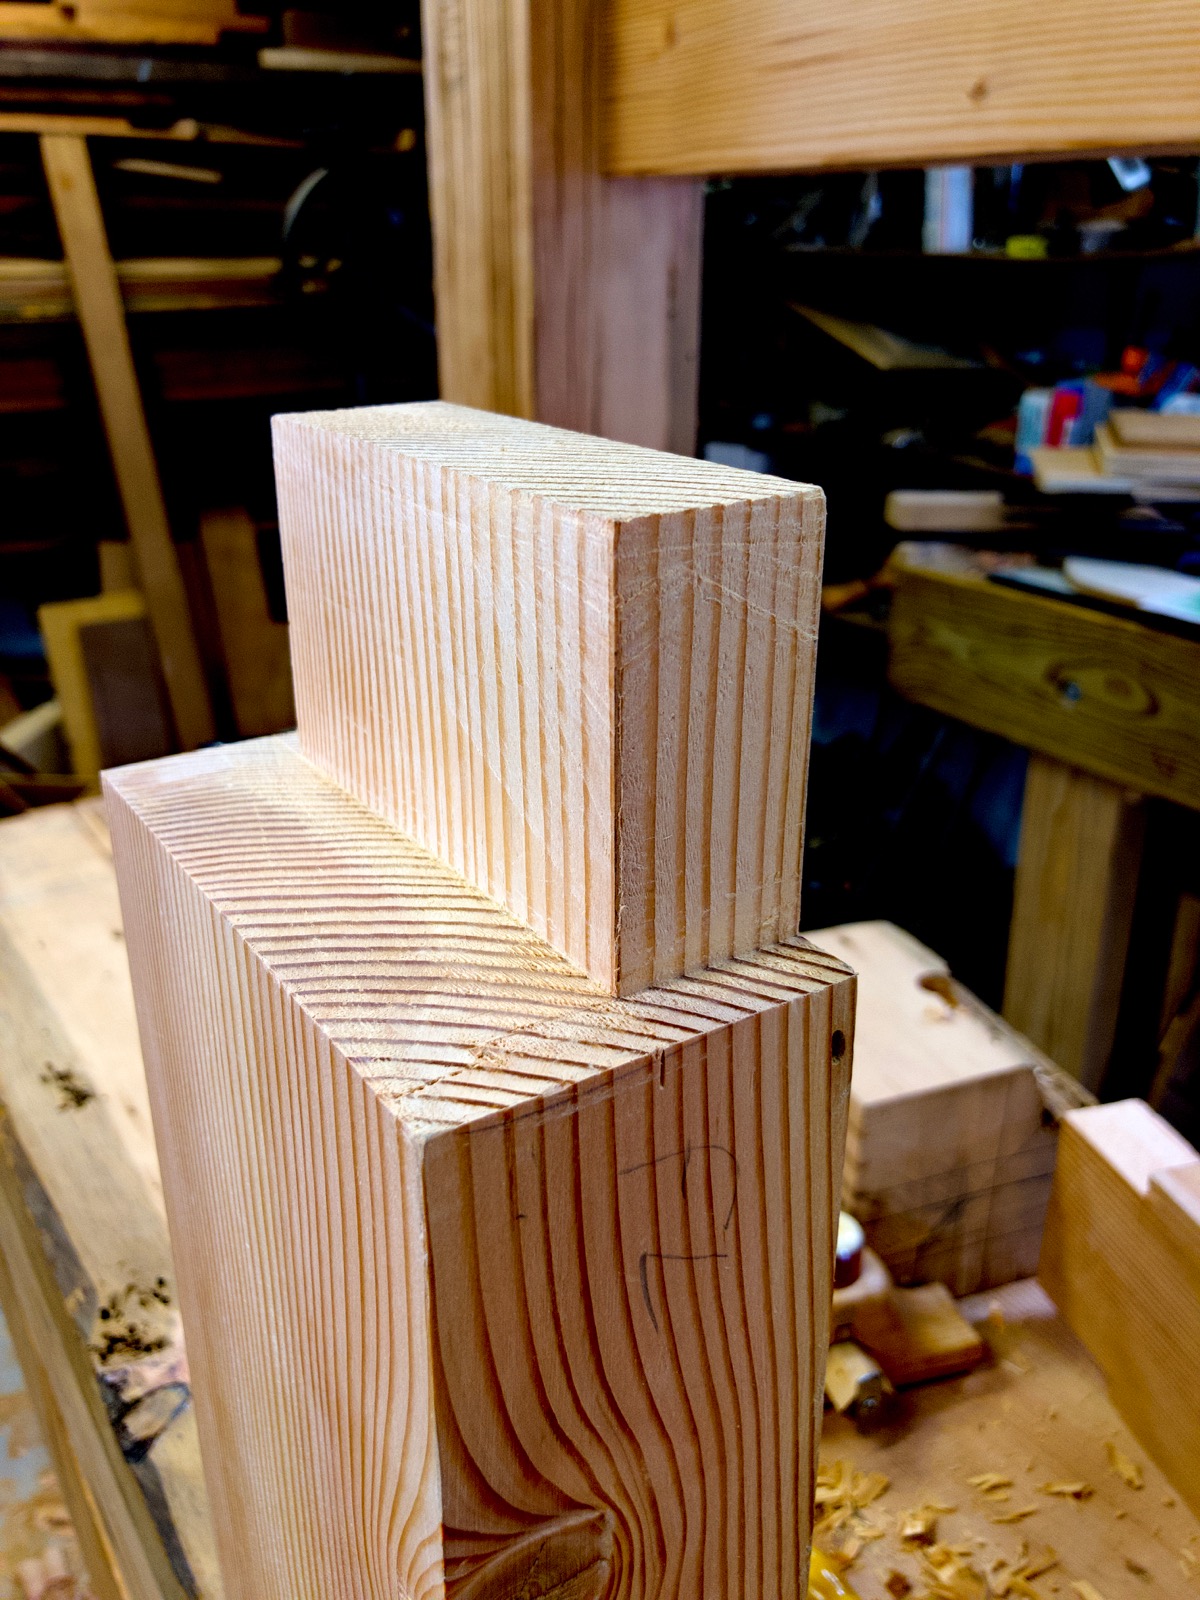
Here is a one stretcher done and dry fit. They really are pretty short.
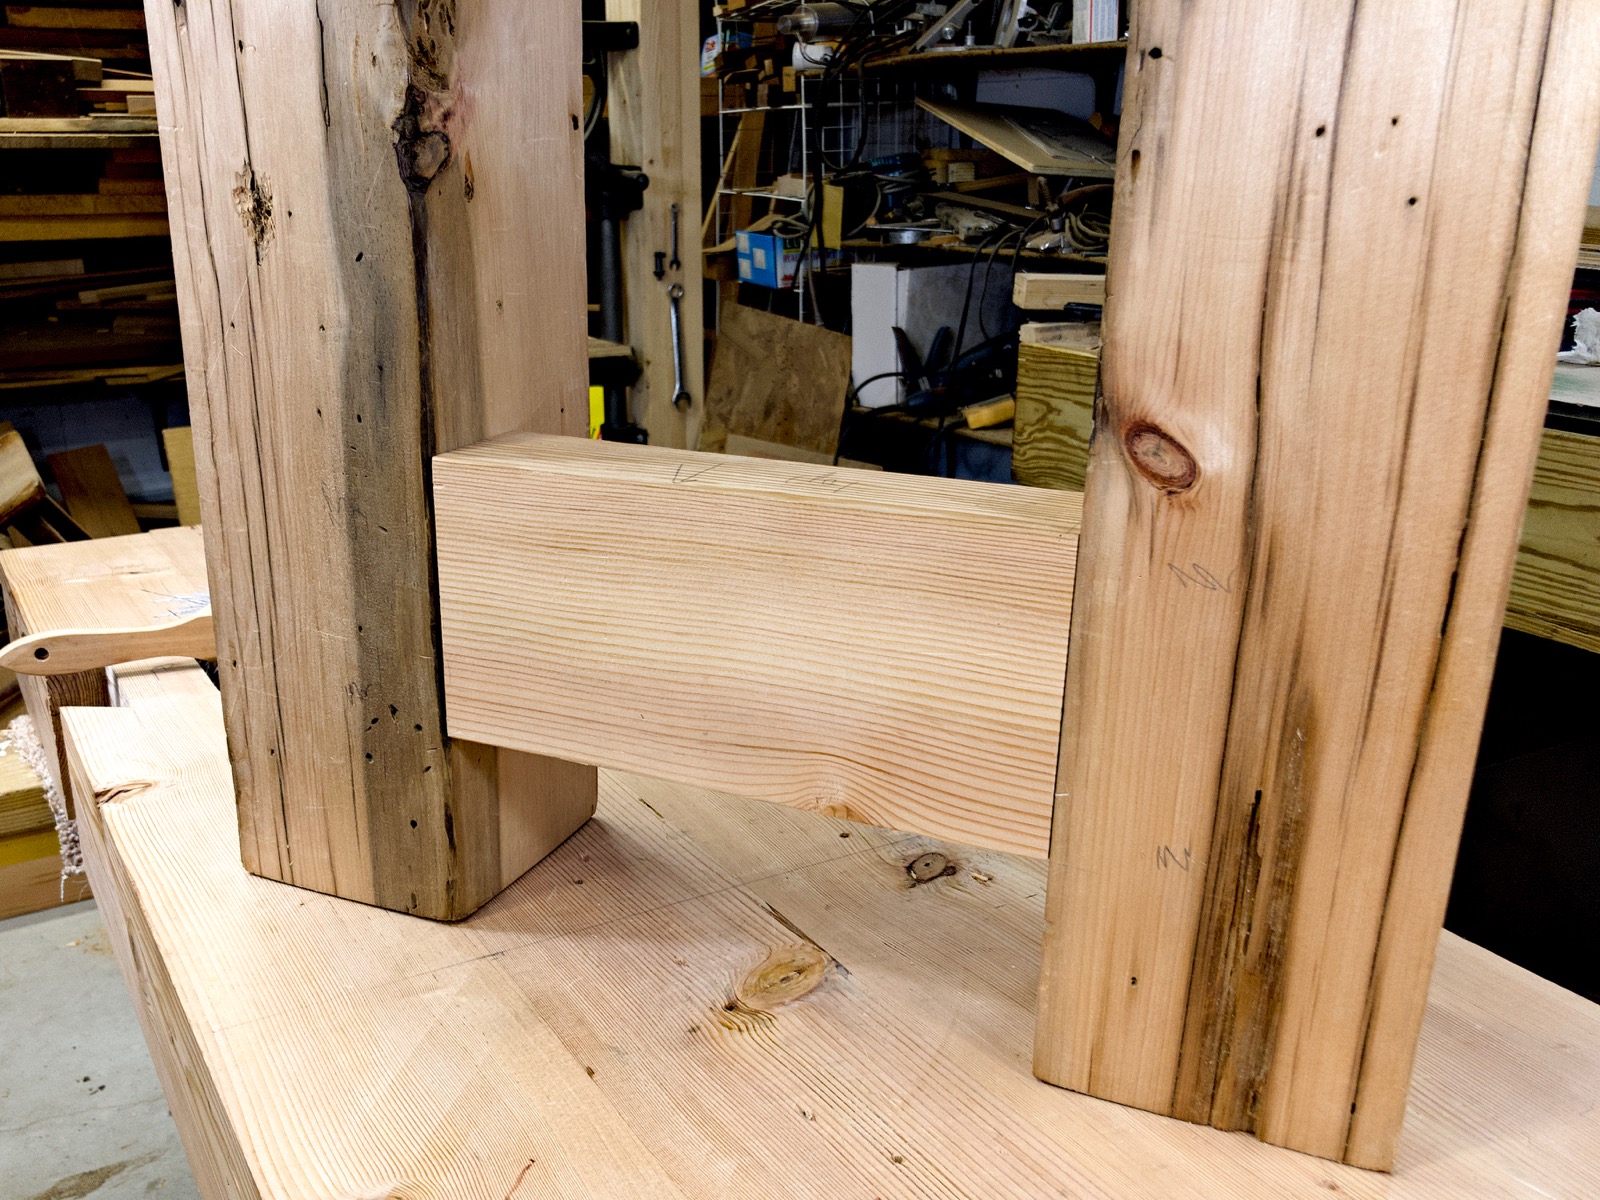
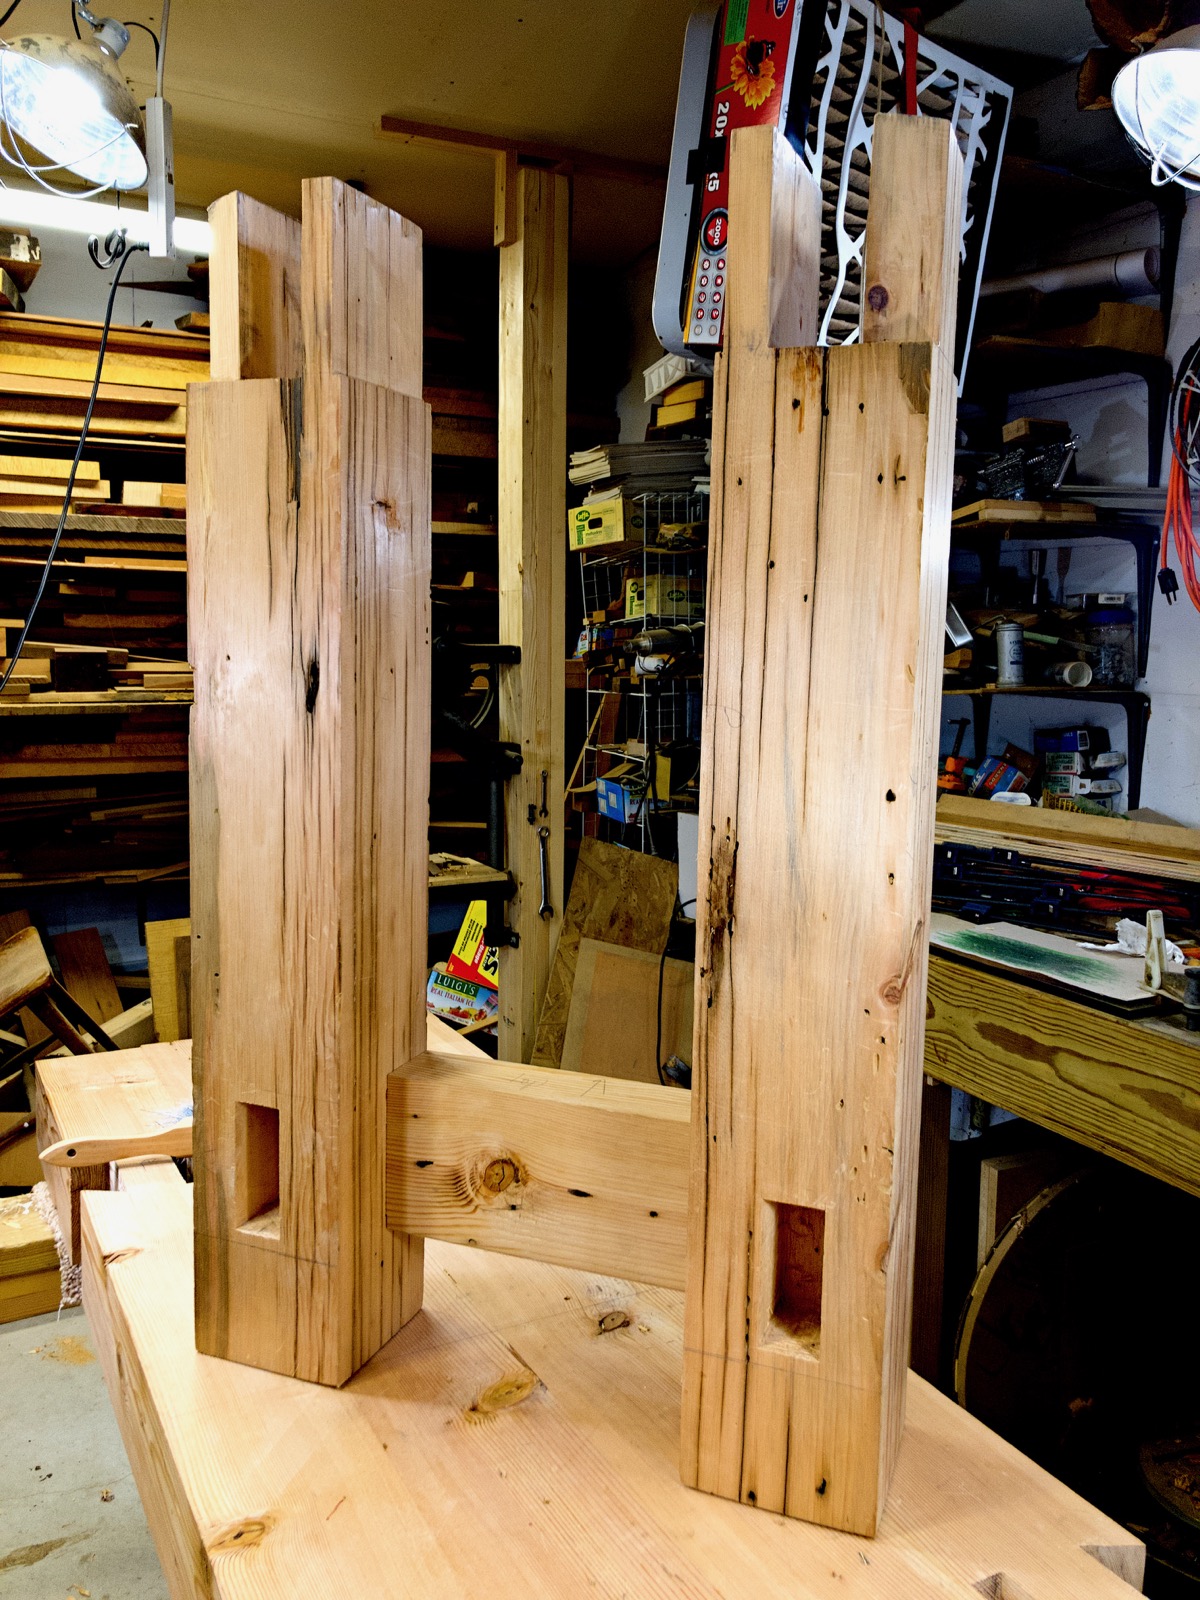
The short stretcher in place from the inside. This shows the mortise for the front and back stretchers.

The legs look twin towers from some fantasy movie.
The next step was to drill the holes for the drawbores. I used my good brace and a 3/8" bit.

I borrowed a pair of drawbore pins to help fit the joints. These are good ones and are very helpful. I didn’t want to buy ones like them, they are too expensive.
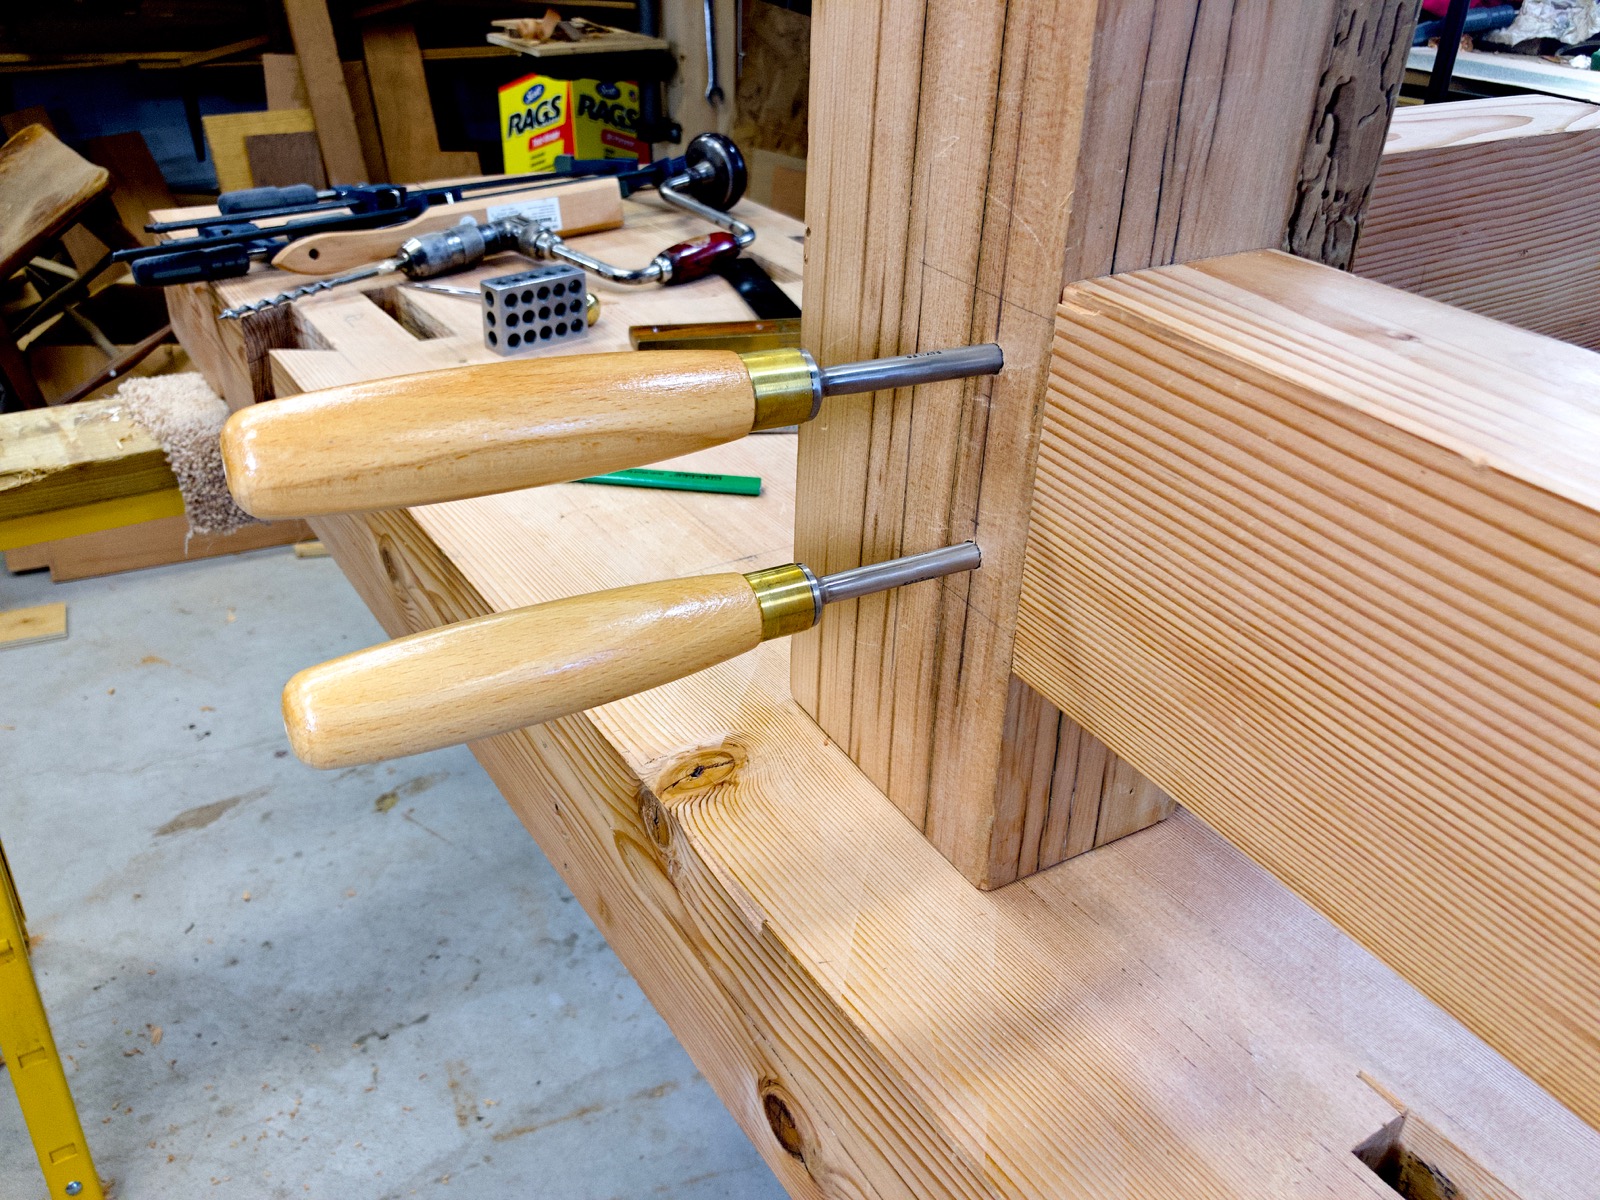
Instead, I made my own from masonry alignment bars. These are cheap and polish up beautifully.

It’s getting closer and closer now. With the top, legs, and stretchers ready to go I’m on to the detail work now. Next is trimming the ends of the top.
-Eric
