

The Glue Up
The time has come for the glue up. This is a nerve wracking step that is a barely controlled panic. Once the glue starts being applied you have a time limit imposed. You have to get everything together before the glue hardens. I knew this would take more time than usual for many of my projects. I had to use a glue with a longer working time than common Titebond yellow glue. The two main choices are some slow-set epoxy and liquid hide glue. I choose the hide glue.
Here is the bench after a dry run for timing. I mimicked applying the glue and it took close to an hour. I concluded that I needed a full hour for the glue up.

Did I ever mention that the old barn beams have some character? Here’s an example, yup, that’s character alright.

I cobbled together some frames to hold the legs on edge so I could chamfer the edges.

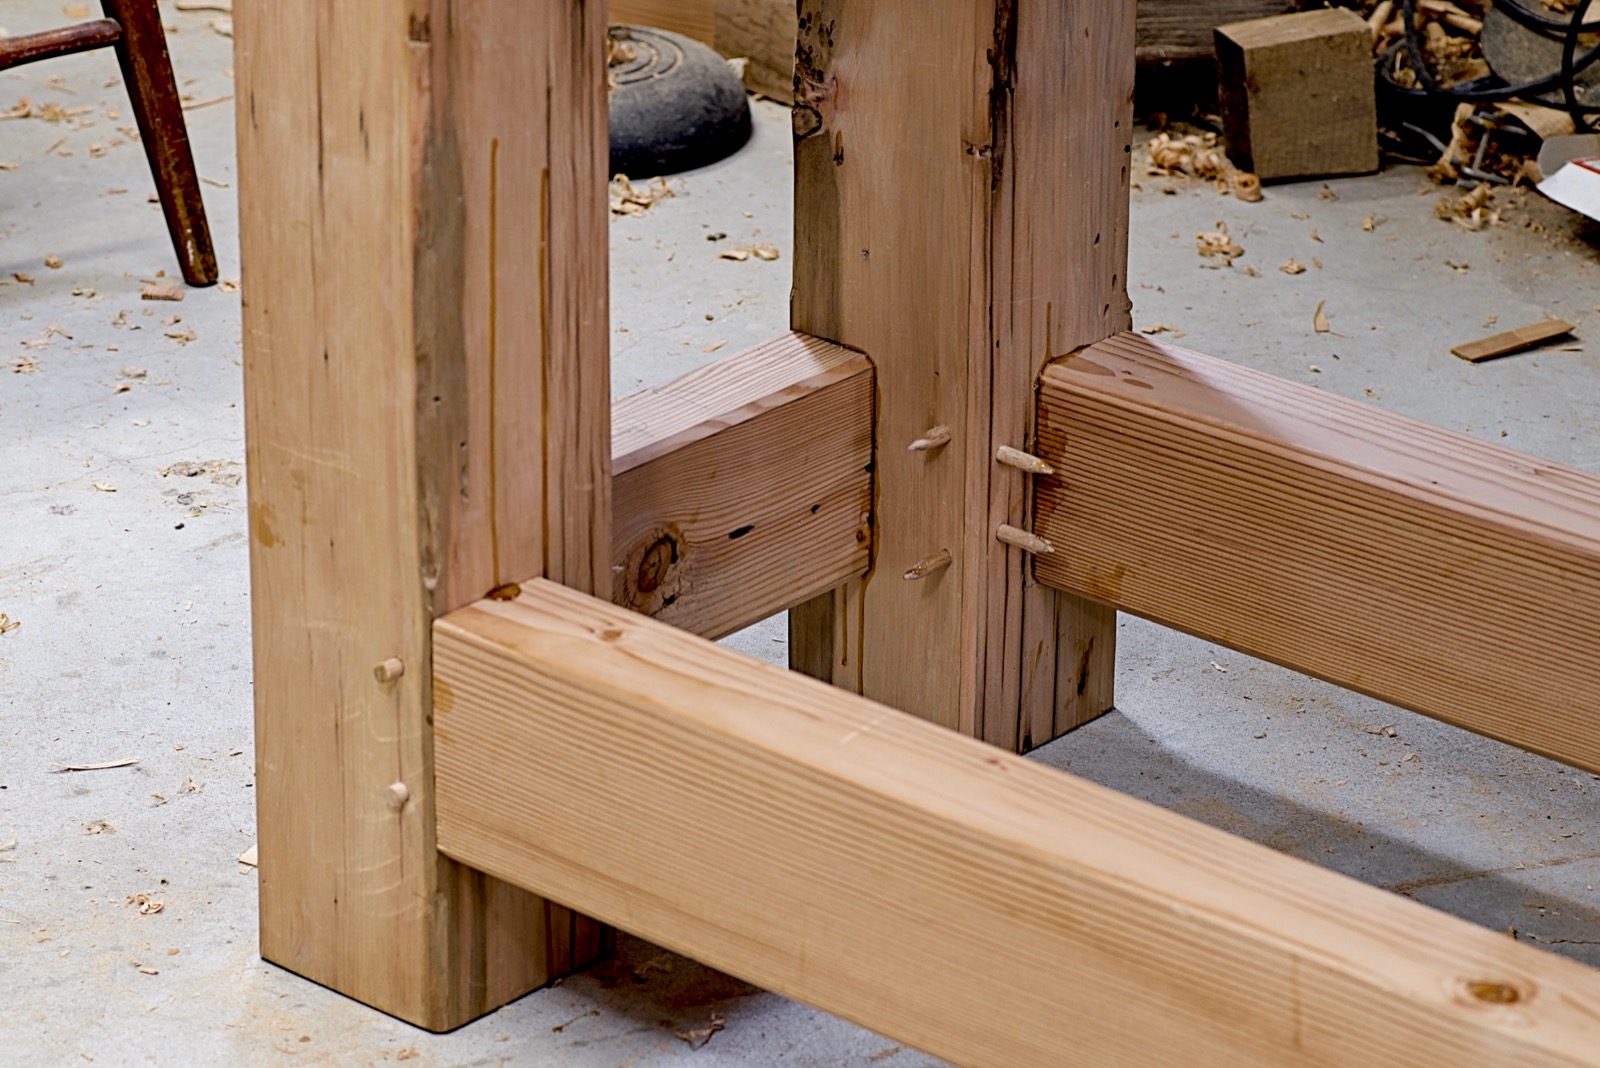
I tried to make the big double tenon joints as tight as I could. They still have a lot of gaps. I am heeding the advice from many woodworkers, including Monsieur Roubo himself, to use a lot of wedges when gluing the bench together. The drawbore pegs are oak dowels. I hope I have enough wedges.

Everything is set. I made sure that I wouldn’t be interrupted and put my phone in Do-Not-Disturb mode. I couldn’t take photos during the glue up and I didn’t want a video being recorded. I didn’t want that extra stress. Just imagine that for the next hour I was moving fast.

Done!!!
It went together without any major drama. I am so relieved. I did use a lot of wedges. The drawbore joints didn’t really need any glue but I used some anyway. I didn’t see any reason not to.
To have my bench to this point was quite emotional. It took 6 months of work to get here.

The drawbore pins went in without incident. I really like that joint and plan on using it whenever I can.
Yup, that’s a lot of wedges.
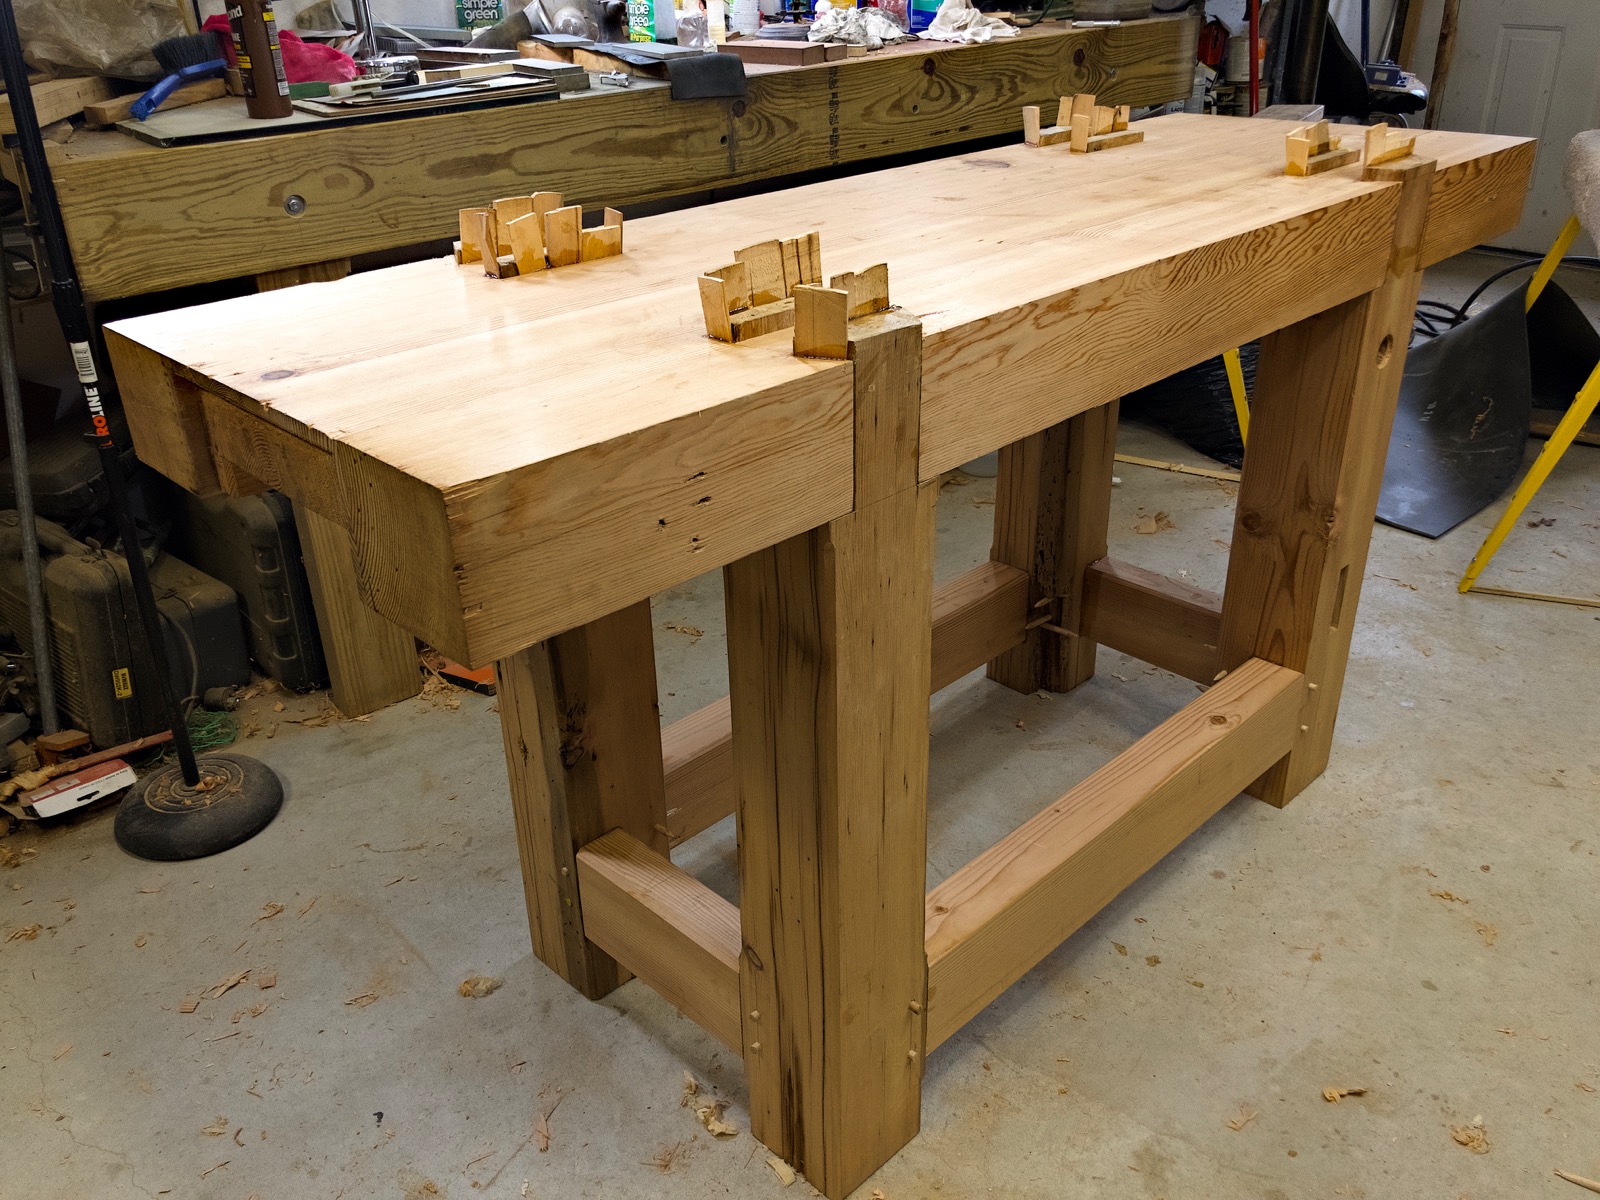
This is how the bench will be oriented in my shop. I can almost feel what it will be like.
The next day I cut the tops of the legs and wedges off with a saw. I didn’t want to get too close to the top and will plane off the rest.

I grabbed the sharpest plane in the till and leveled the legs to the top. This is my Record No. 7 that I got in the mid-1980s for a lot less money than planes like this cost now. It’s a good one.

I wiped them down with some mineral spirits and I like how this looks. I like it a lot.

The next task was to flatten and true the top. I was very surprised at how flat and how little wind it had. It didn’t take long to get to where I wanted. Another moment of relief.

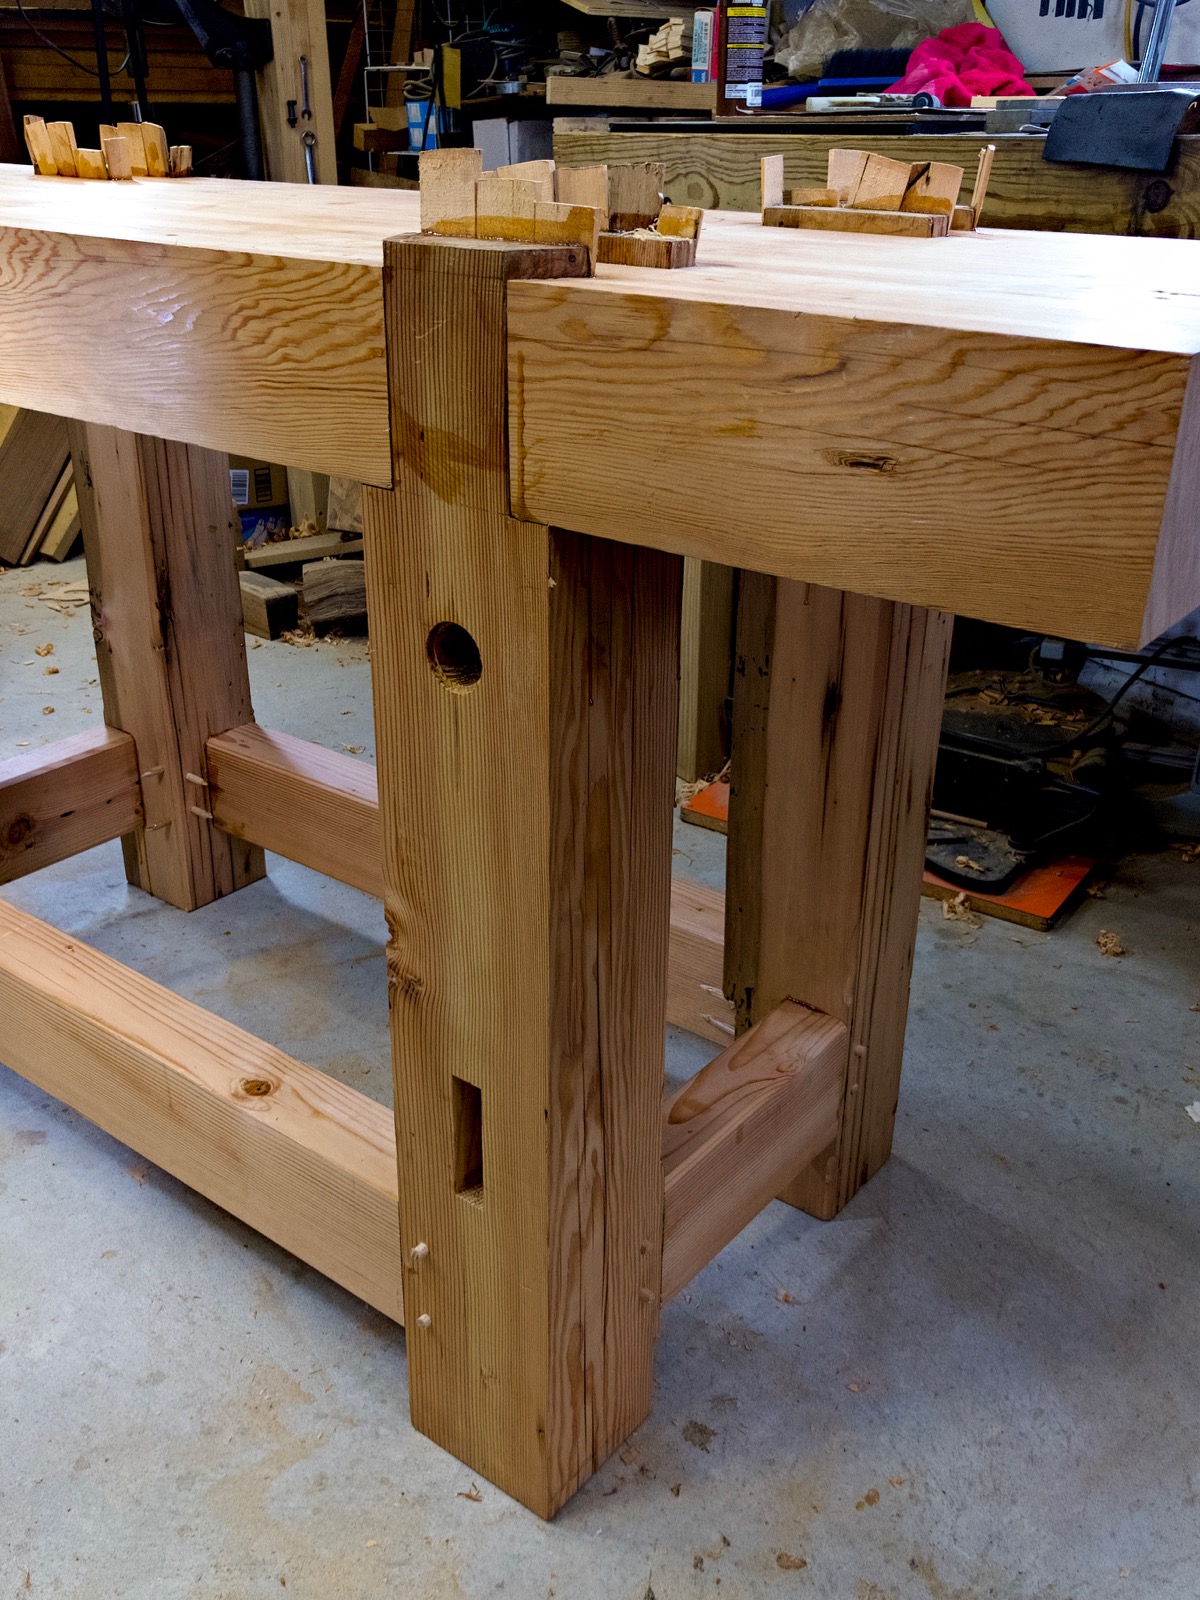
Here’s the money shot of the leg that will have the vise. That’s some nice wood, I feel very fortunate to have found it.

The bench is assembled. It’s so close to being usable I can hardly stand it. I’ve wanted a good bench for so long and to have one is so exciting. I could hardly sleep that night.
-Eric

Major kudos, Eric. A most beautiful bench. Be proud!
LikeLike
Thanks, Ron. It is a joy to use. I tried to imagine what having a good bench would be like. This surpasses my highest hopes.
LikeLiked by 1 person
She looks quite substantial! I assume that you measured the exit from the space in the event you move?!?
LikeLike
It is only 22” wide and will go out any door. I’m in a detached garage with no steps. I’m hoping my next move will be to assisted care a long time from now. 😎👴🏻🛠
LikeLiked by 1 person
Good! May the assisted care indeed be a long way off… LOL!
LikeLiked by 1 person
Looks like it weighs a bit. Was it hard getting it down after glue-up?
LikeLike
The bench weighs about 350 pounds. It was very difficult to maneuver and took careful planning once it was all glued up. It is rock solid and won’t move in use. I’m loving it.
LikeLike
Mine’s a similar weight and I’m doing the final glue up today. I’m doing mine at floor level (upside down like you) and using west epoxy with 206 hardener to get as much working time as possible. Definitely a nerve wracking step 😀
LikeLiked by 1 person
Good luck! Do you have any photos online? I’d like to see it.
LikeLike