

Workbench Shelf
I decided I wanted a bottom shelf. I wanted to use some of the old wood and I had a few boards that weren’t beams. This one is a full 2" thick and will yield everything I need.

After cutting it to double the length of the shelf pieces. I cut kerfs with my kerfing plate in my combo plane. This time I went to the bandsaw to do the ripping. I love using handsaws but there’s a limit to how much these old arms can handle.

I ripped the board into three. My #62 made quick of leveling them. I wasn’t going for perfection, these will a utility shelf on a workbench. It has a lot of character, which I like.
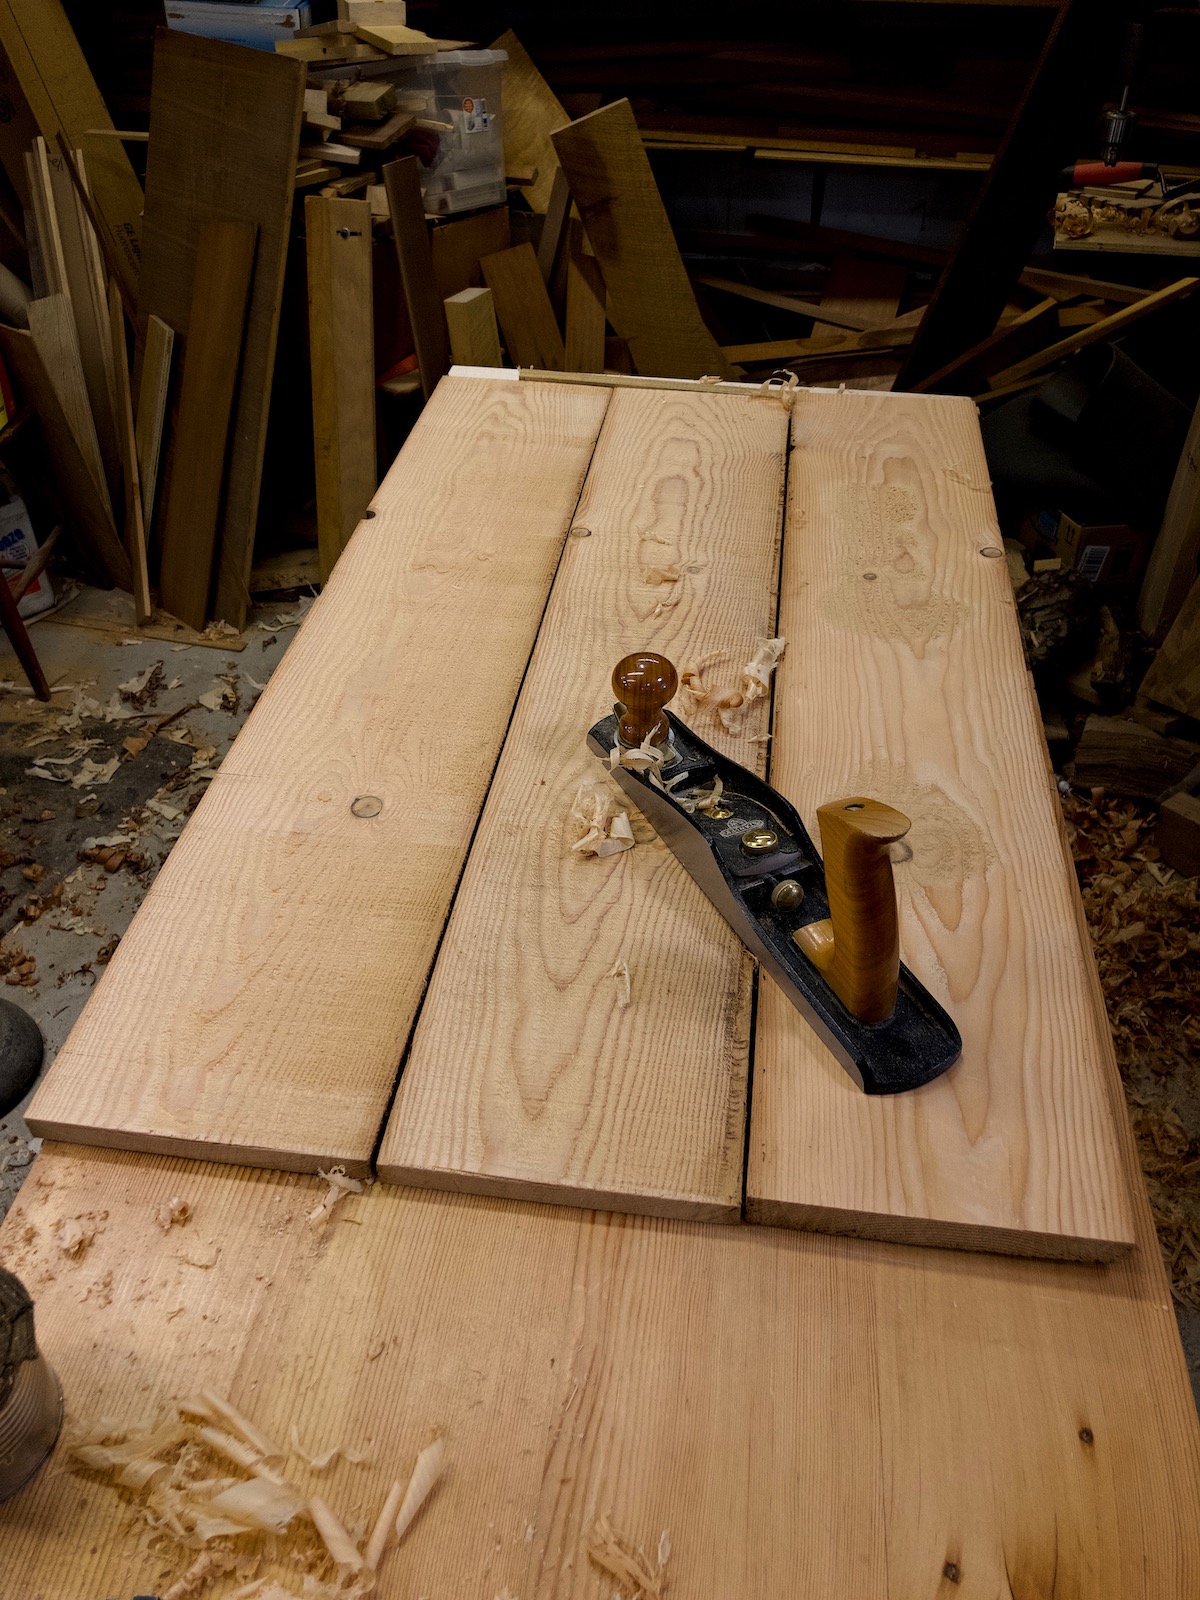
I added tongues and grooves, and beading with my combo plane. That’s such a versatile tool.

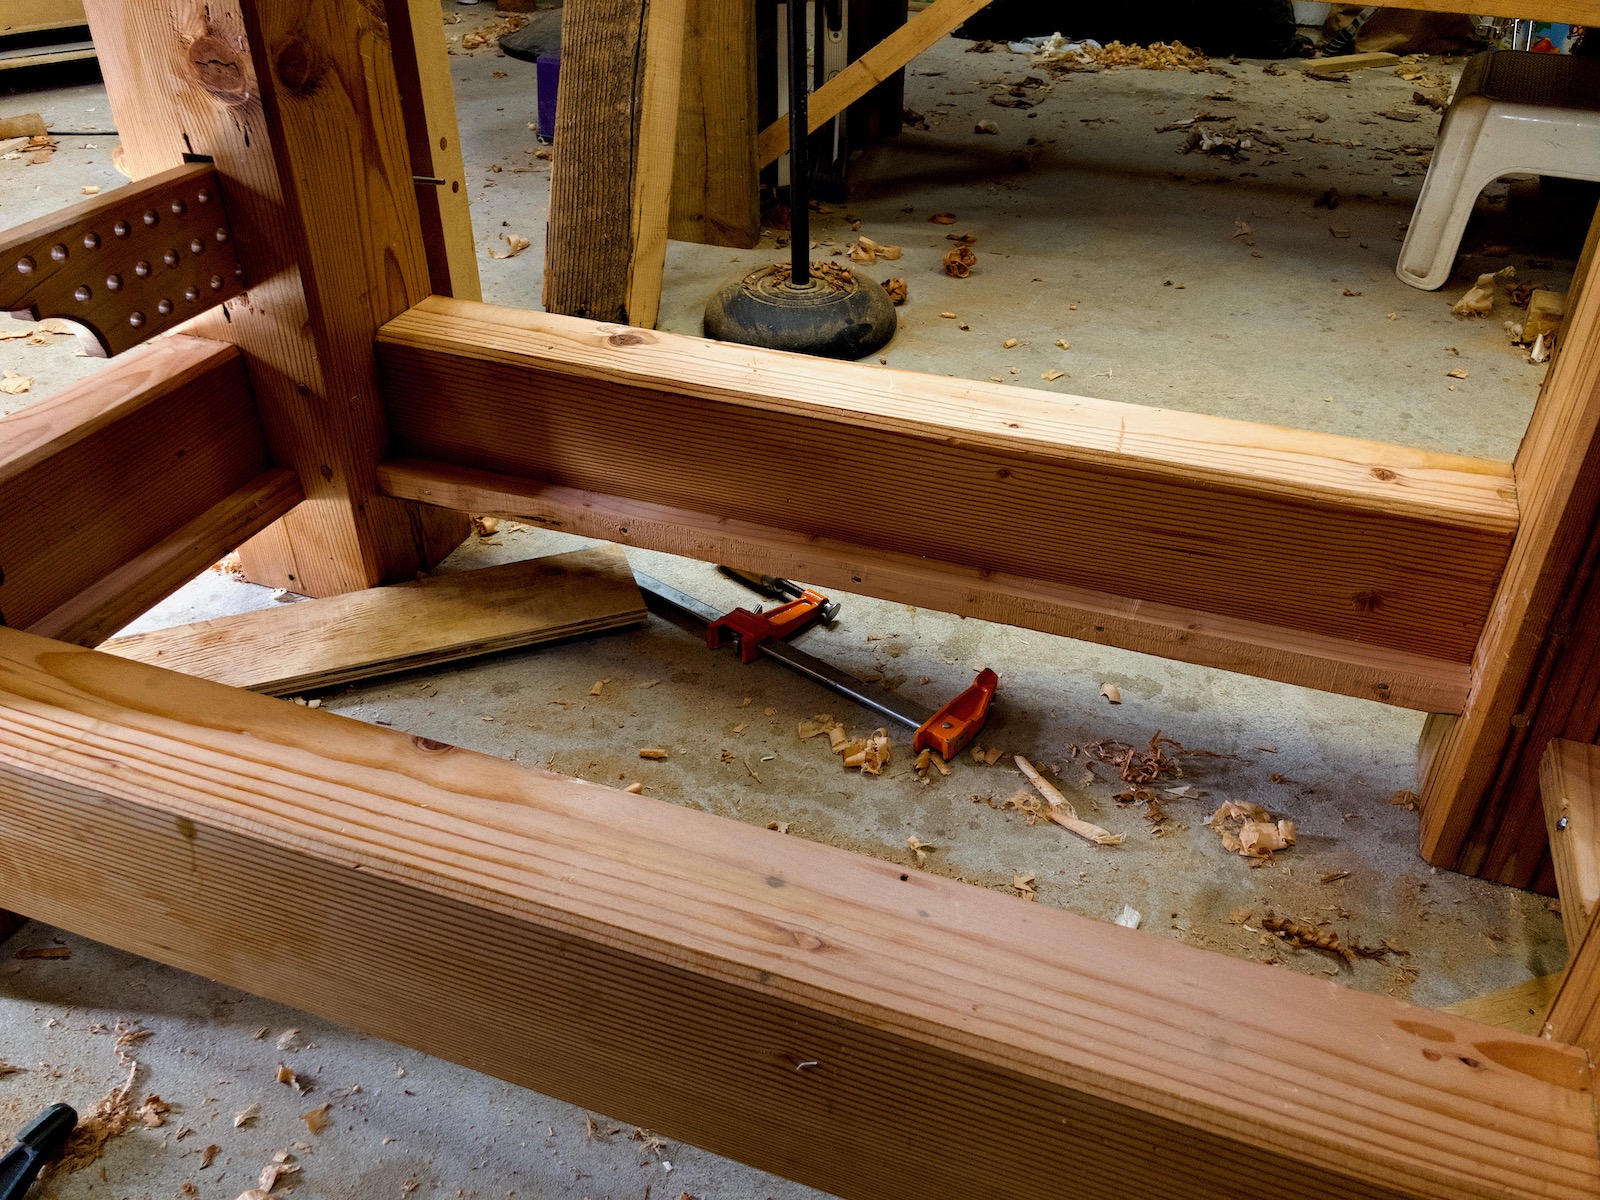
The shelf board will rest on a strip of Doug-Fir that is attached to the stretchers with glue and cut nails. This is the first time I’ve used cut nails and I’m an instant fan.
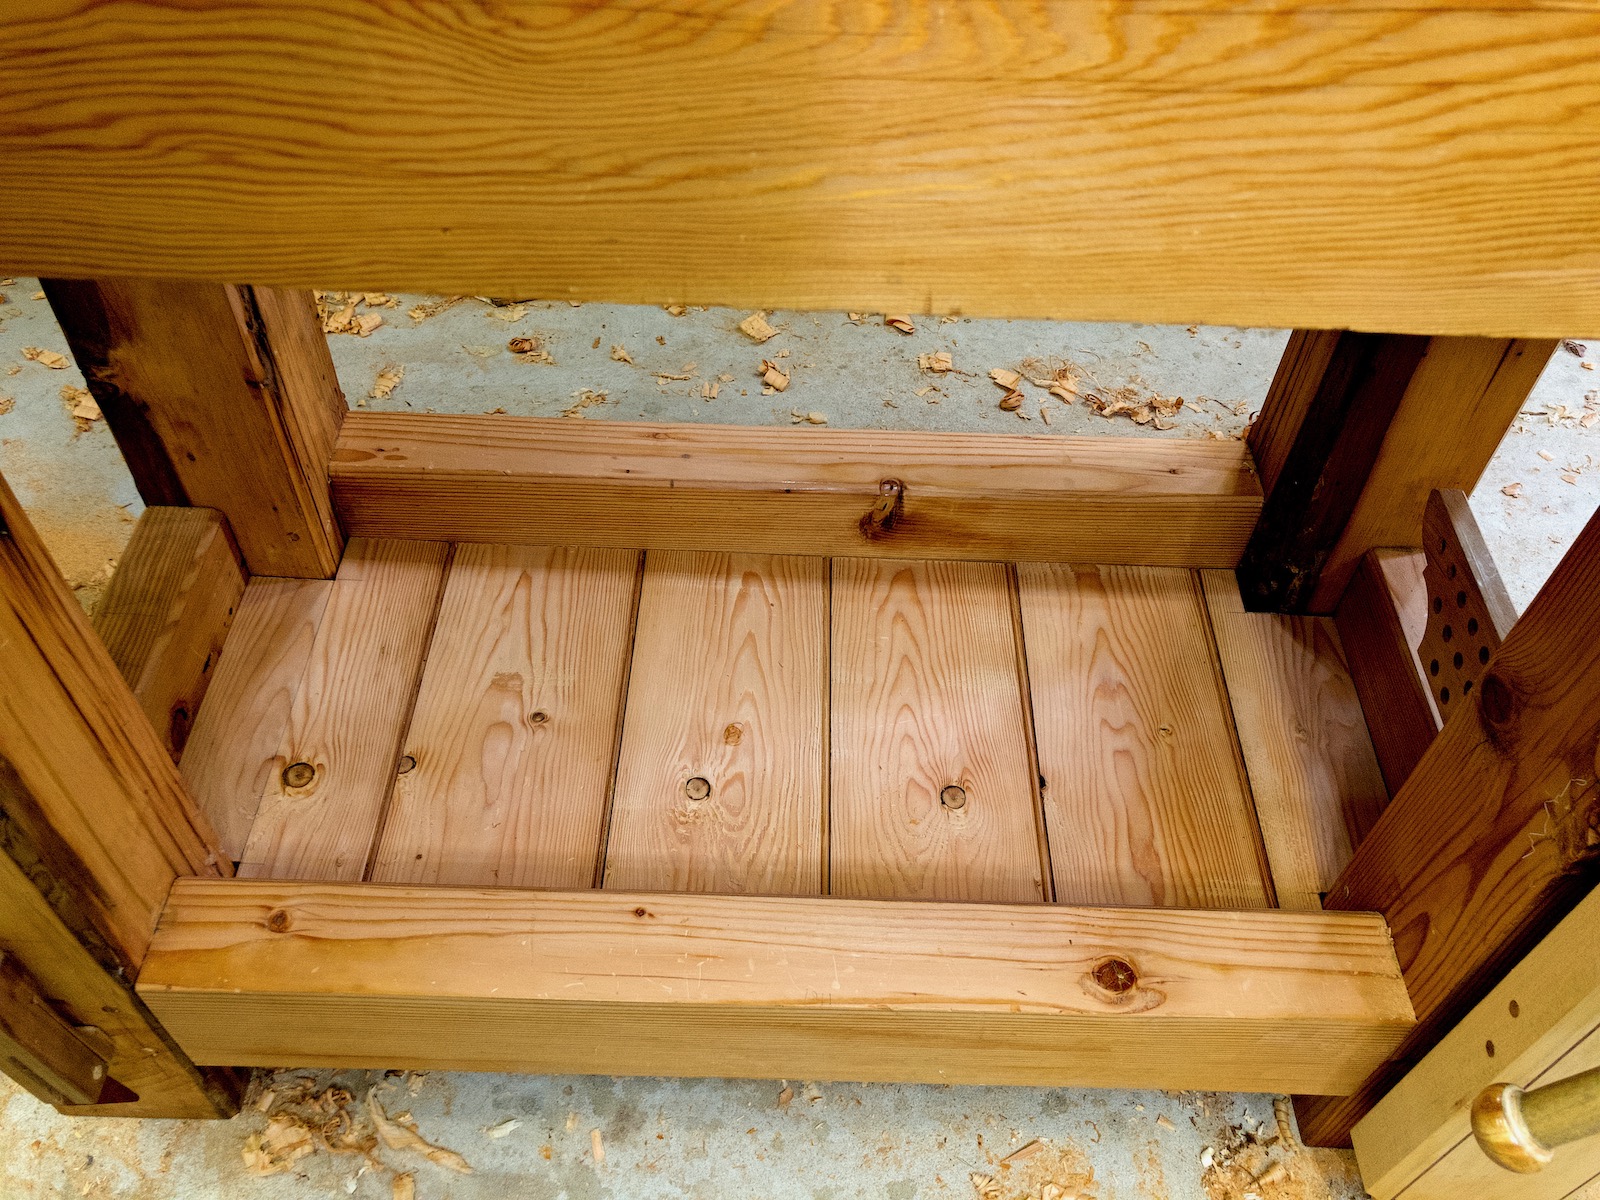
The shelf boards were cut to fit and attached with a single small cut nail on each end of each board. That combined with the tongues and grooves make them very solid.

And now there’s a shelf. This is not for storage. I keep things down there that are really extensions to the bench. Doe’s feet are an example. Yes, it gets full of shavings and dust, that’s true for every surface in the shop. I am very good about cleaning it out periodically.
The workbench is full usable already. I am really enjoying using it to make more parts of the bench. That is so satisfying.
-Eric
