

- Originally published September 30, 2018.
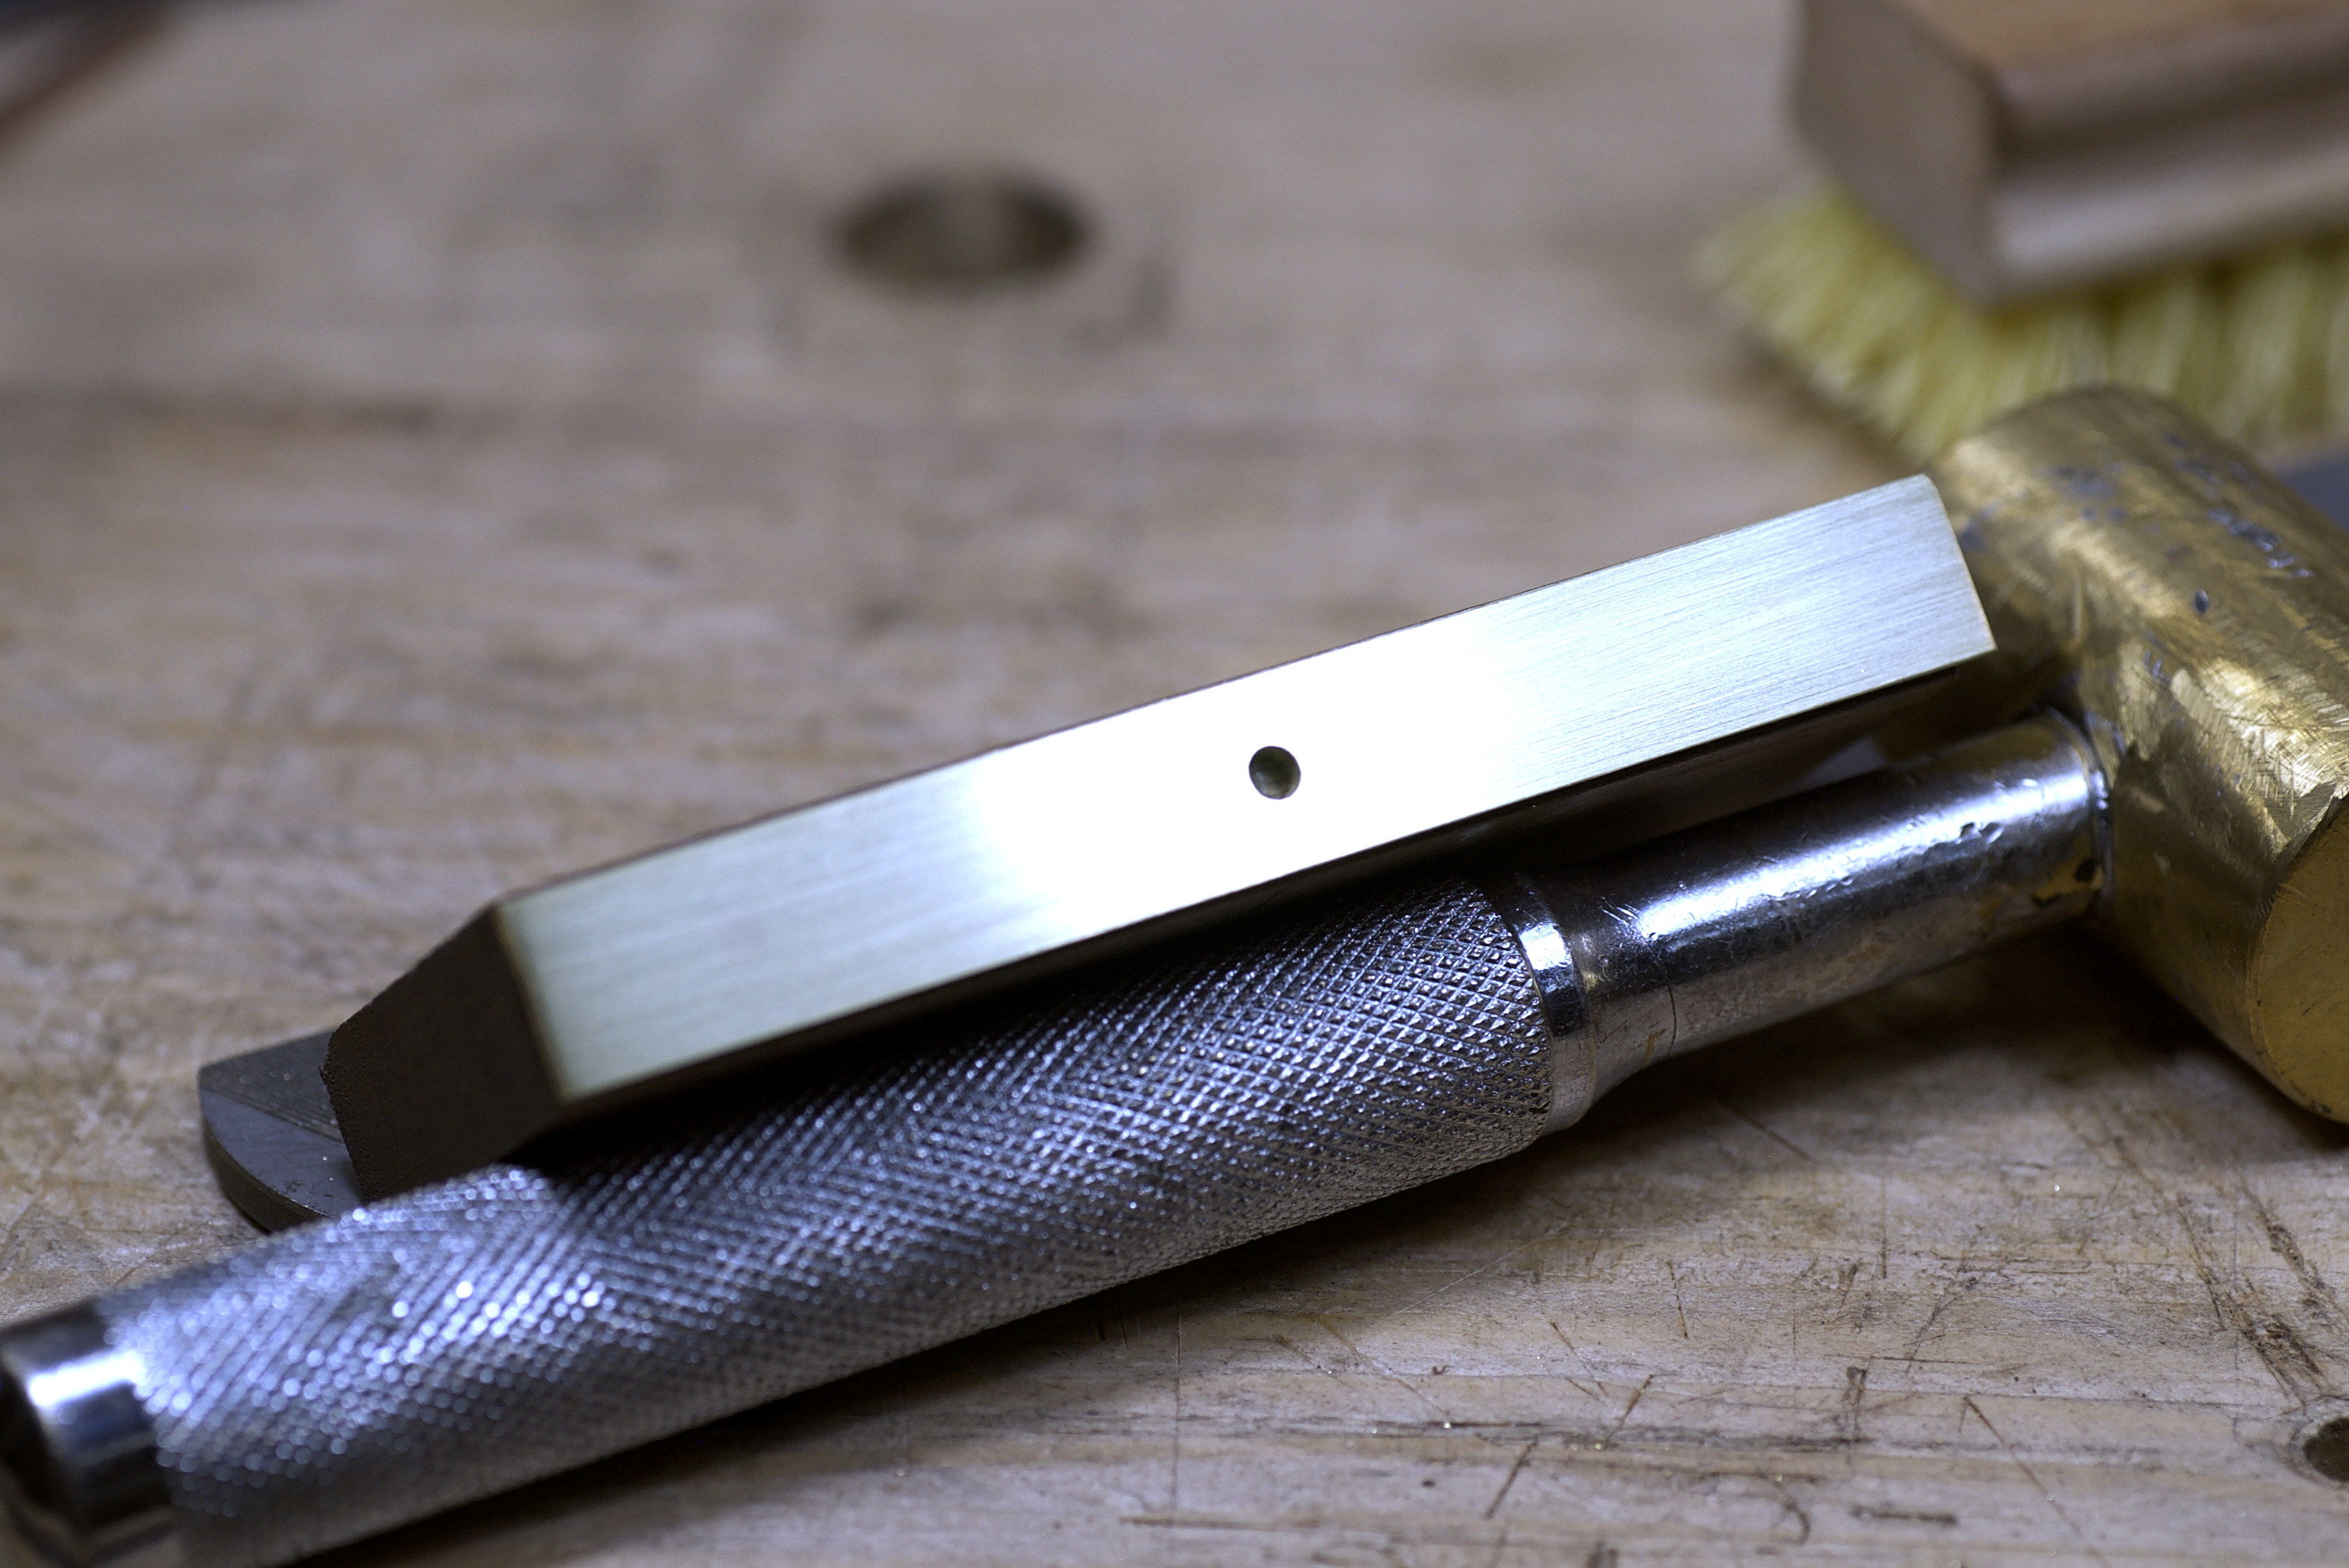
The next step in making this mortise depth gauge is to file and sand the brass screws flush with the brass sole.
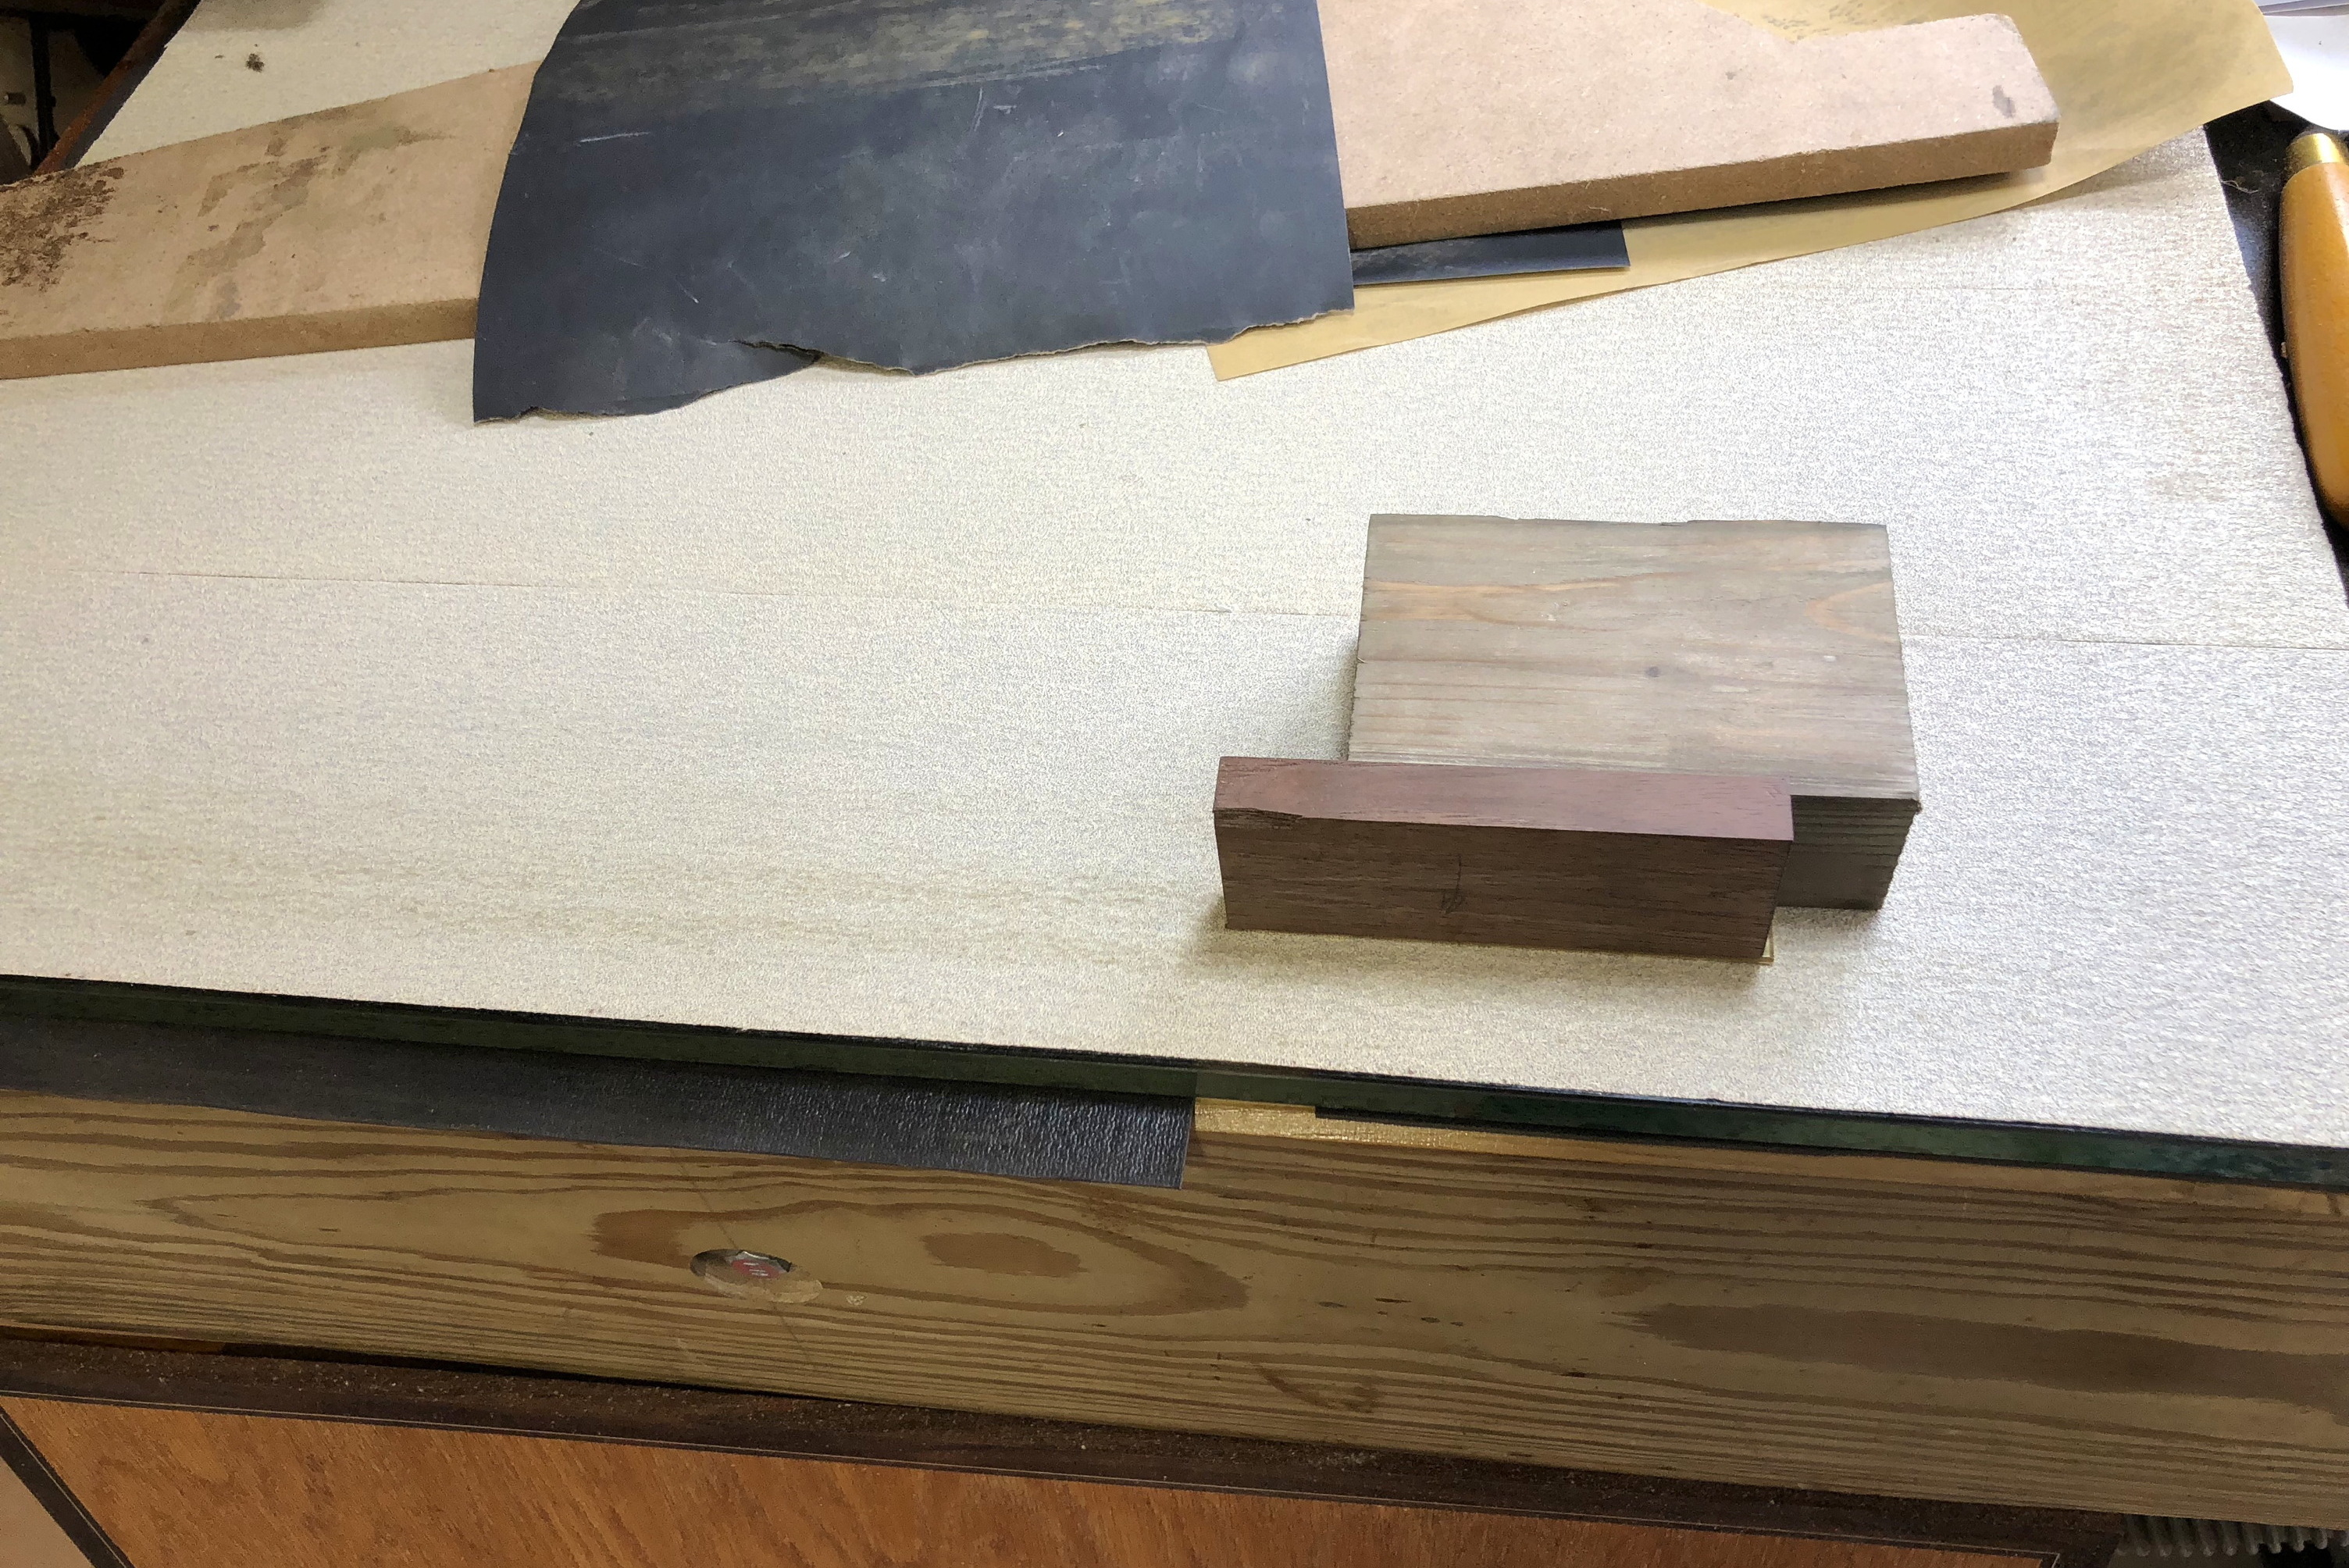
First, the screw heads are filed down as close to the sole as I can get without hitting the sole. Then I take it to my big glass plate with self-stick rough sandpaper on it. Here it is sitting next to a block of wood to keep the tool blank square while sanding.
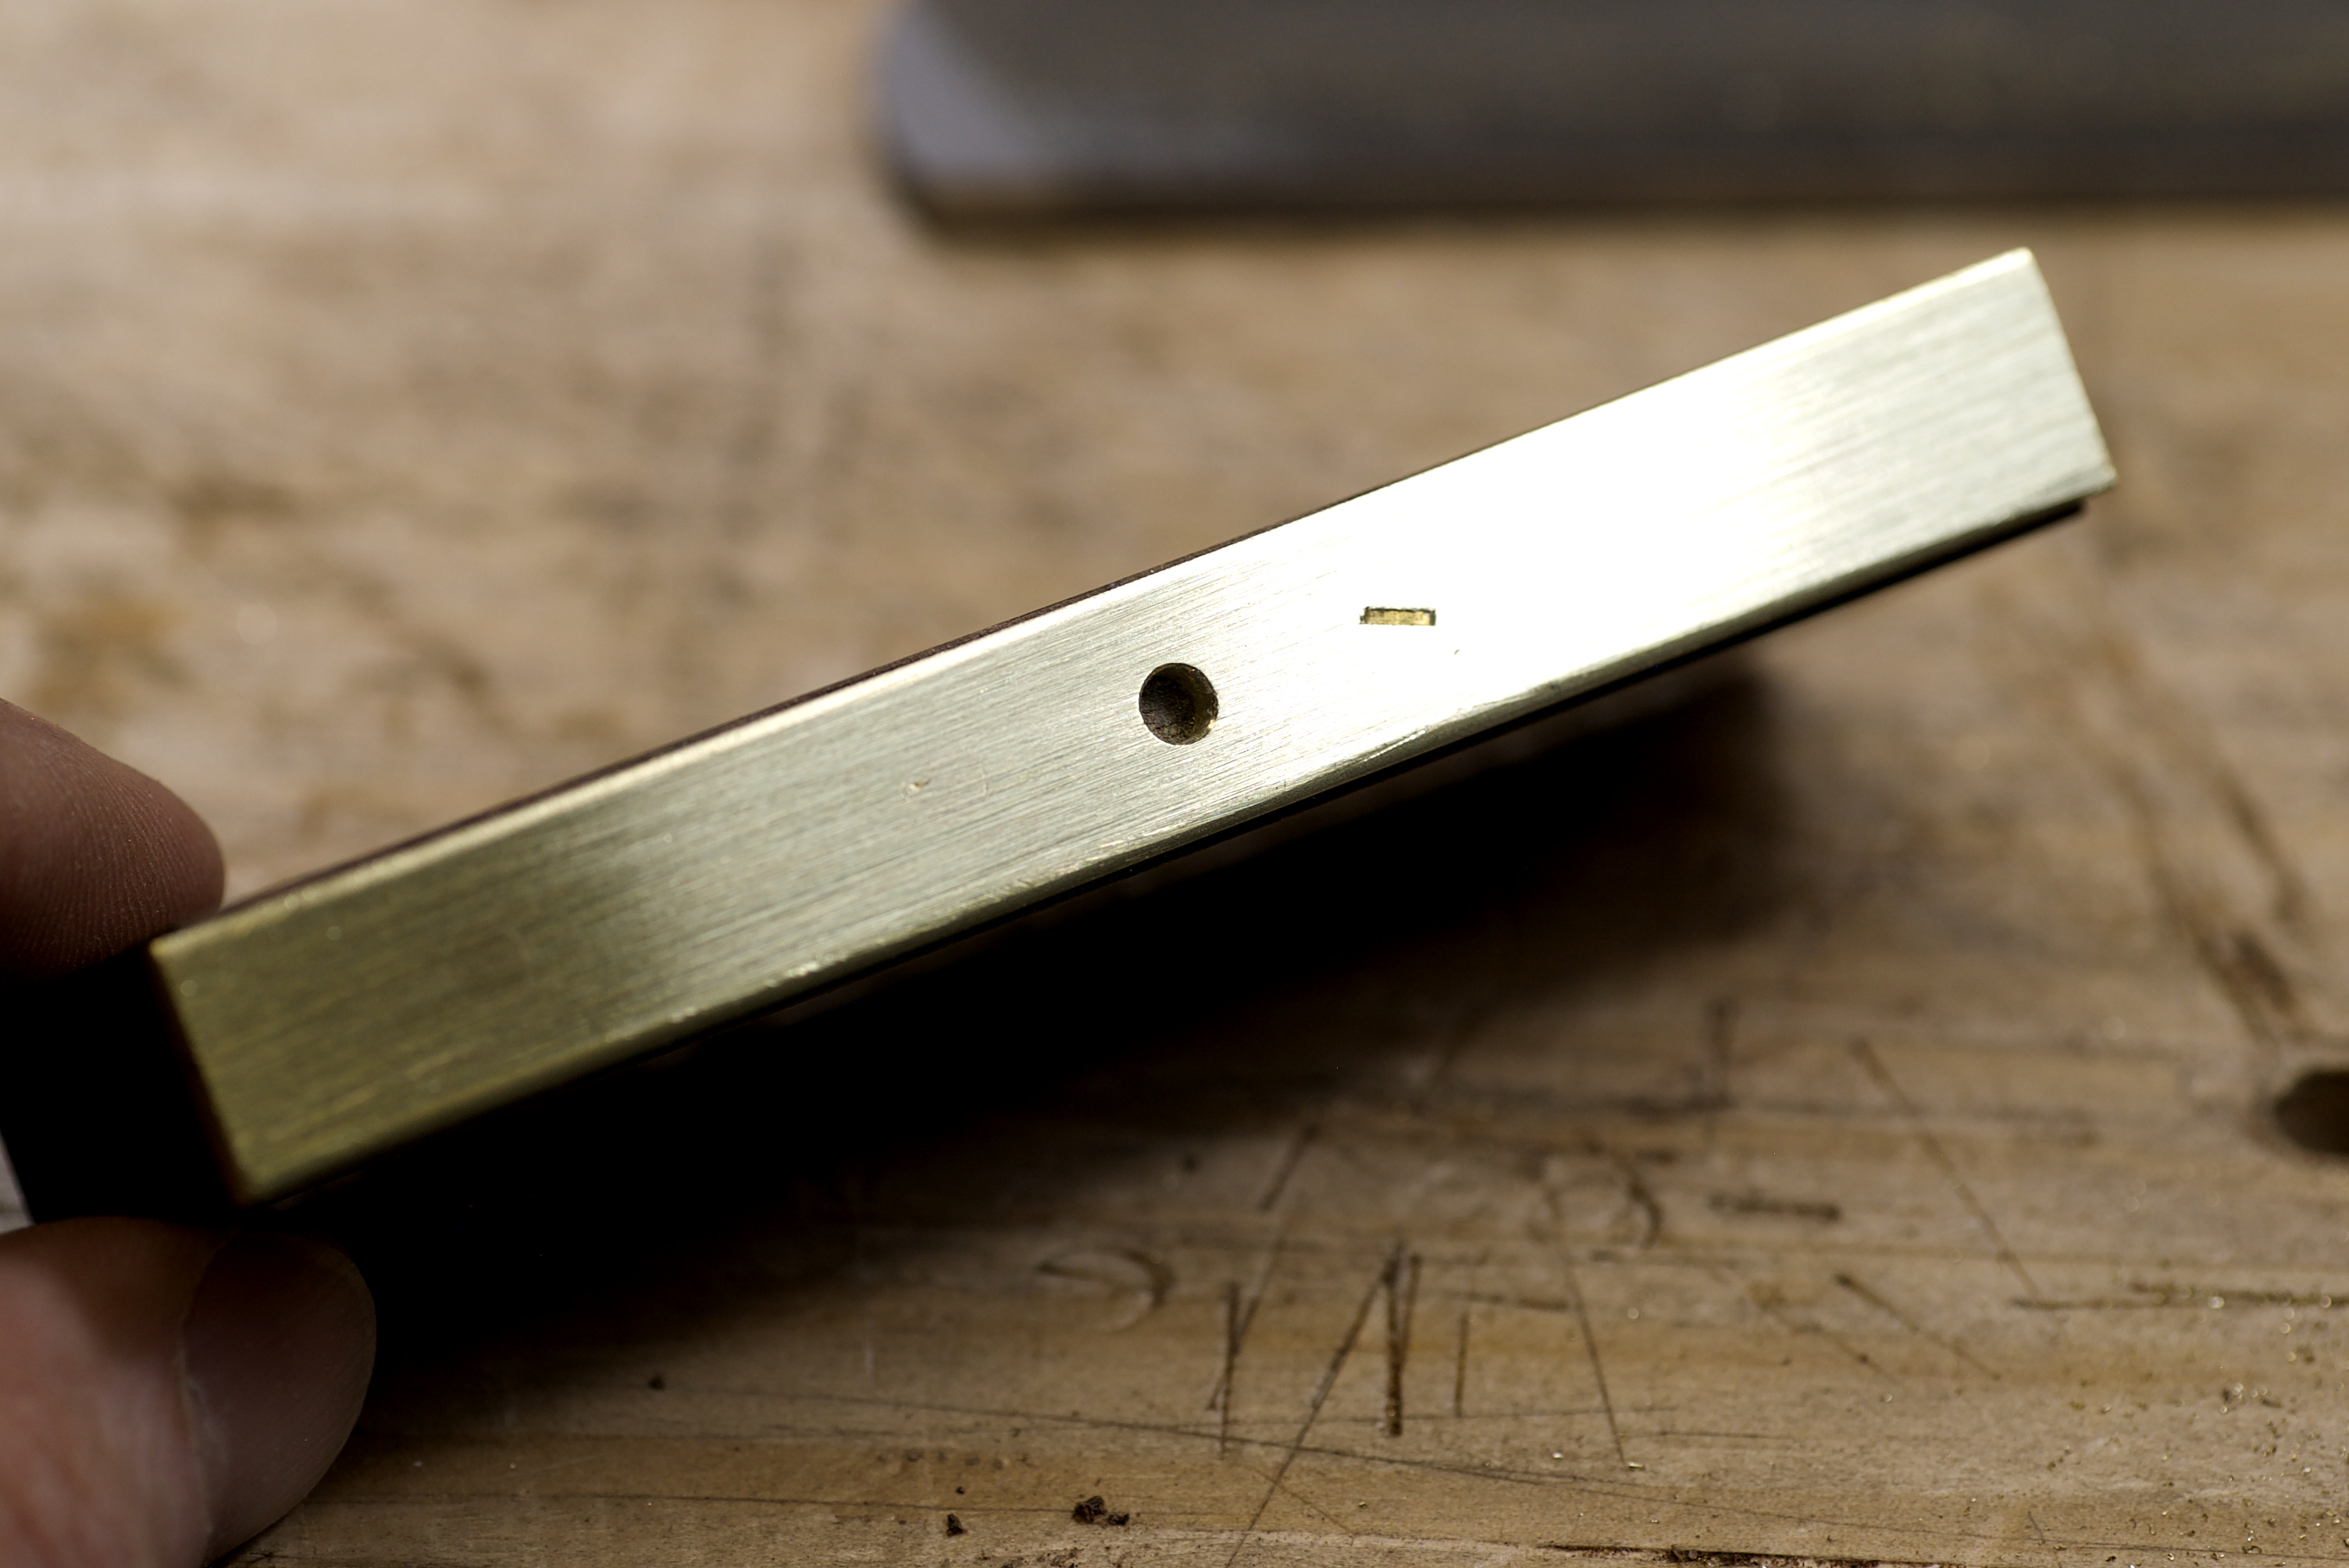
As the sanding progresses the screw heads start to disappear. It’s kind of magical, there is still enough of the head of the screw to hold tight, but you can’t see them.

There’s always one that’s a little farther into the countersink than the others. It’s takes more sanding to get down to the bottom of that screw. The brass sole is plenty thick so that’s just fine.
All gone. The brass sole is now firmly attached to the walnut with no obvious hardware. There’s no glue since the wood will move slightly over the seasons but the brass won’t.
The brass screws are still visible if you look closely. These images are at full resolution so if you open them in a new window and zoom in you can just make them out. The brass of the screws are a different color than the sole.
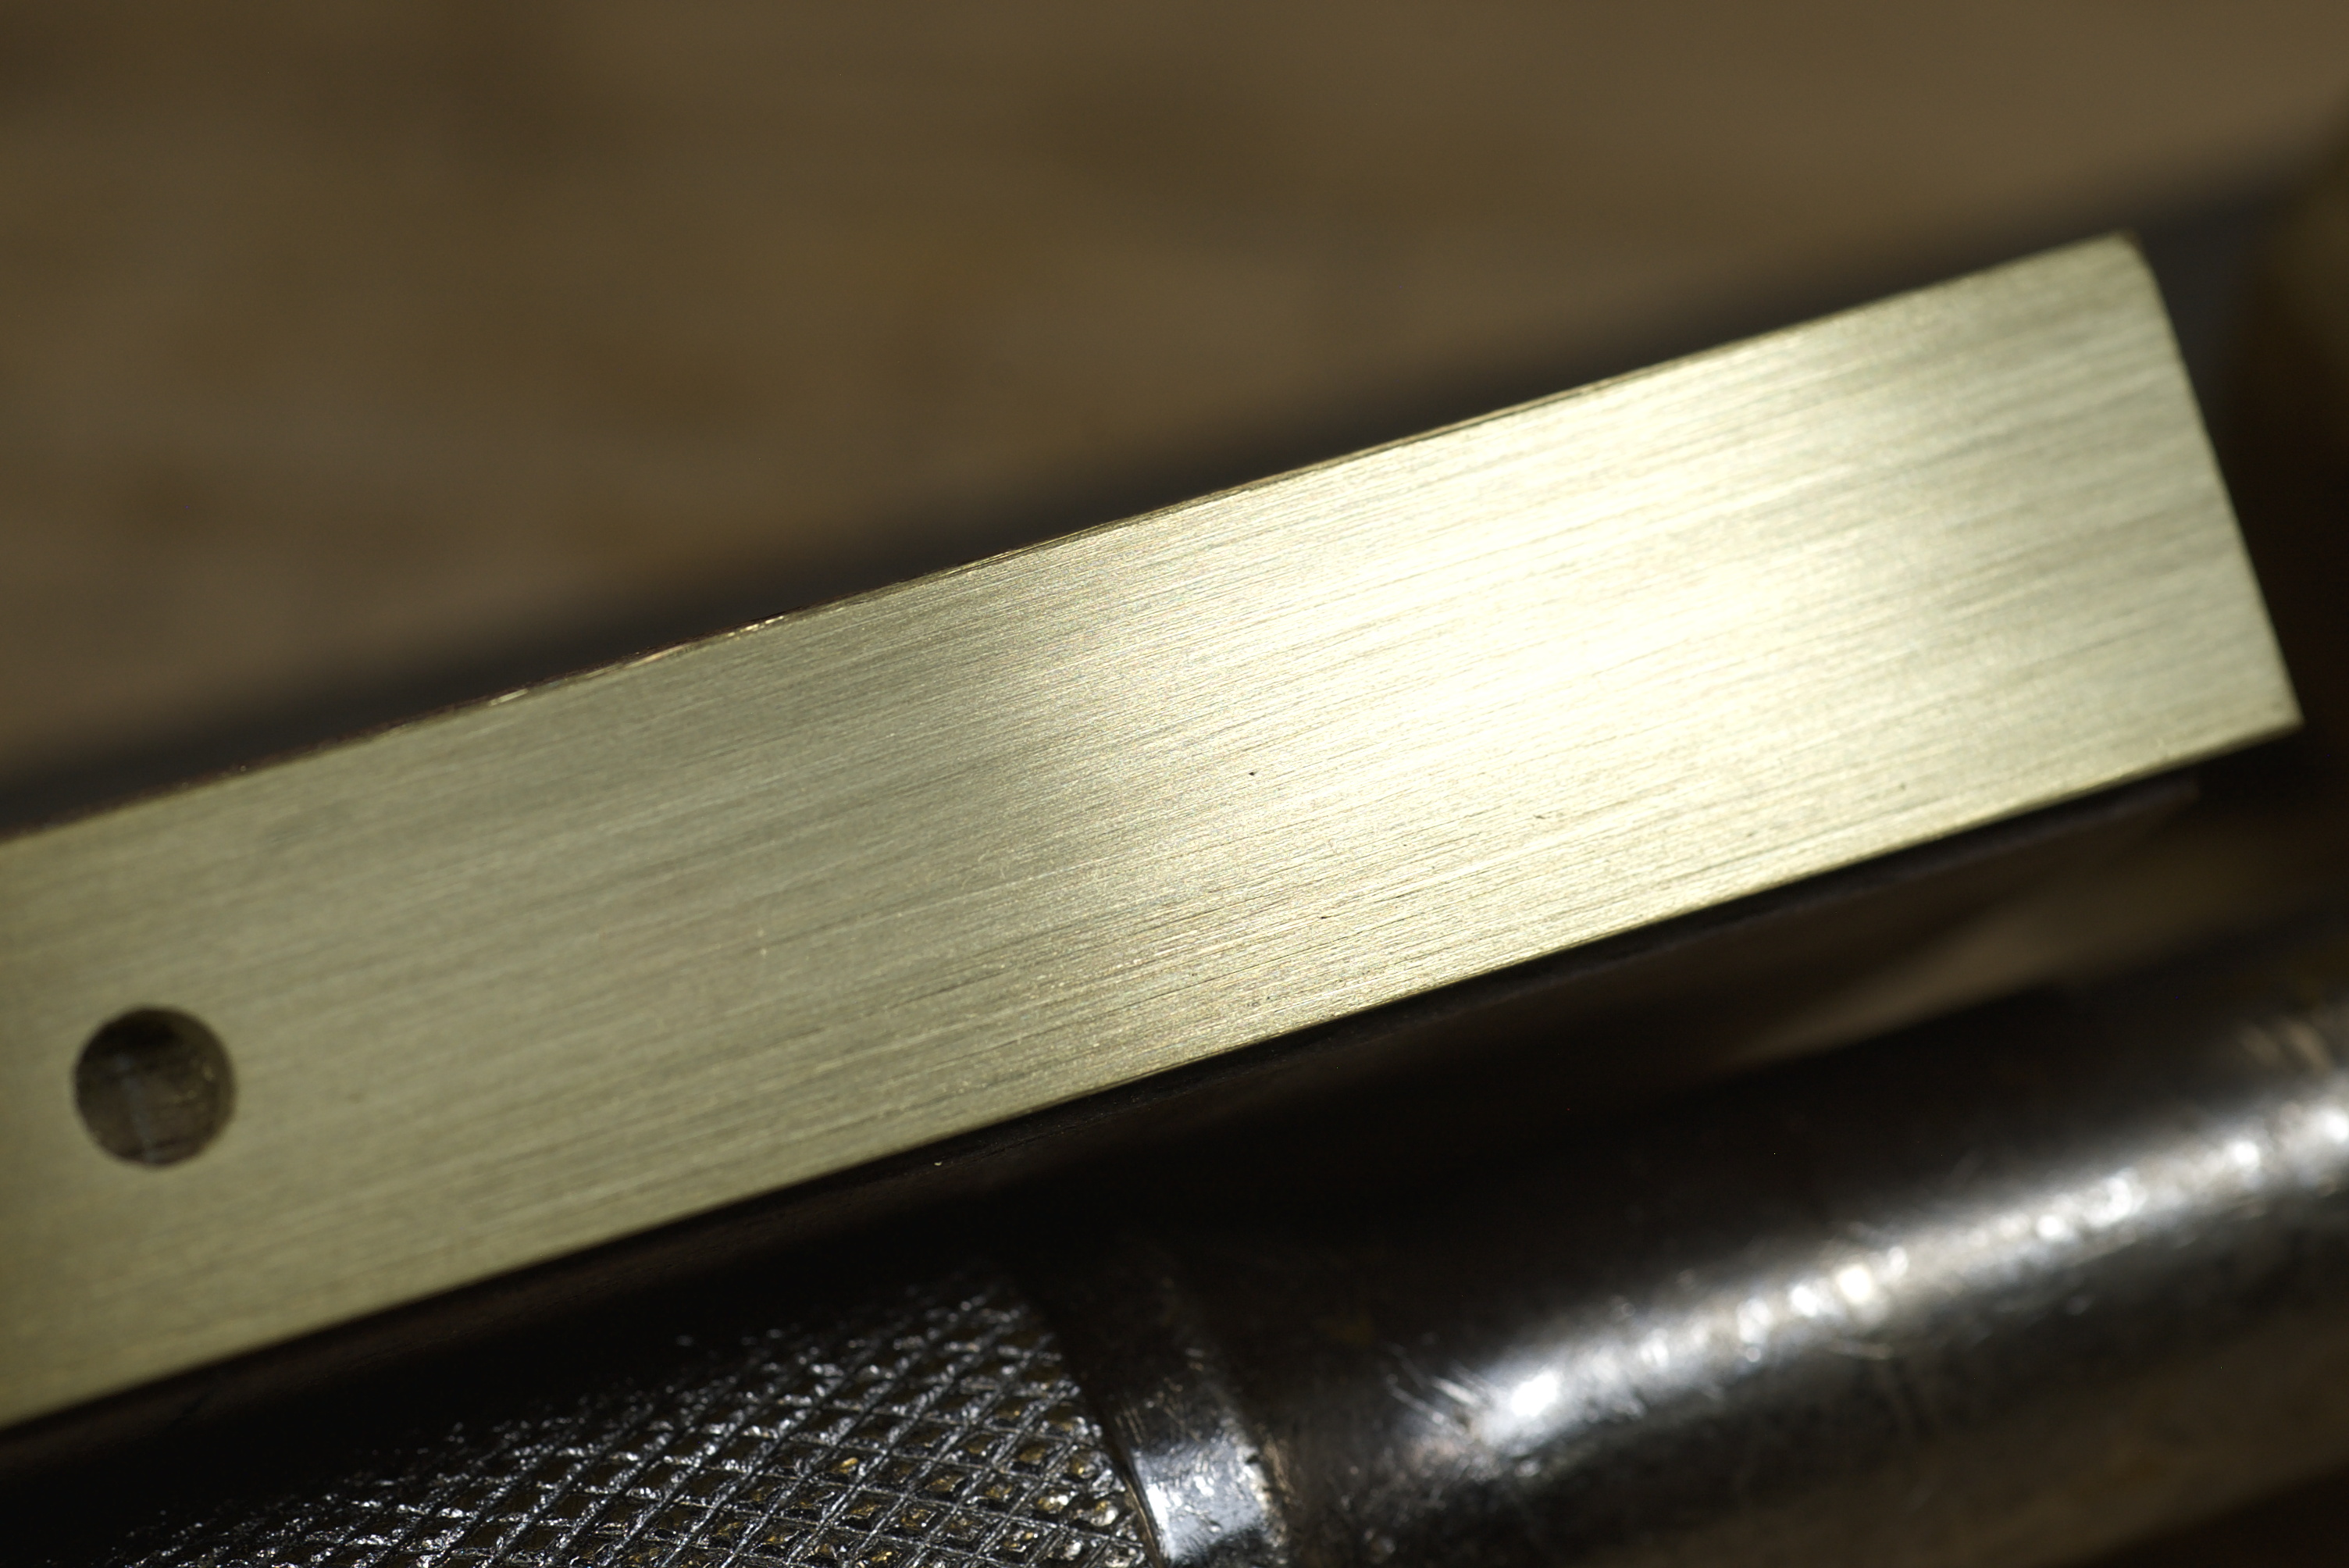
The brass sole is attached to the walnut blank. I’ve been wanting to try this technique of attaching metal to wood and this is my second time. I’m liking this and will use it more in the future.
-Eric
