

- Originally published October 1, 2018.
The next step is to drill a precise hole through the walnut for the depth rod.
Now that the blank is all squared up I started by drawing a perpendicular line from the center of the hole in the brass sole.
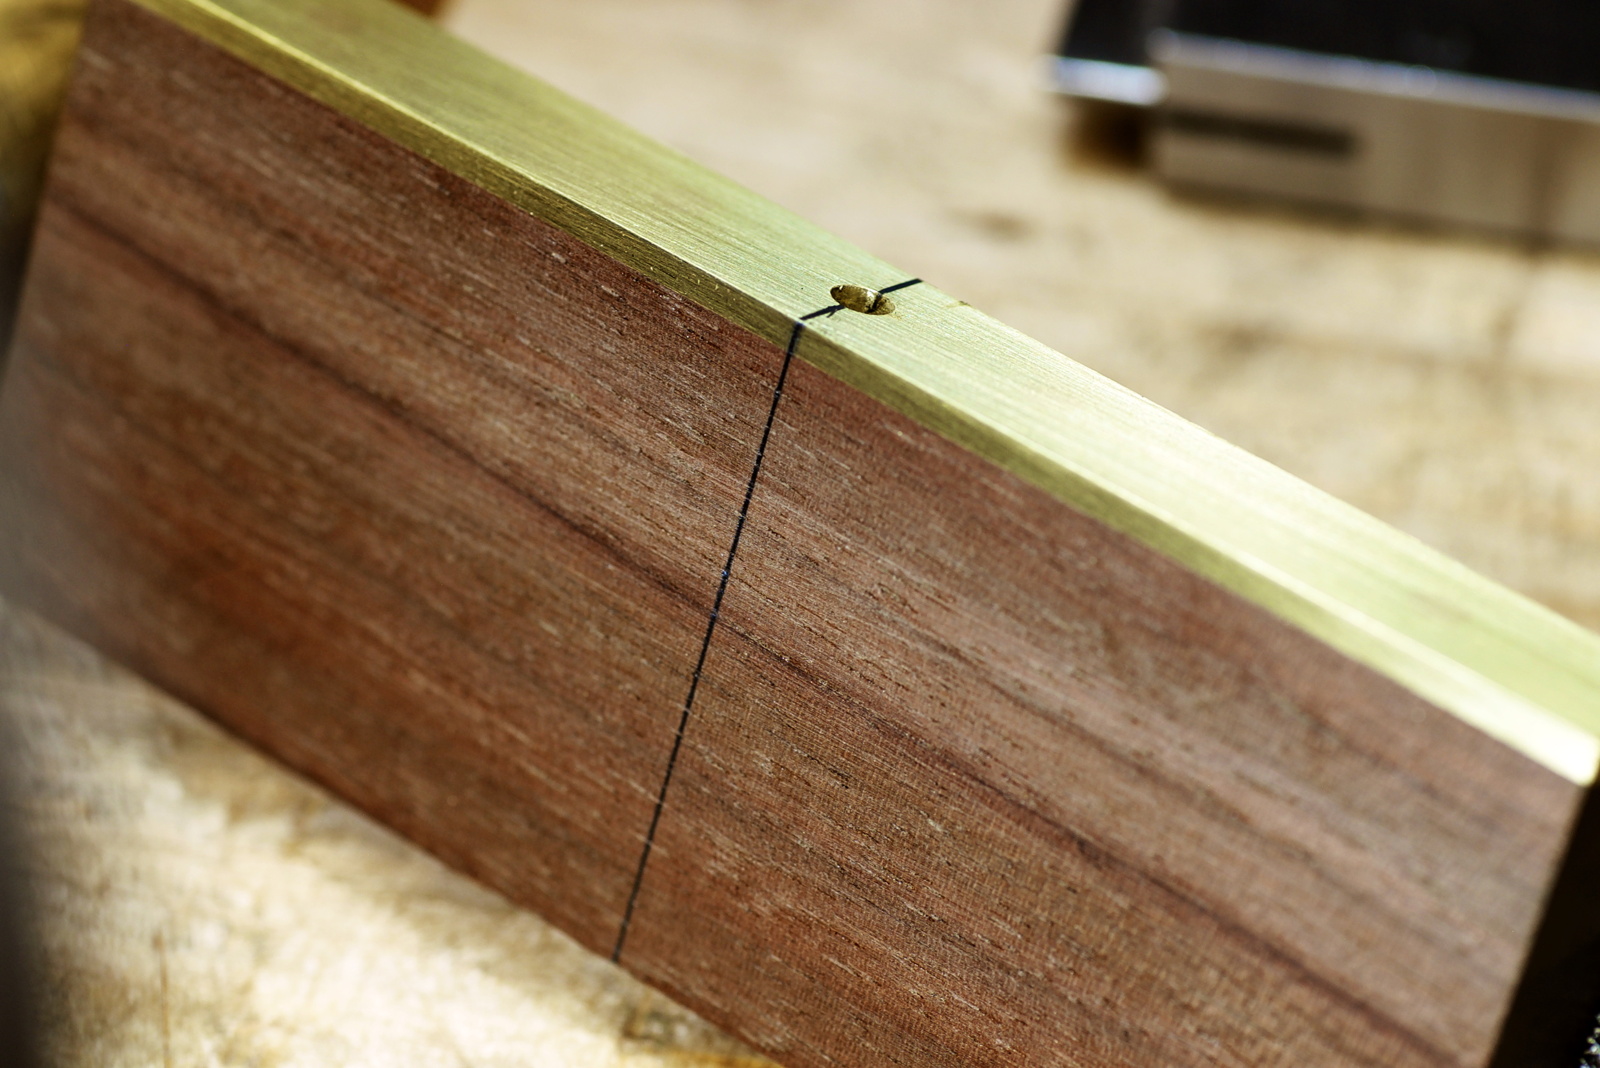
The line is extended to the top of the blank. If the blank is truly square then this line is directly over the hole in the sole.
—
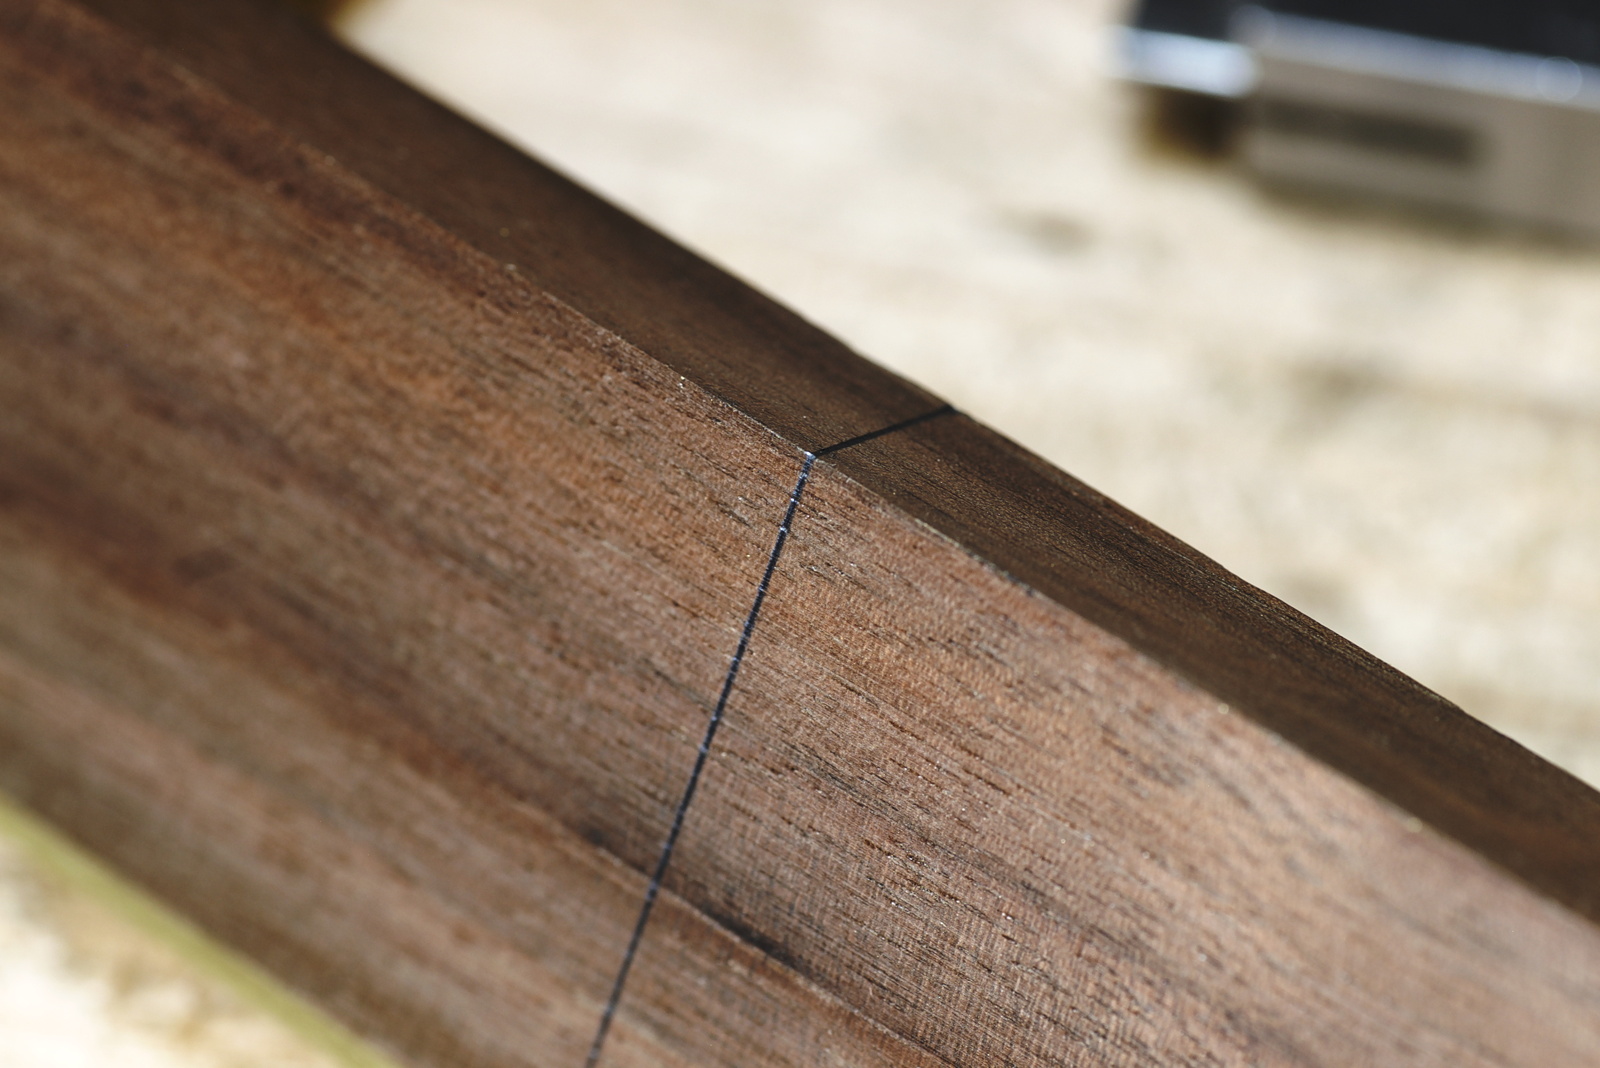
A center punch is made in the walnut on the line.

Then it’s back to the post drill. The drill bit is flagged at just over half the height of the blank. Drilling from both directions ensures the holes are in the right locations.
Notice that I can hold the blank very close to the bit. This is not safe with a powered tool. With a hand-cranked post drill it’s just fine. I’m turning the bit very slowly and if I stop cranking, the bit stops turning.

Once I drilled down to the tape flag from the bottom hole I flipped over the blank and drilled from the top. If all goes well the holes will meet in the middle.

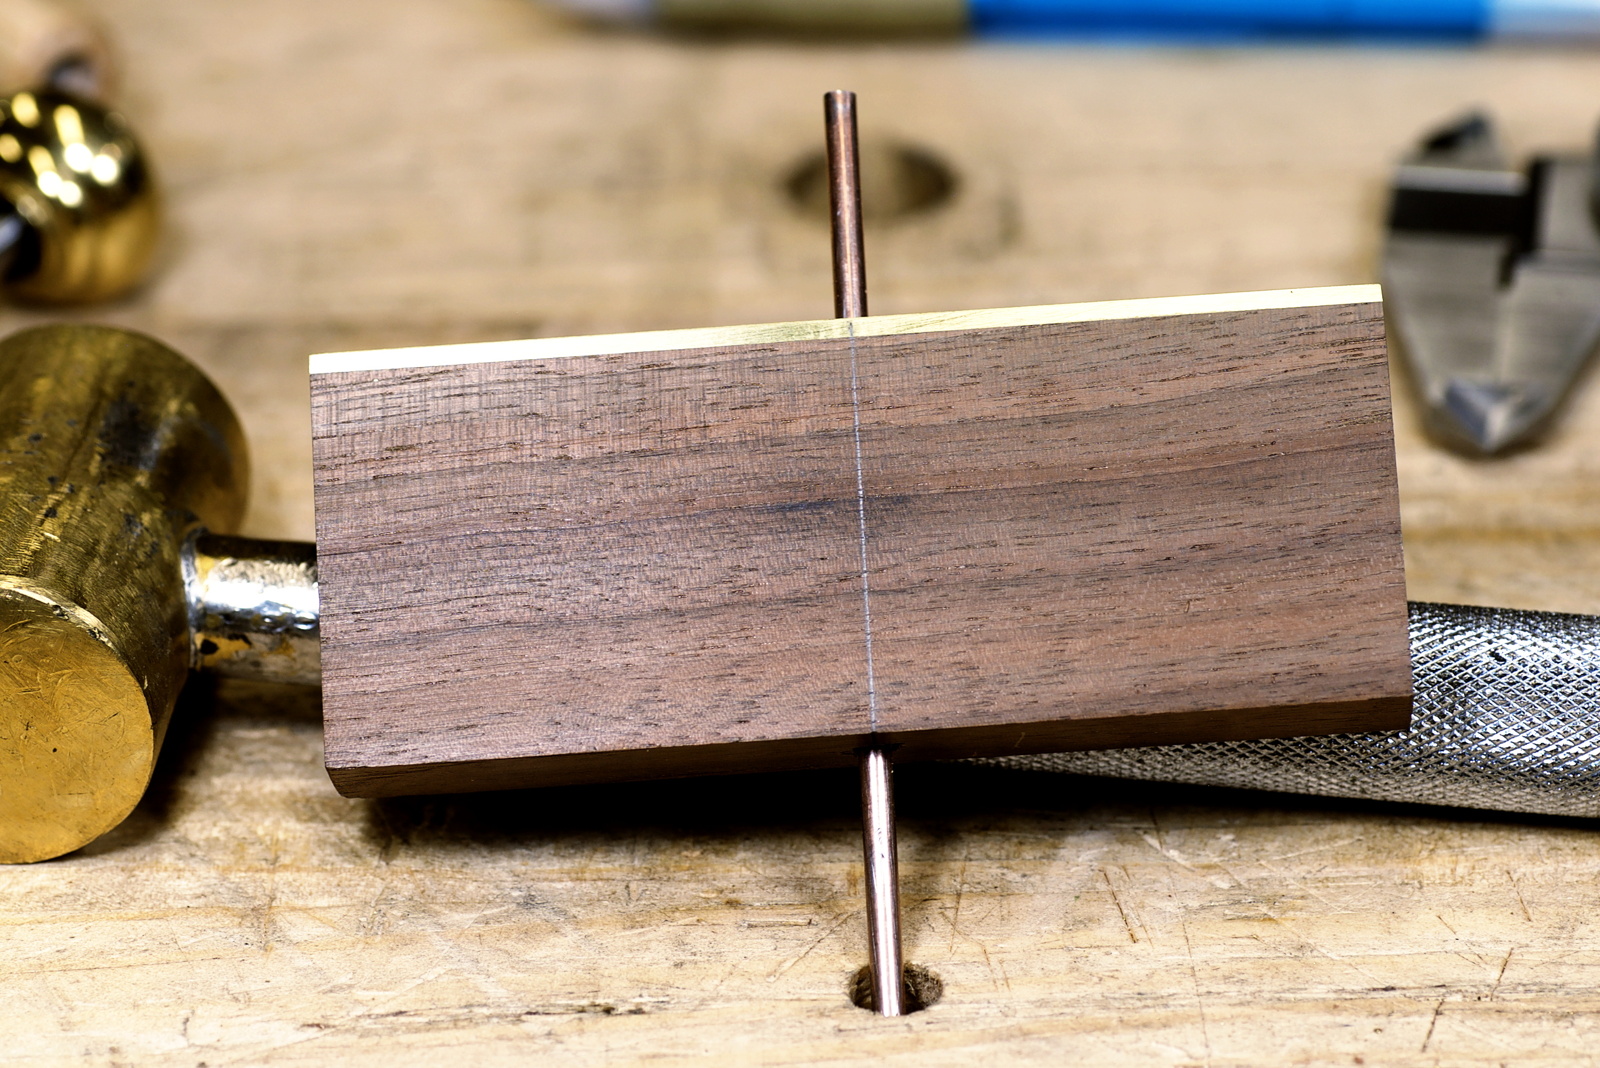
Success! The holes from both directions line up almost perfectly. The small test piece of the depth rod goes through without any effort. This rod is a TIG welding rod. It’s made of steel and coated with a thin layer of copper.
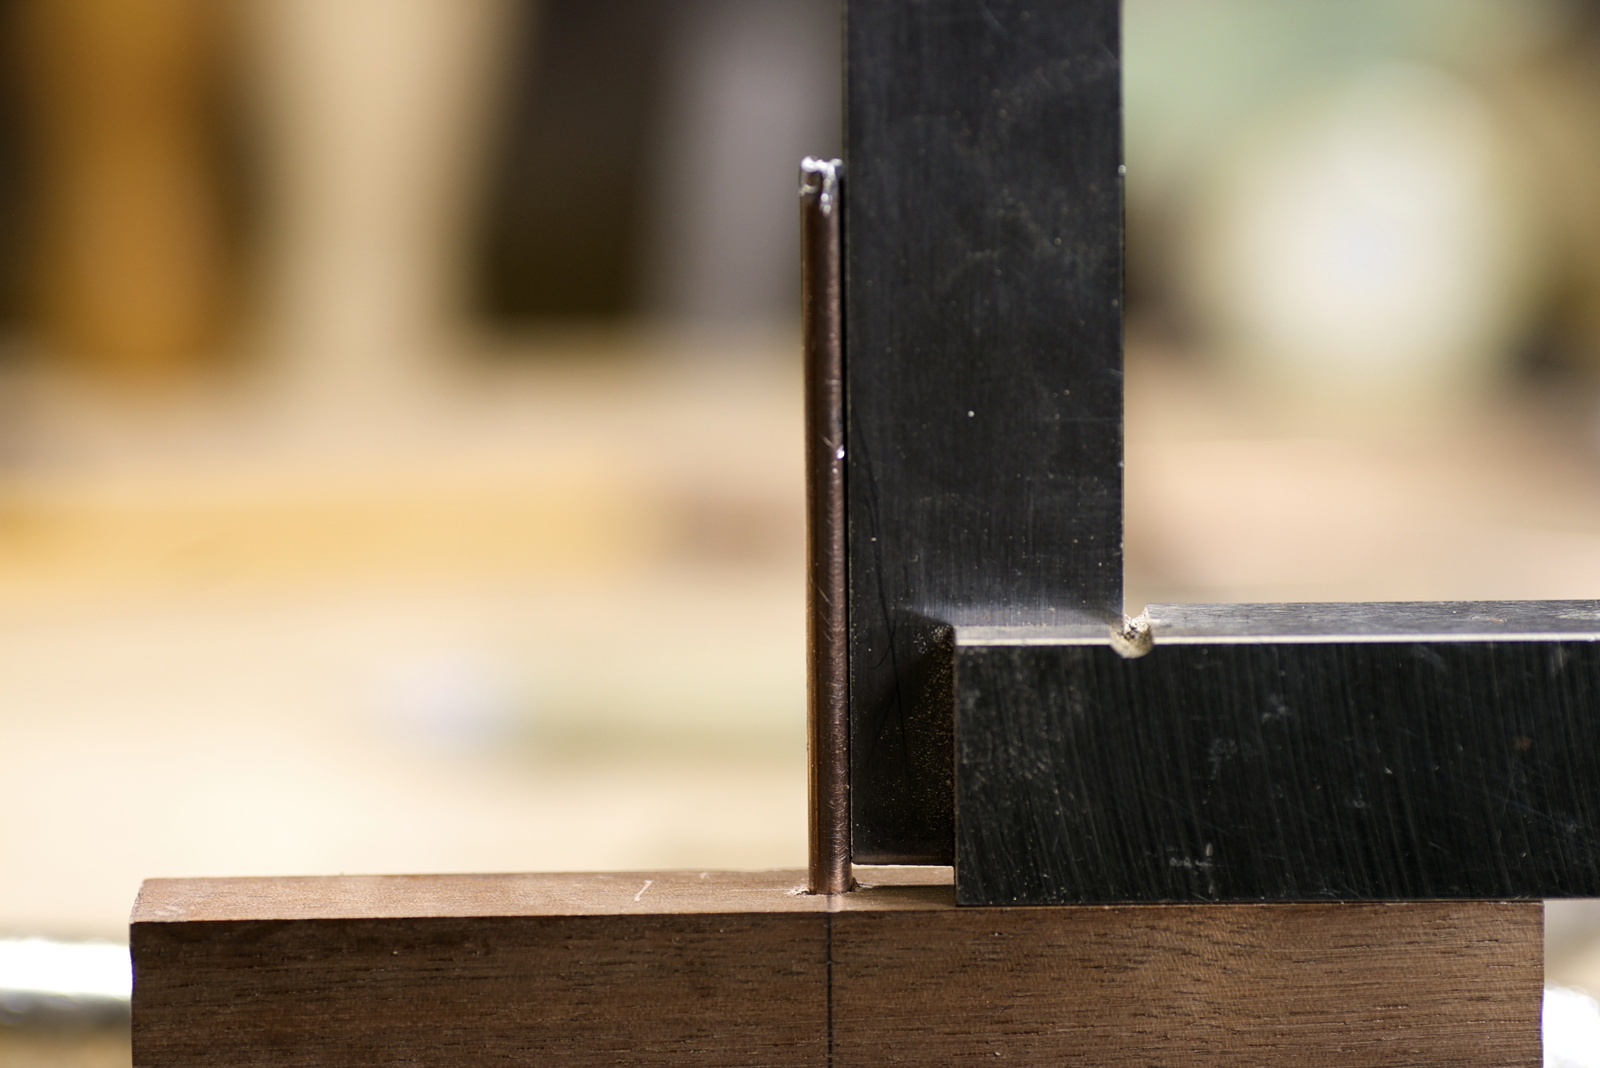
But is it square? Not quite, but not bad. It will take a small amount of adjusting the hole to make it perfect.

And there we have it. The depth rod is square to the top and the sole. That’s one of the few critical parts of this tool build.
I’m making progress, documenting this build is taking longer than the build itself. Funny how that goes sometimes.
-Eric
