

- Originally published October 3, 2018.
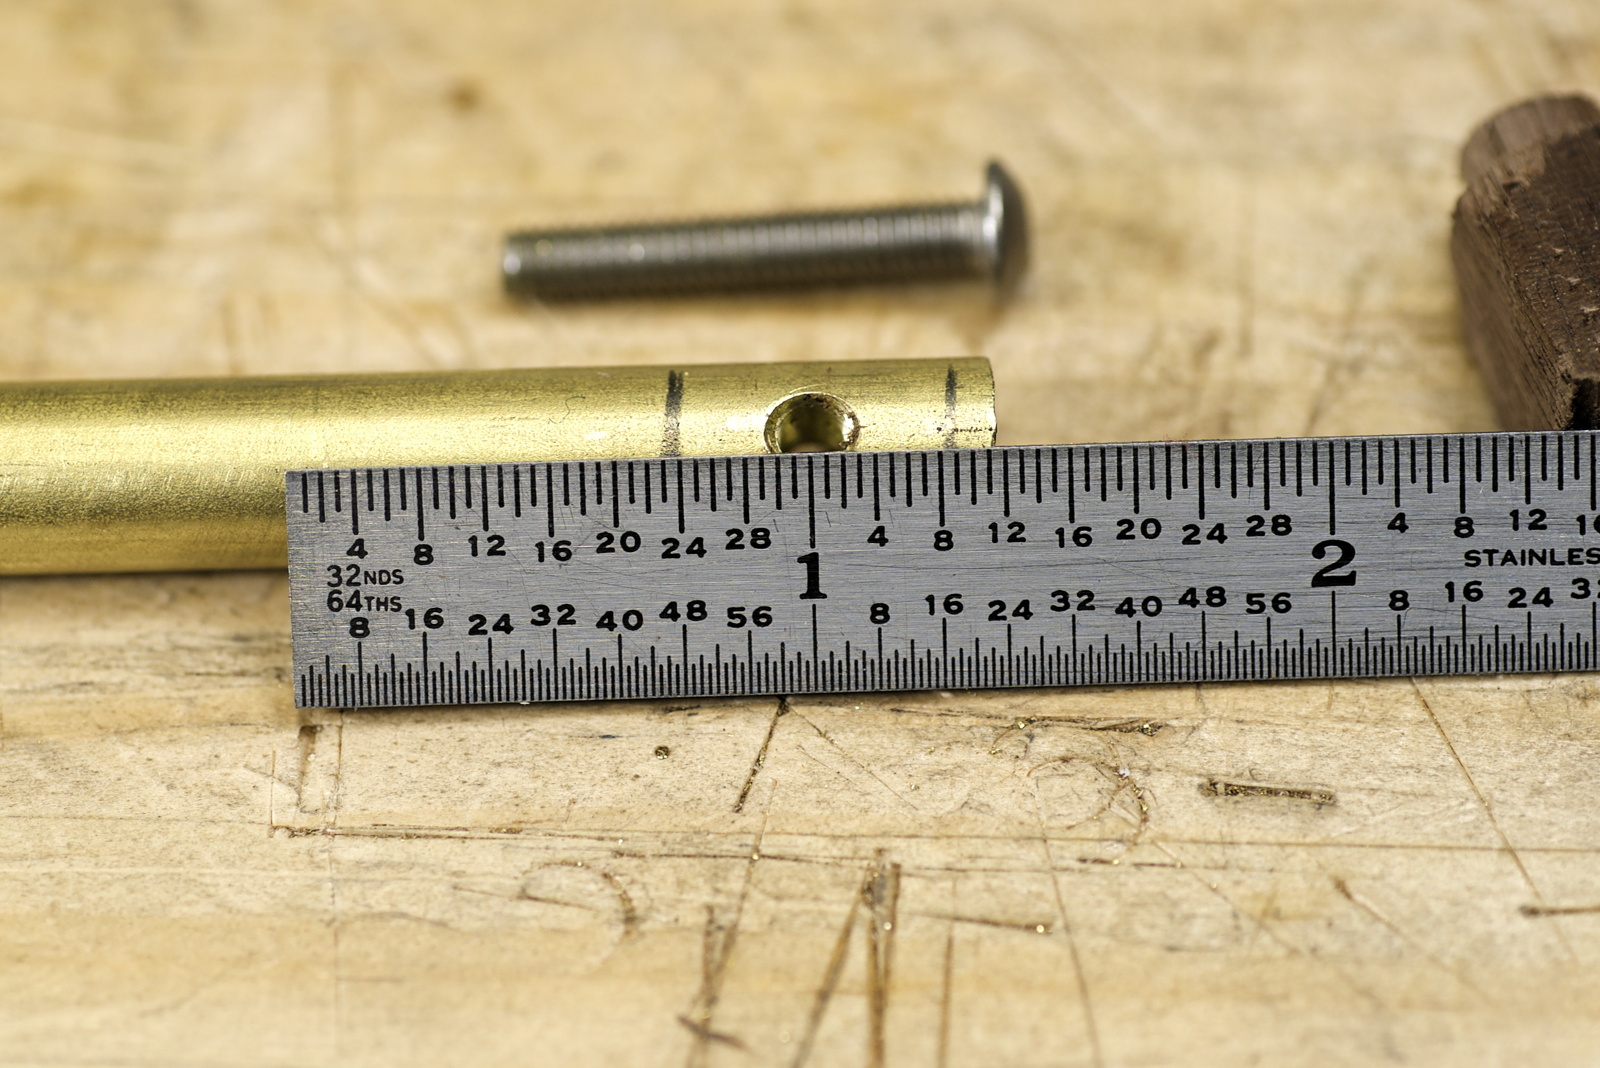
I’m using a barrel nut for the locking bolt. That’s the one that locks the depth rod into position. This needs to be custom made as they aren’t readily available in the exact size I need. I start with a 3/8" brass rod and the first step is to drill a hole for a 8-32 bolt. This was not working at all, the hole was never centered. I got some tips from some friends and made this drilling guide from the same brass rod. When clamped together in a drill press vise it finally worked. I was able to use my hand-cranked post drill for this so I’m still fully unplugged for this project.

An 8-32 tap was used next. A machinist friend told me that brass can be hard to tap. I’ve seen this and have broken hardened steel taps in brass before. This time I used lots of oil and went very slowly. I was able to make nice threads this time.

The new threads.

The locking bolt I’m using is a stainless steel button cap screw. I’ll add a wood knob to it in a later step.

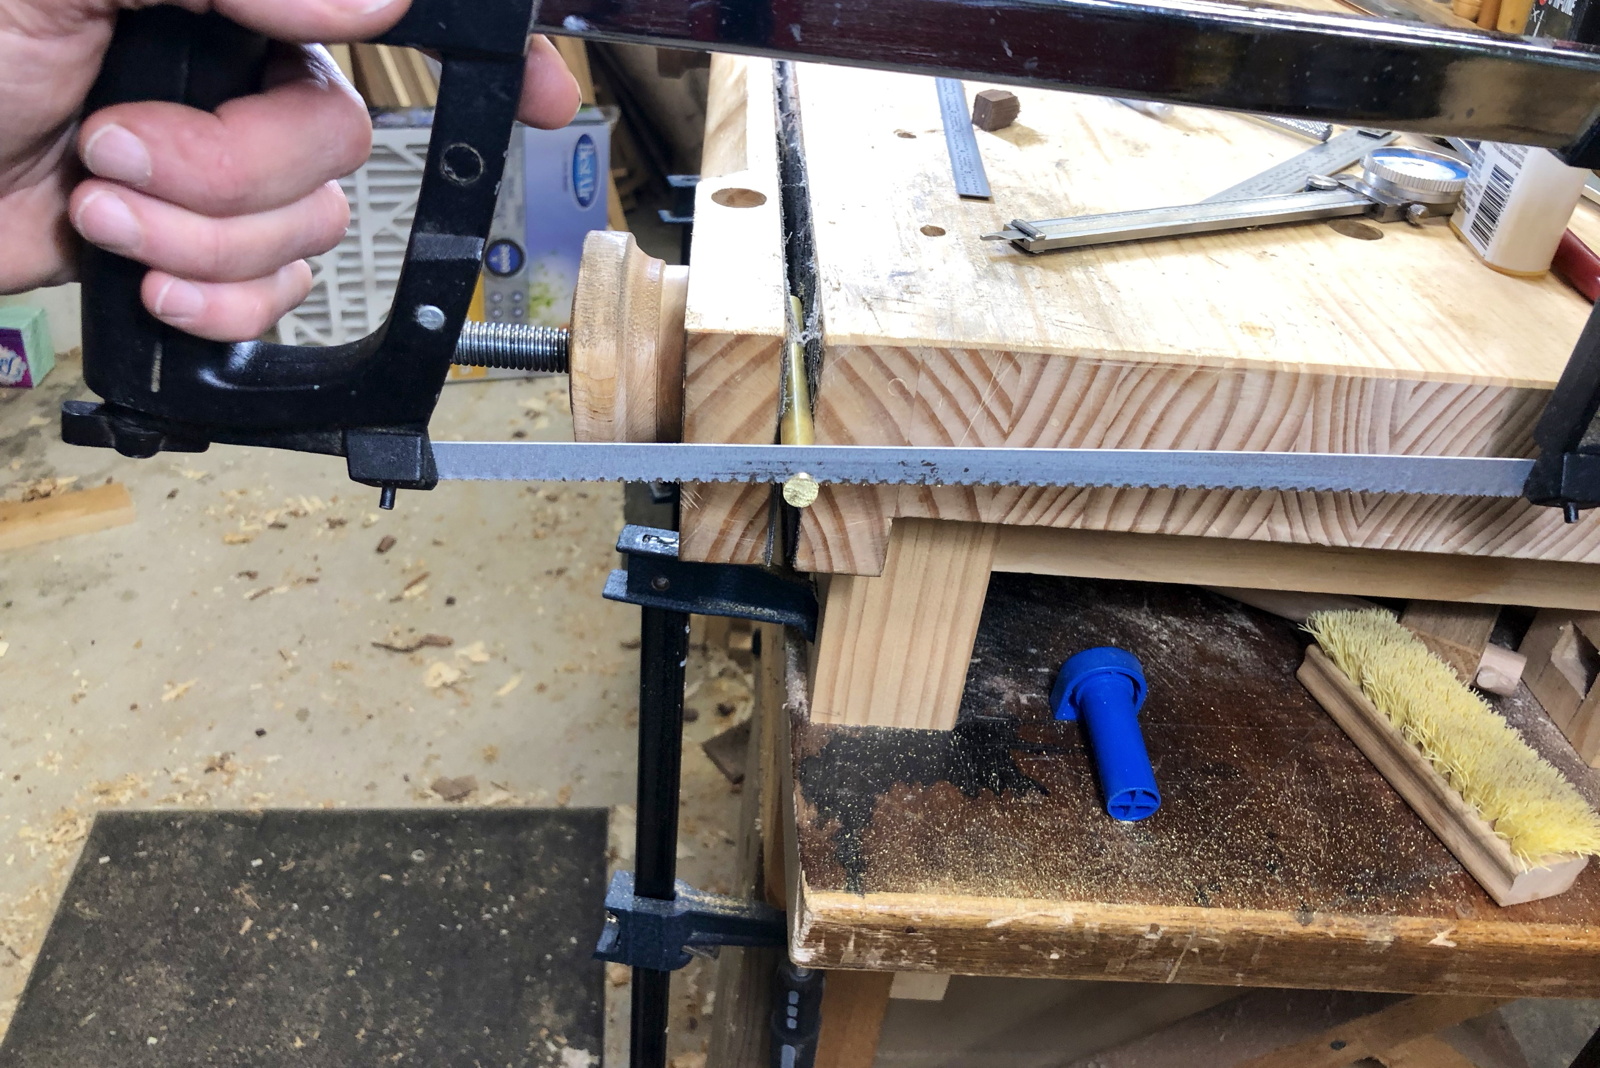
I made the hole with plenty of space to cut the barrel nut. It needs to end up at 1/2" with the hole centered.
I don’t have a machine shop, just a woodworking shop. All the metal work is done with simple tools like drills, taps, hack saws, and files.
And here we have the finished custom brass barrel nut. It’s ready to be installed in the next step.

The build is progressing and I’m liking the processes I’m learning.
-Eric
