
- Originally published October 12, 2018.
Shaping the Body
On to shaping the body and gluing in the barrel nut.
The first step is to cut close to the lines with a crosscut carcass saw.
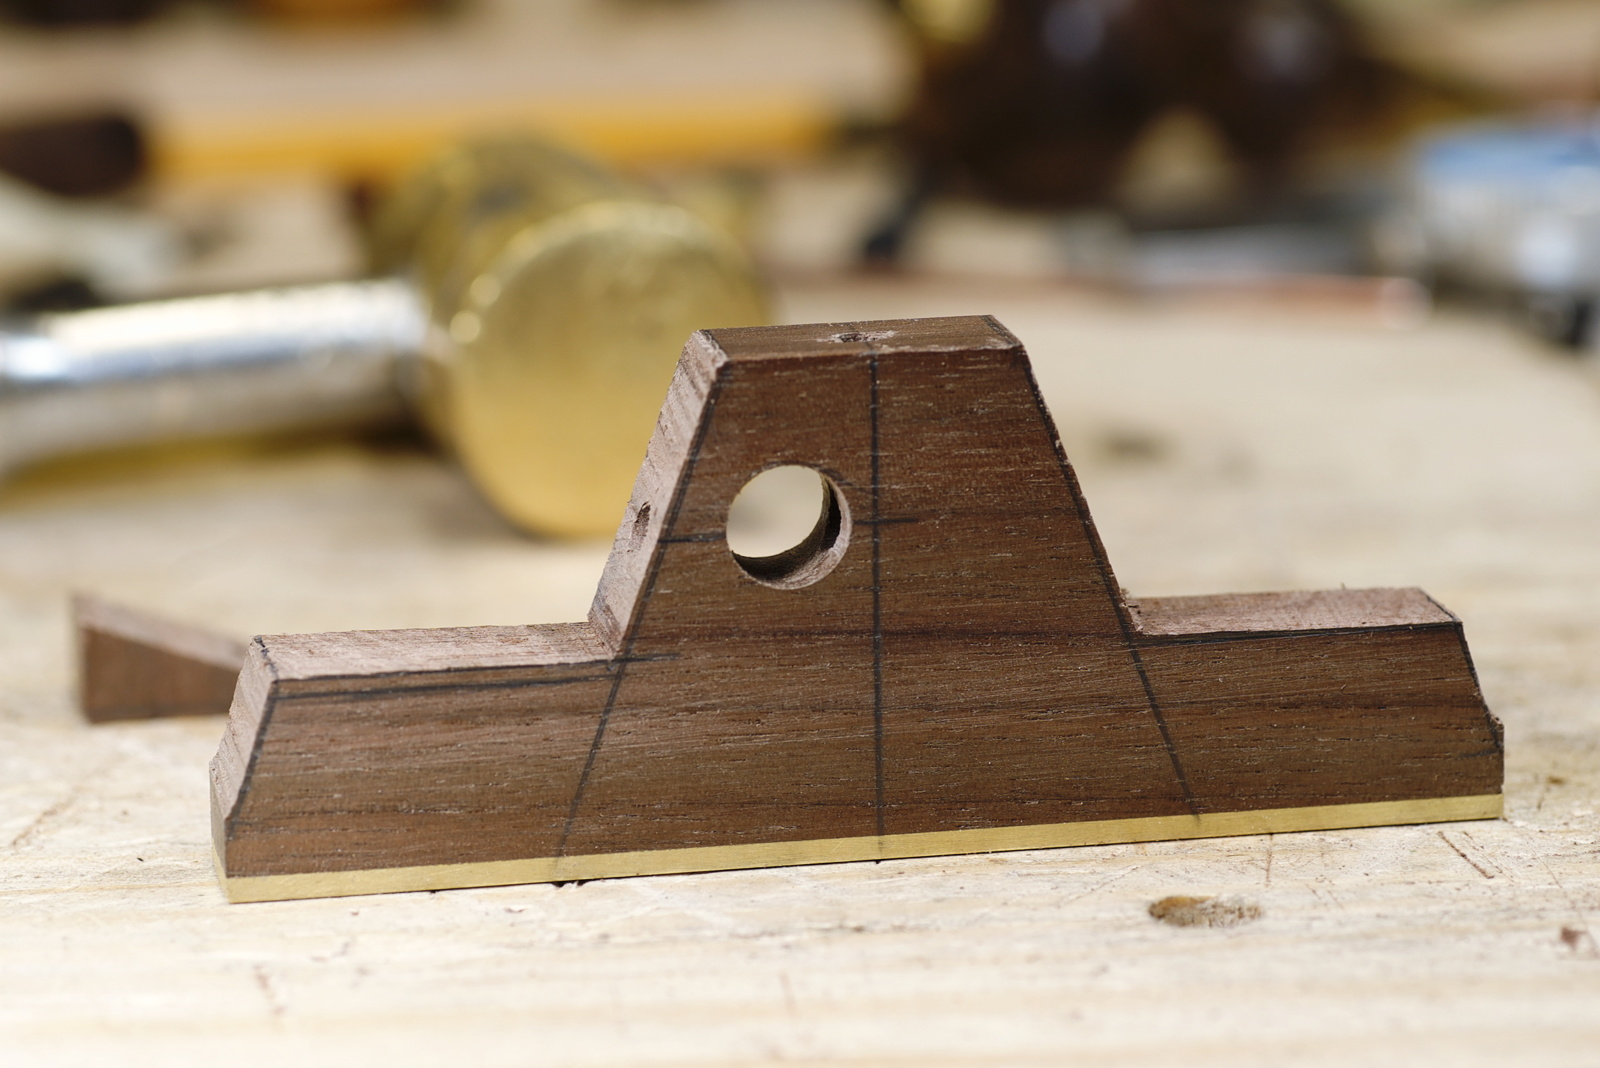
Using freshly sharpened chisels the body is pared to its final shape.
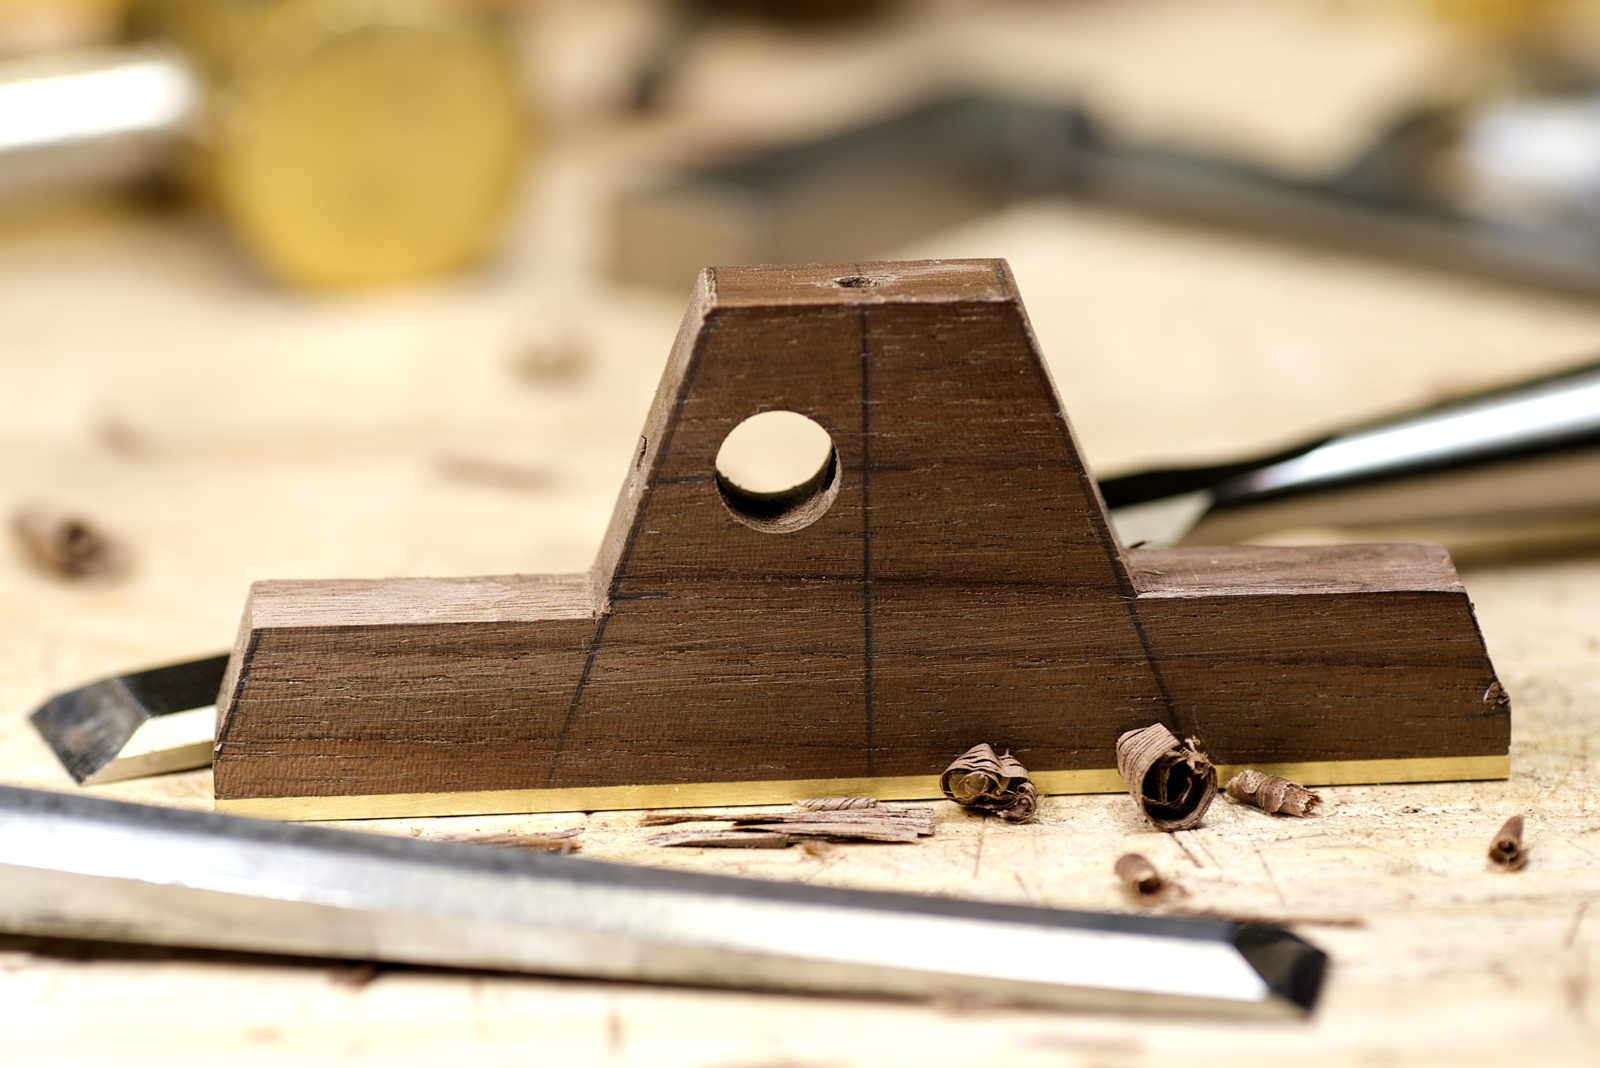
The barrel nut is carefully aligned and glued in with CA glue. The cap screw was not in place for the gluing. Some glue did get into the threads and a tap was used to clean them up. The cap screw is added to check the alignment. So far, so good.

The ends of the barrel nut are filed down to very close to the walnut. Then the final leveling of the barrel nut to the body is done on the glass plate with PSA 80-grit paper.

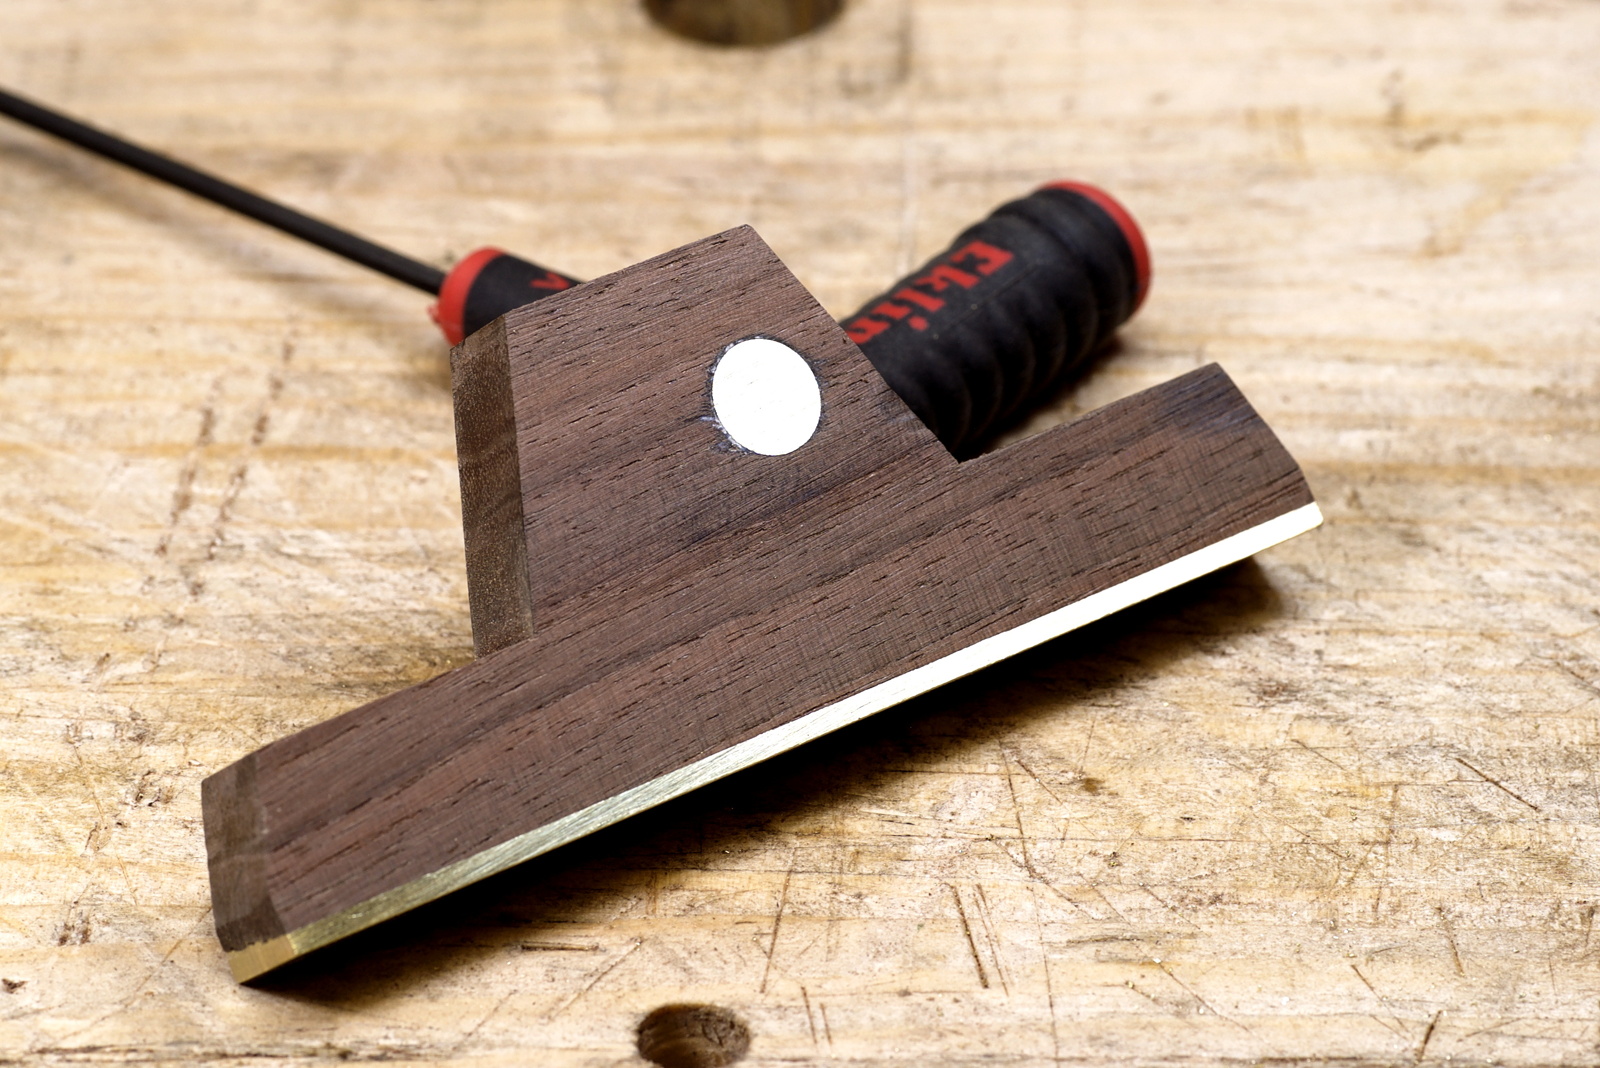
The body has been shaped and the barrel nut leveled. It’s starting to look like a unified piece now.
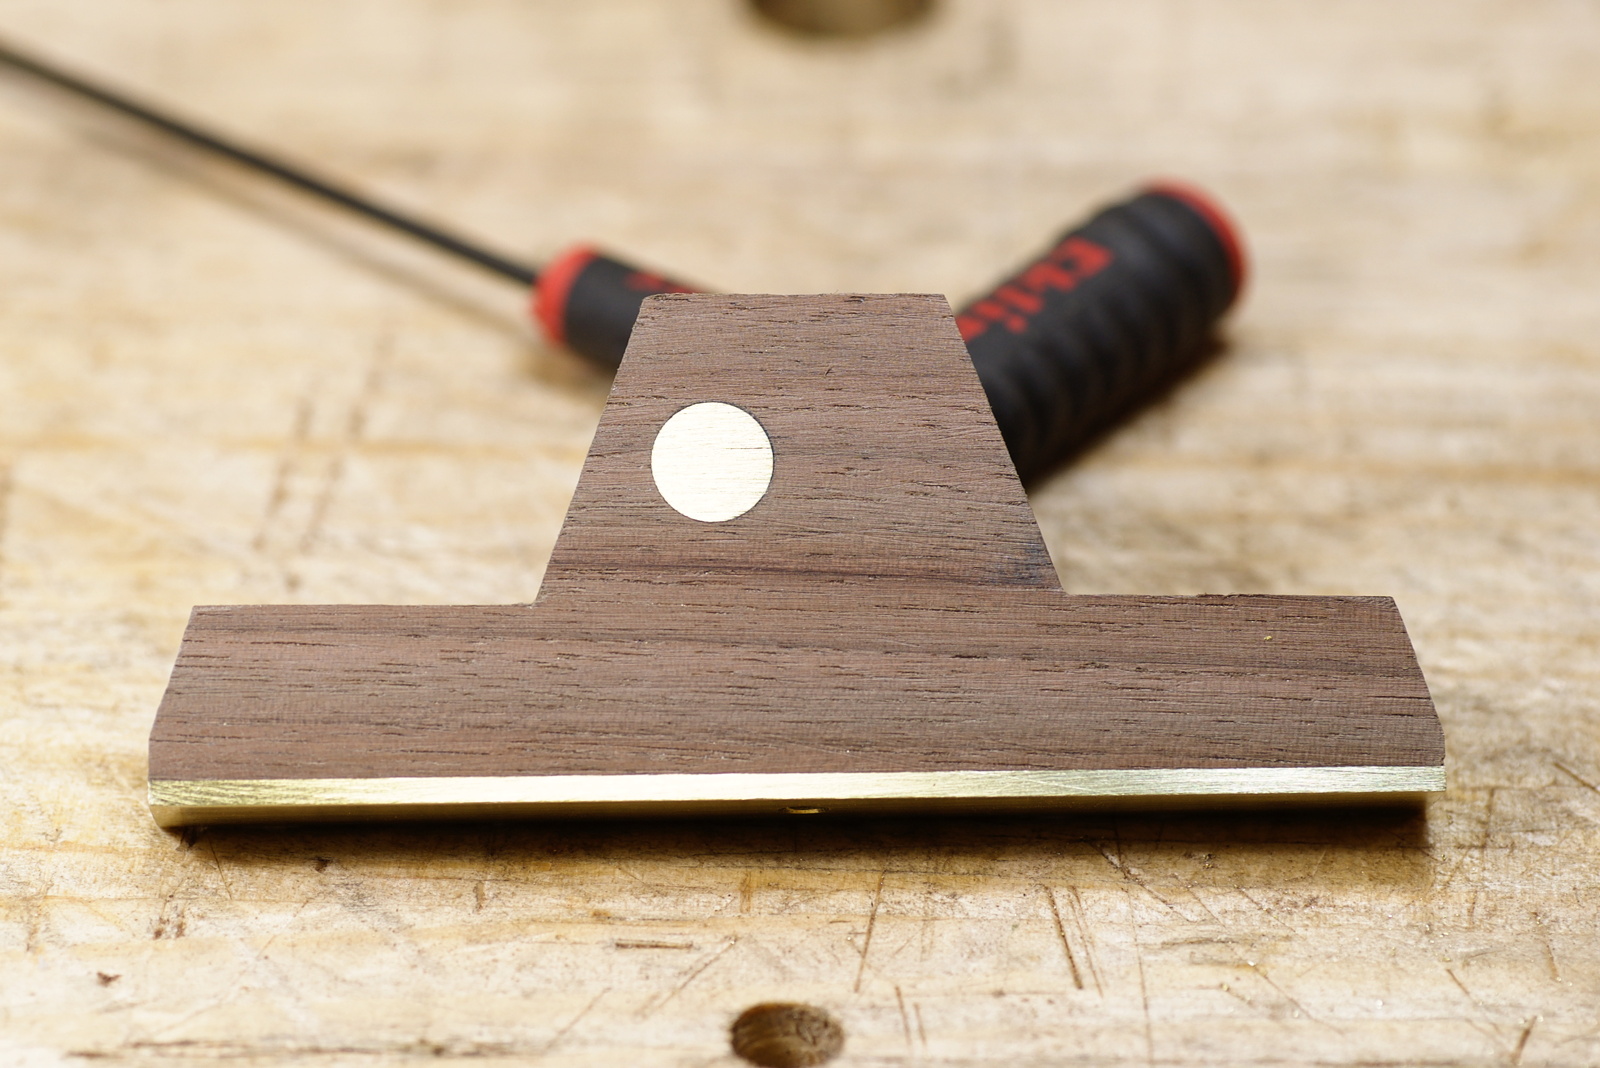
The other side is looking good too.
Next, lines for the chamfer are drawn. This was done freehand by eye.
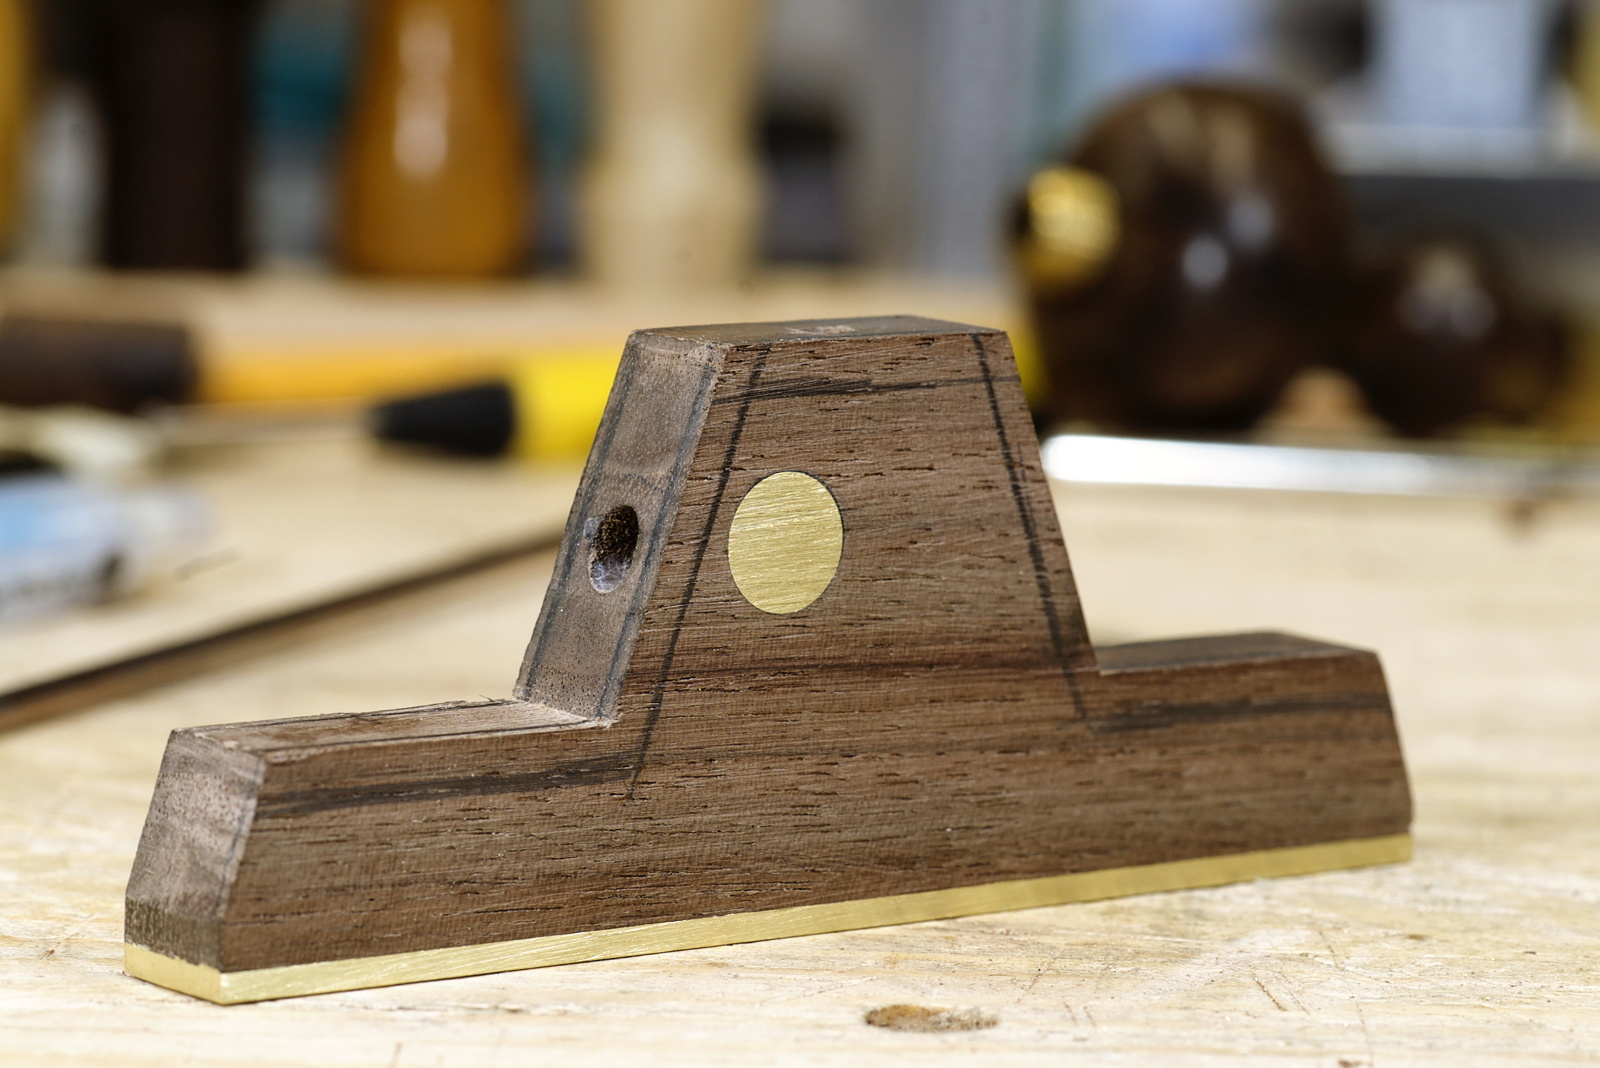
The chisel edges were touched up and the chamfers cut.

The locking screw and depth rod are next.
-Eric
