
The End Vise
I had a new Woodriver 10 1/2" quick release vise and I wanted to use it on my new bench. I’m also going to have a leg vise and I know many people don’t have vises on the other end of their bench. I think it will be handy to have and I already have the vise.
Putting it in the center of my 22" bench seems like the easiest way to install it.

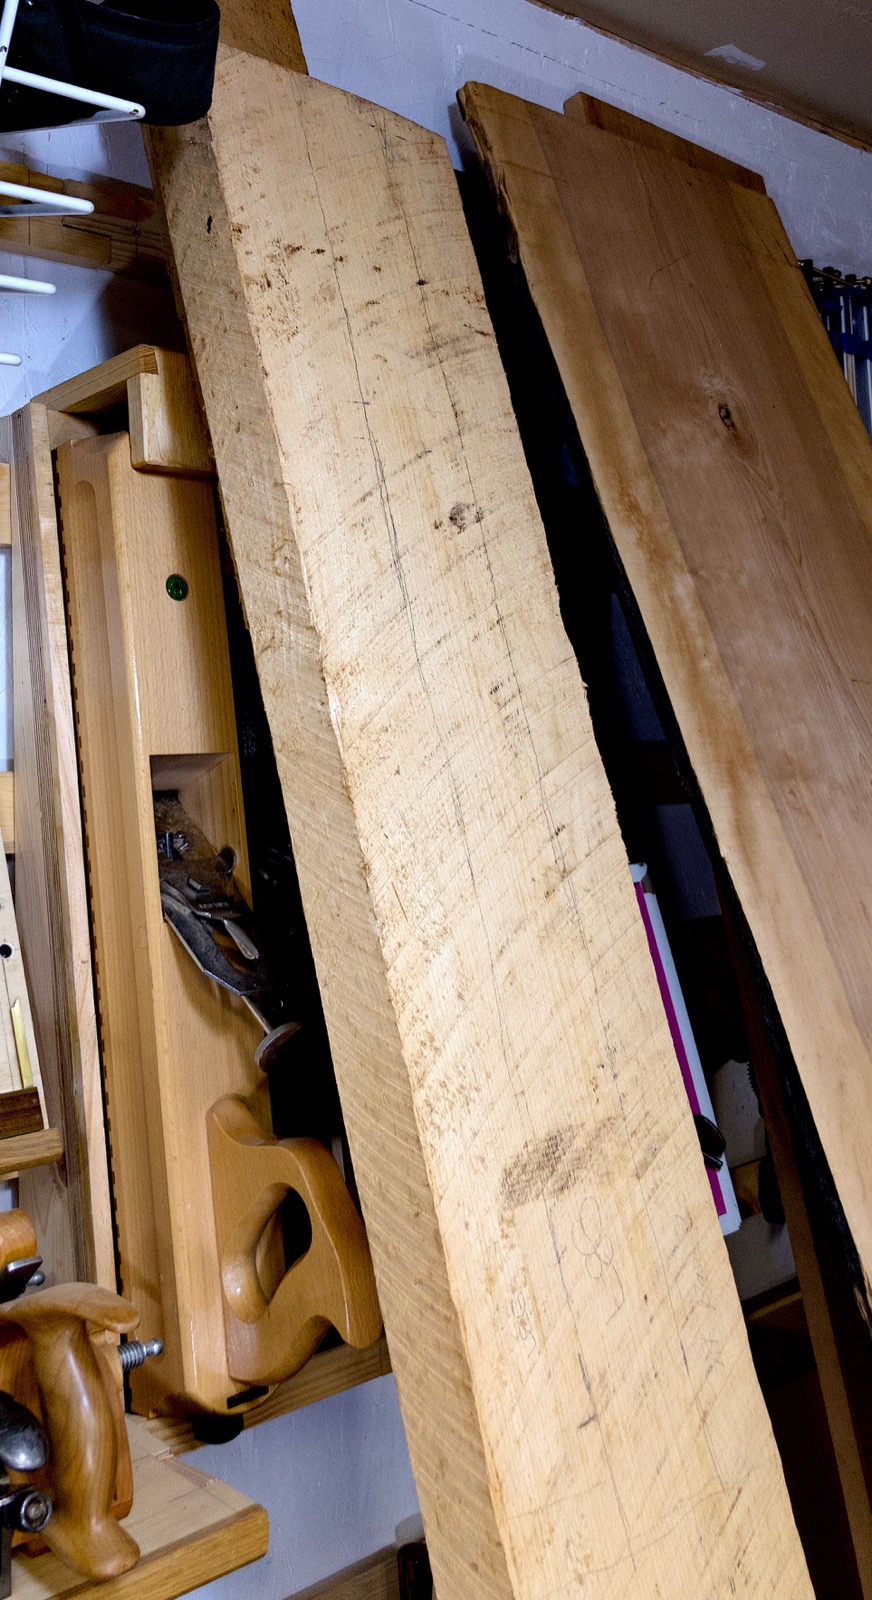
I need to add a chop to the vise that is the full width of the bench. I looked in my wood pile and came up with this maple board. It is very hard and heavy and will work for the vise jaw and the leg vise.
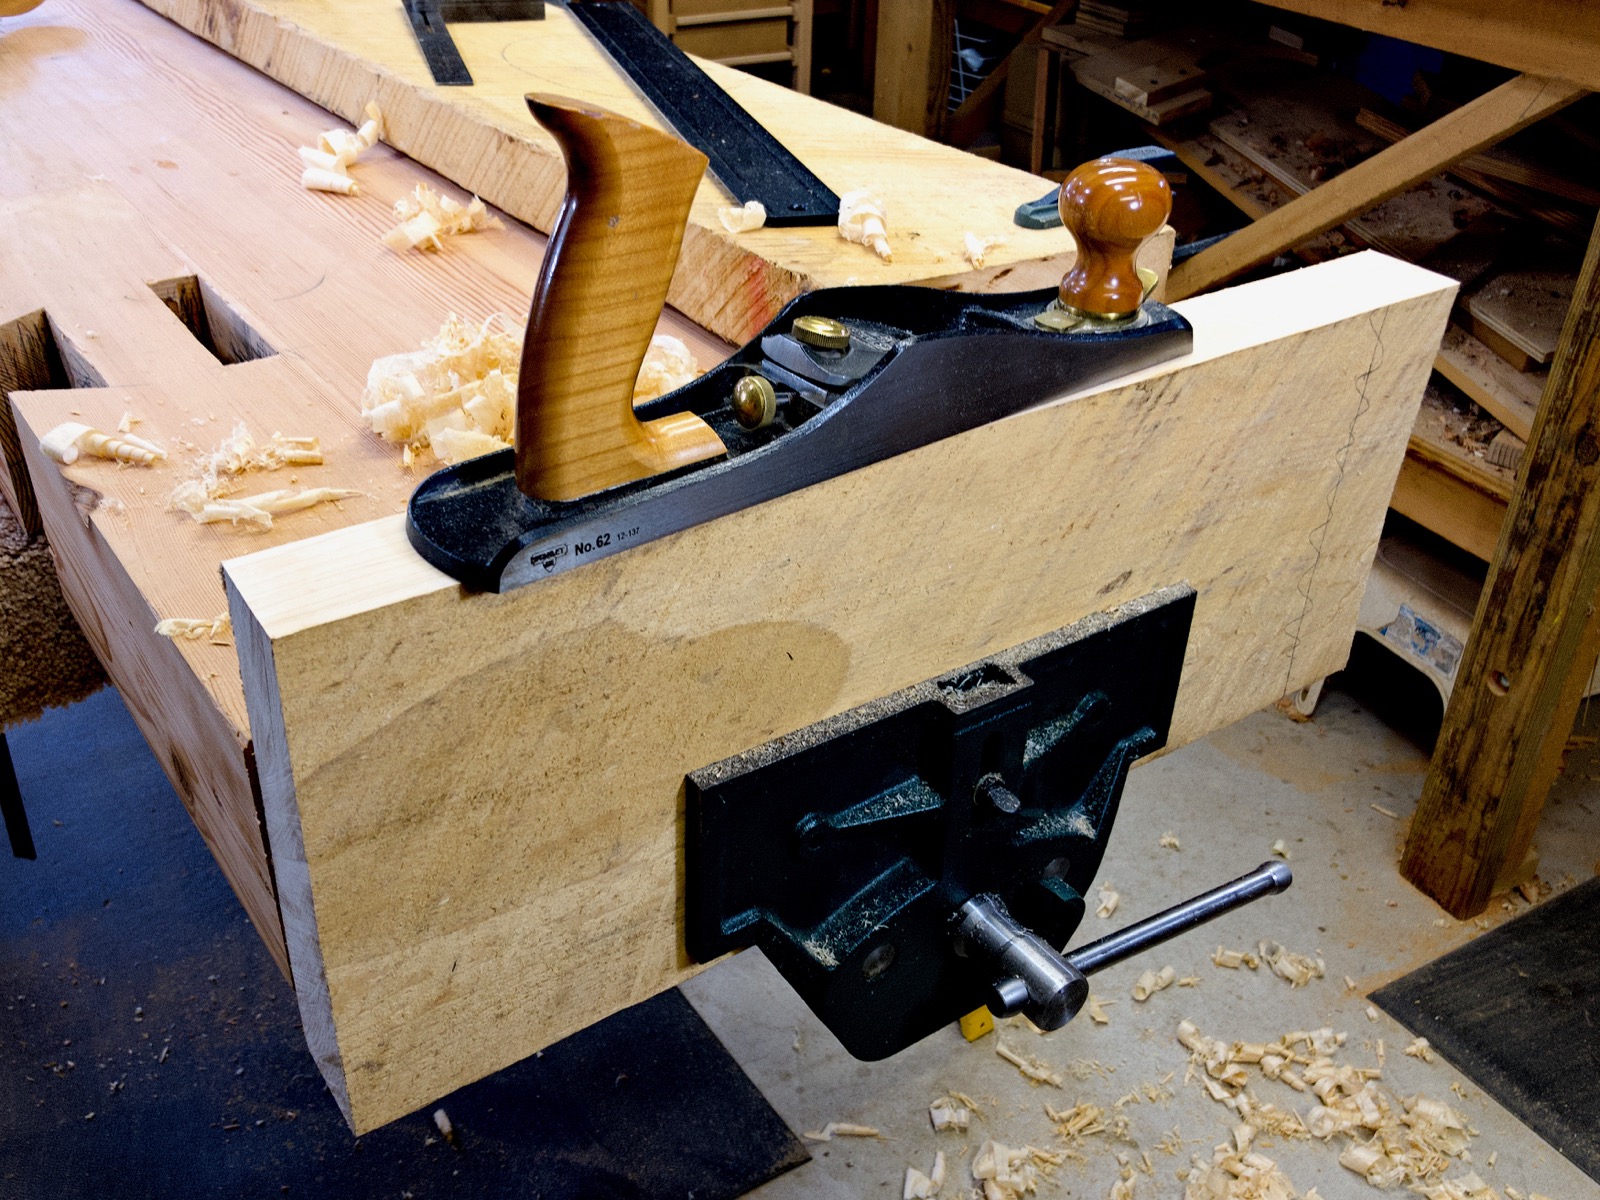
The first way I installed the vise was to just leave it on the underside of the bench without insetting it. I flushed the back jaw with the bench.

This was a nice moment in the build of my bench. It is now helping me build itself. That’s a wonderful milestone.

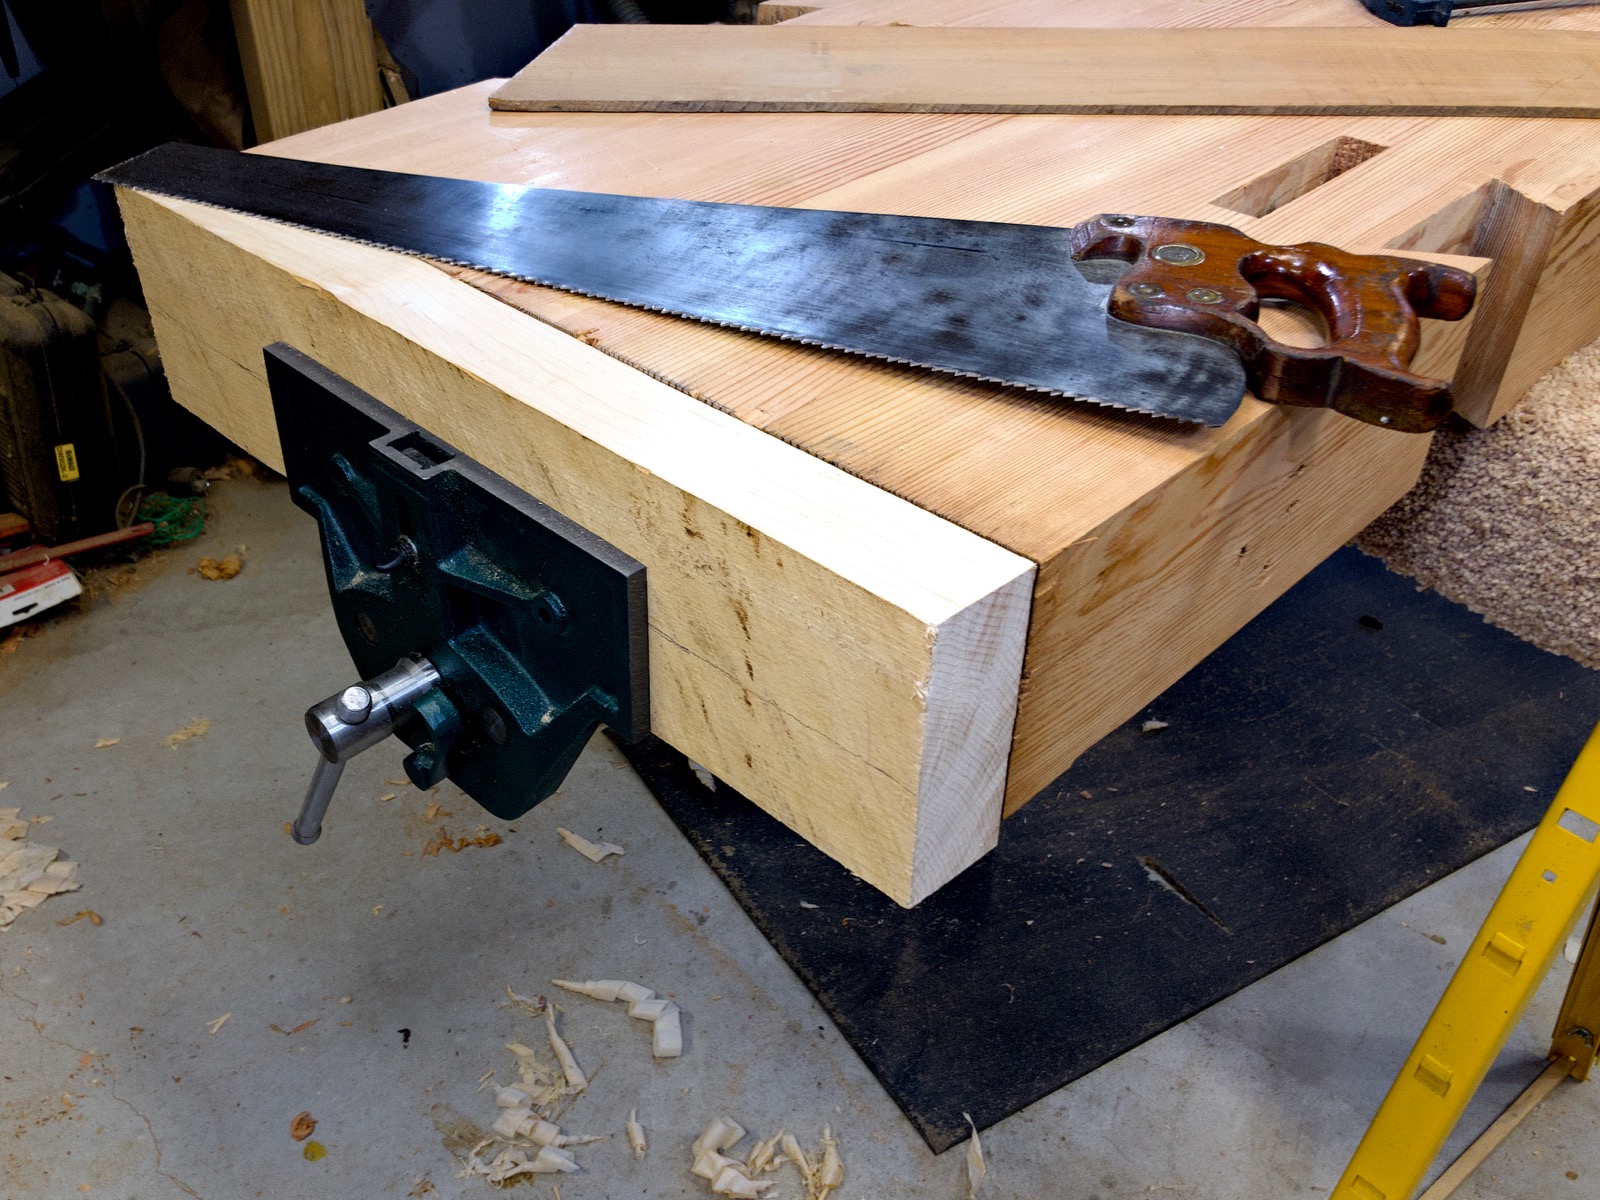
This is such hard maple I thought maybe my Disston would have a challenge. Nope, it cut right through without a huge effort.
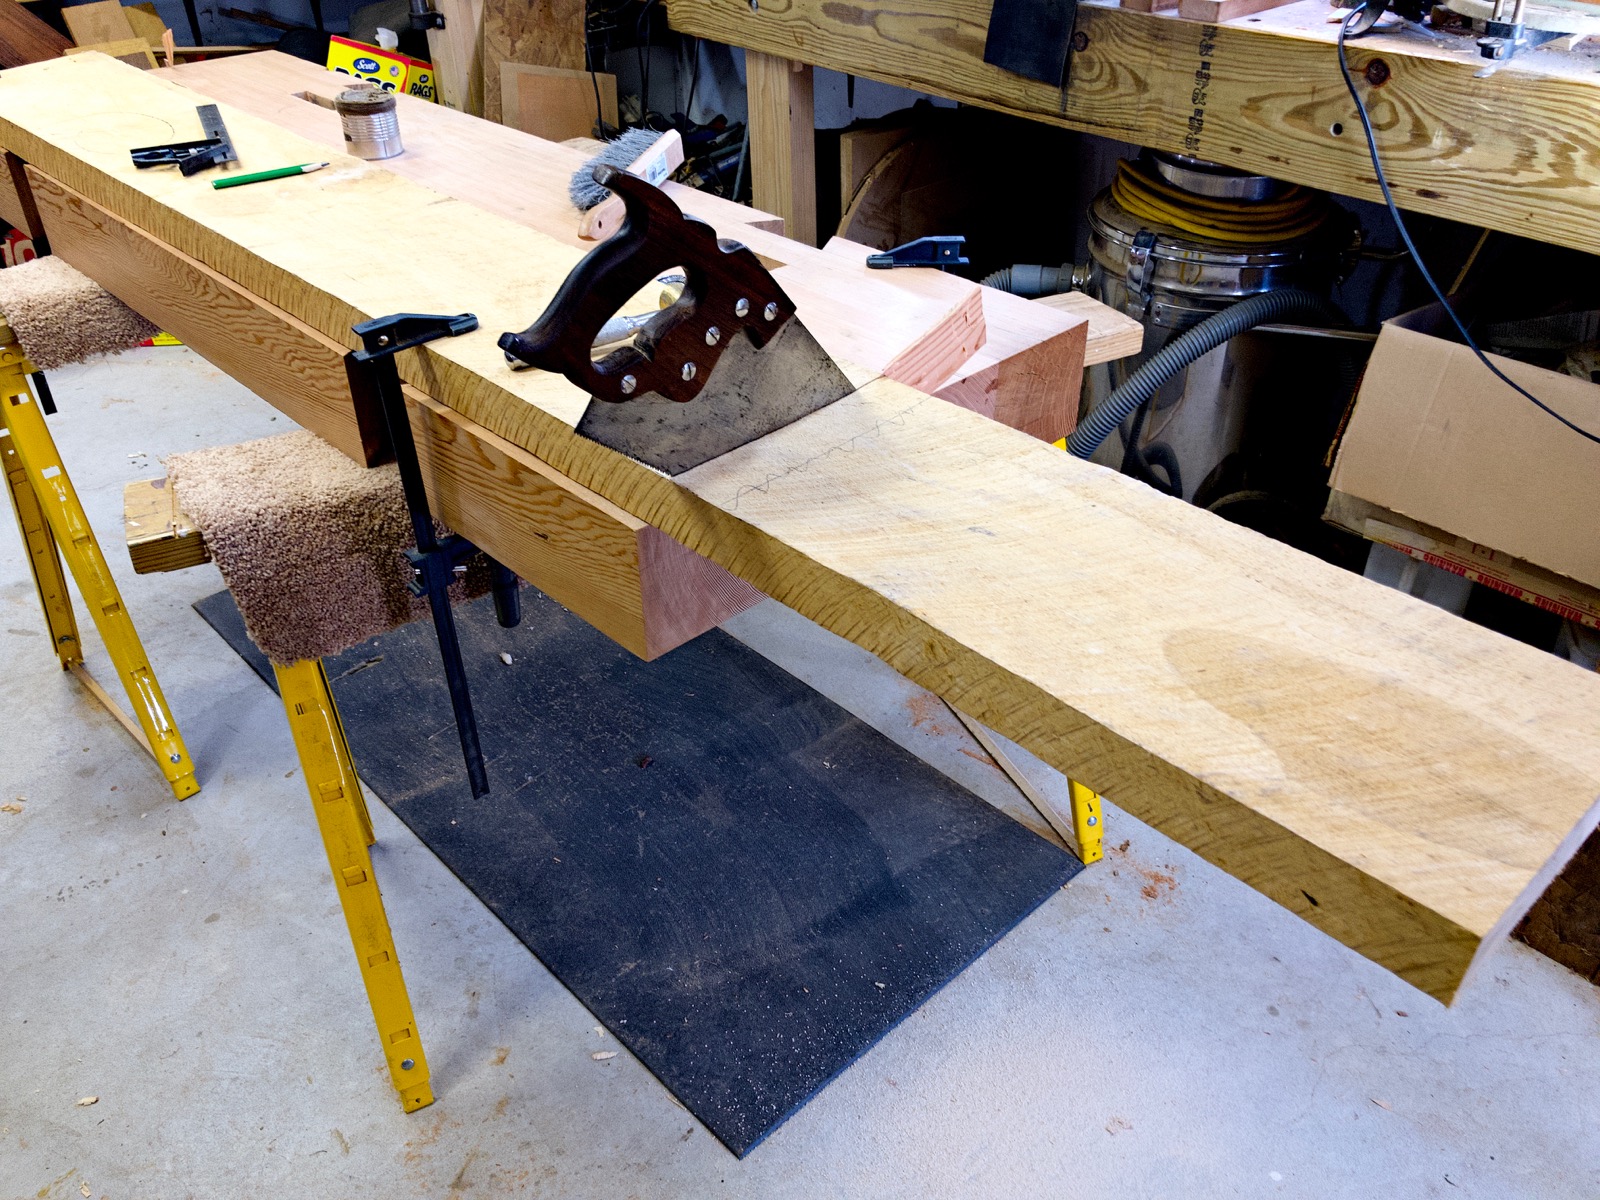
The vise is helping make itself too. Very cool.
I sharpened my old rip saw and it cut through the maple surprisingly fast.

The jaw vise in place in my first idea of how to install and use it.
After using the vise like this for a while I realized I need to raise it up to close to the top edge of the bench. That meant insetting it by quite a bit. It was a two-step process, first the main frame had to get cut fairly deep.
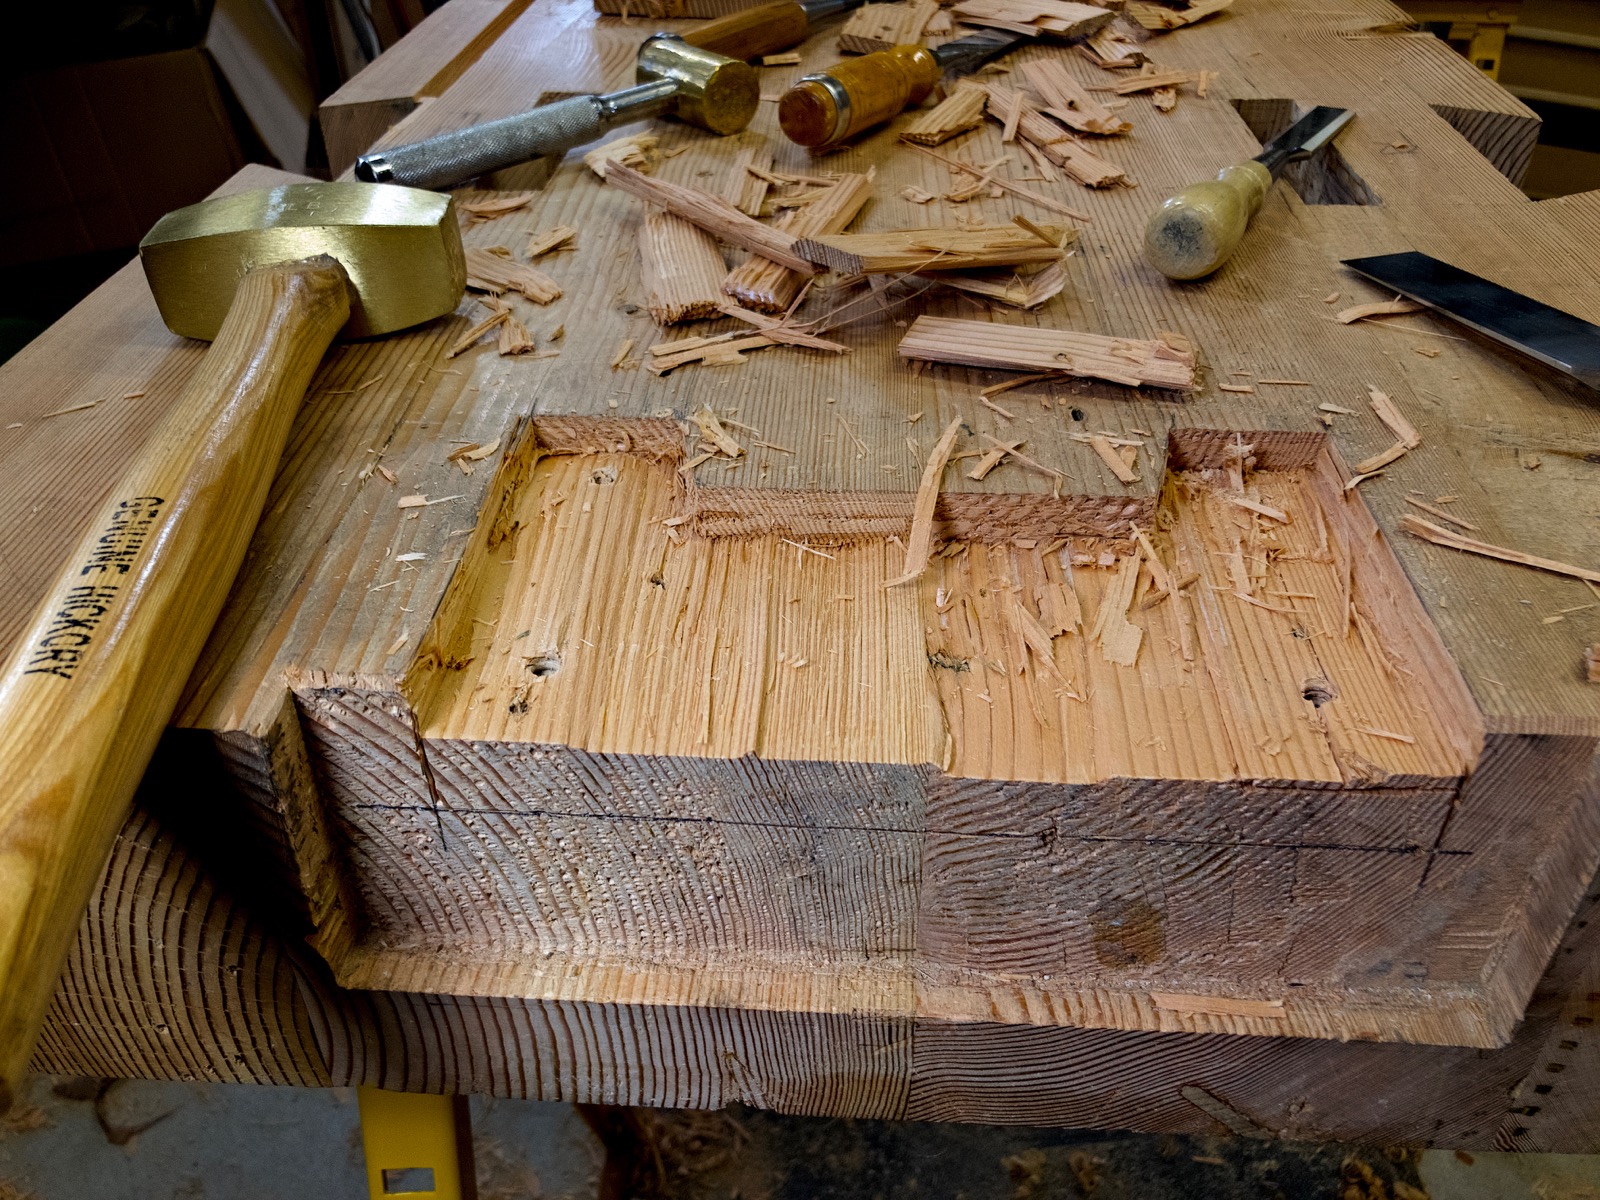
Then I had to inset the bars and screw by a lesser amount.
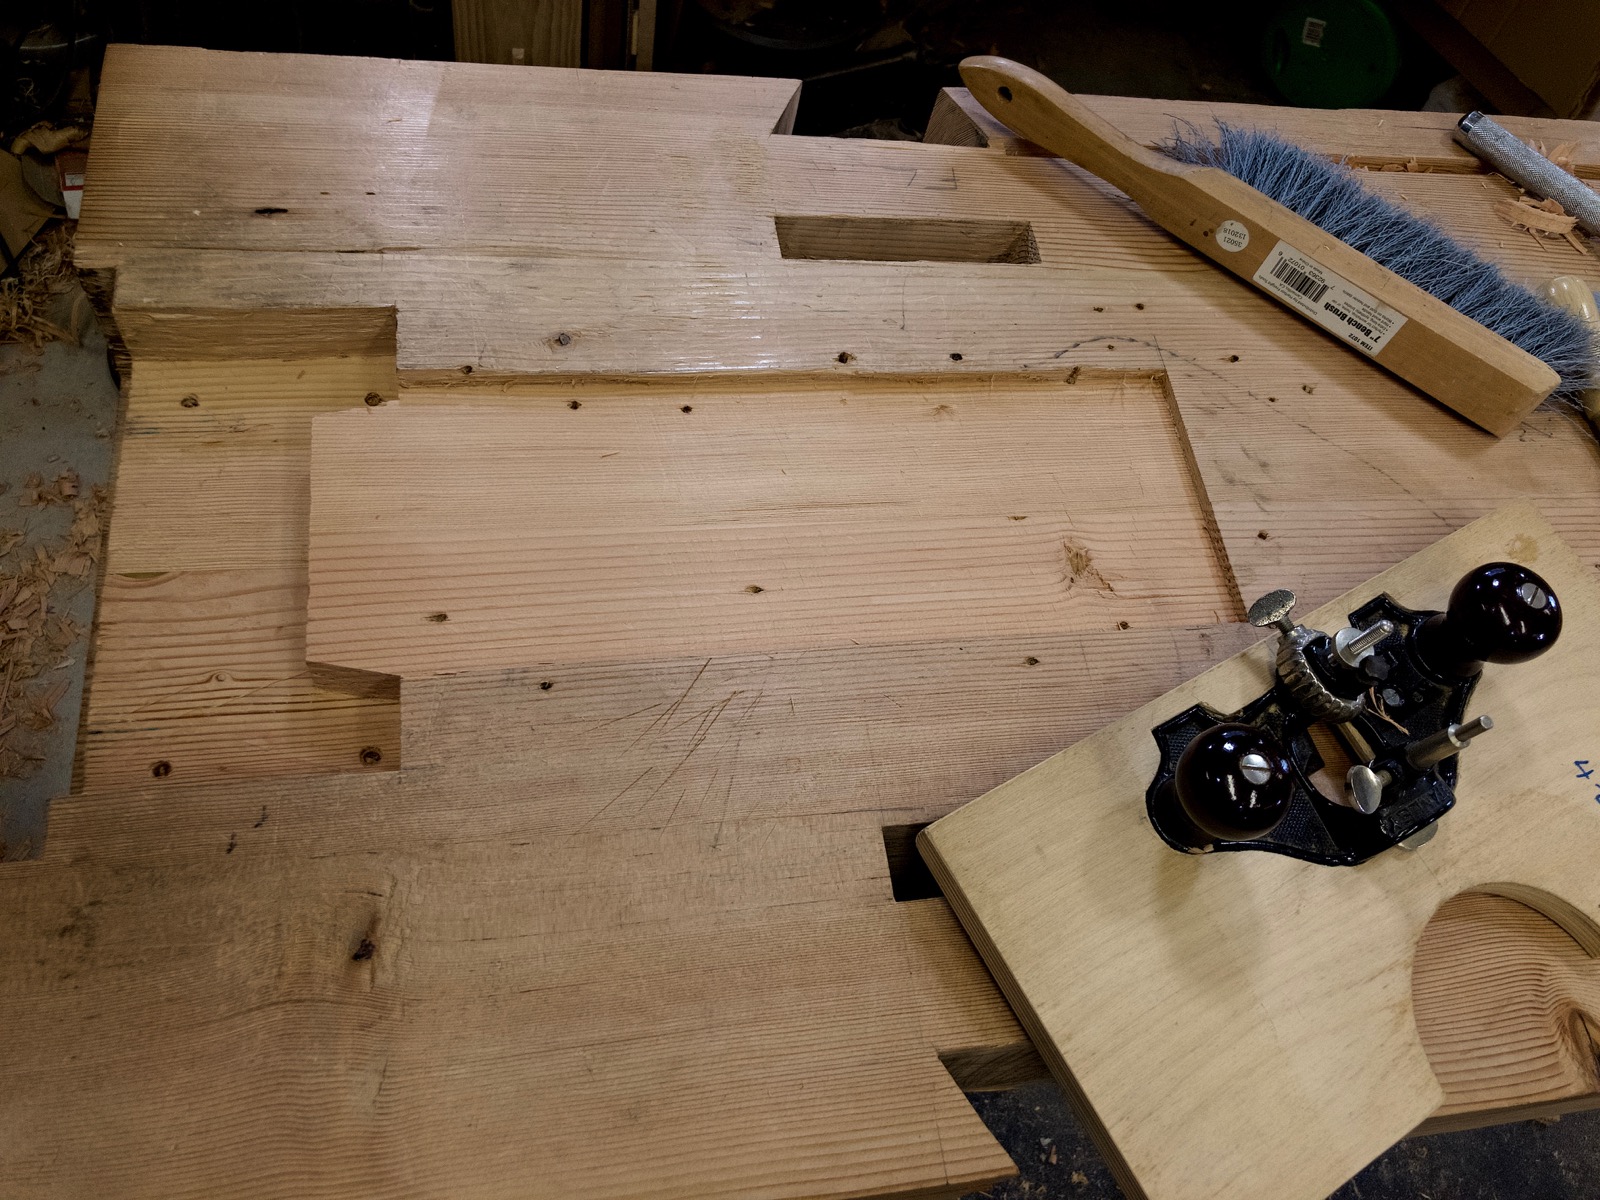
The final cutouts for the end vise. This made it much better. I also added an end cap to the bench.
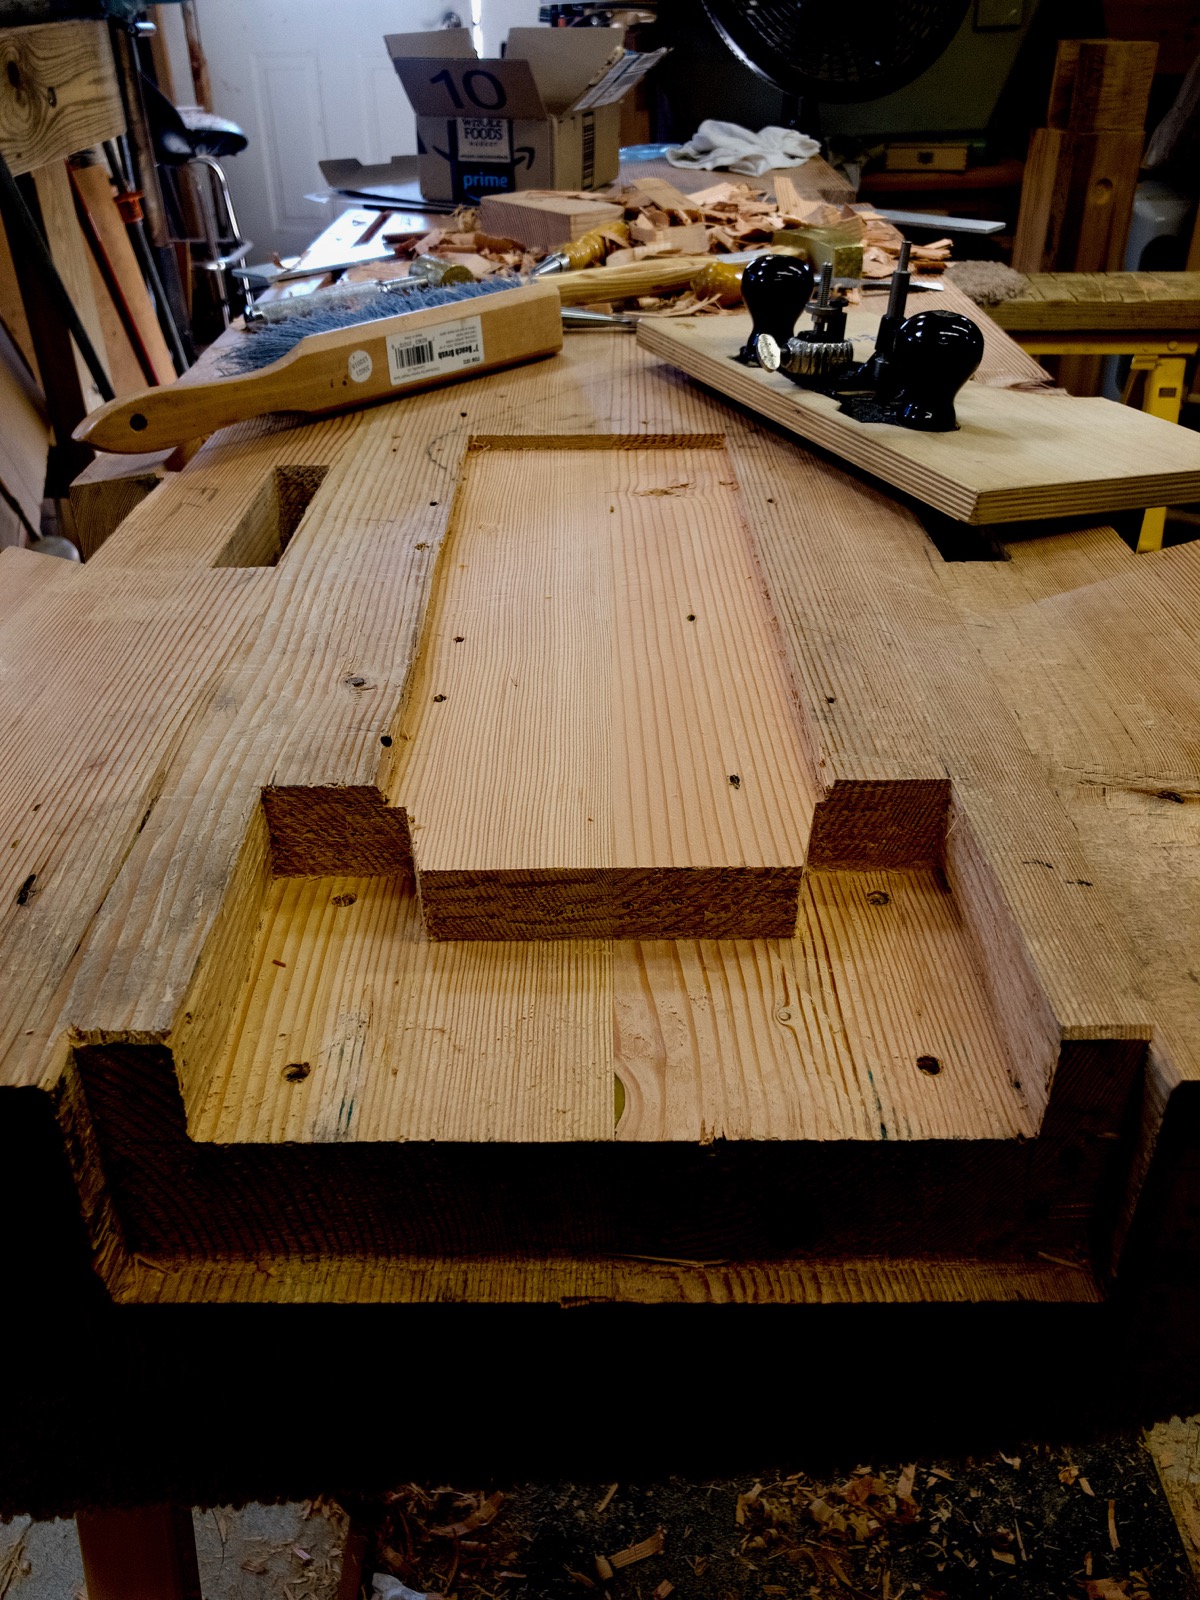
The end vise is ready to be installed after the bench is assembled. We’re in the home stretch.
-Eric
